
How to Add a Collaboration Tools Target
Use the information in this topic to add a Collaboration tools such as SharePoint, SharePoint Online, or Bitbucket to Spirion Sensitive Data Platform.
Spirion Sensitive Data Platform offers the following collaboration tools:
- SharePoint
- SharePoint Online
- Bitbucket
How to Add a Collaboration Tools Target
To add a new collaboration tools:
- From the left side navigation menu select Data Asset Inventory > Data Assets and Targets.
- The "Data Assets and Targets" page opens.
- Select the TARGETS tab at the top of the page.
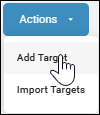
- In the upper right corner of the page, click the blue Actions button and select "Add Target" from the sub-menu that appears.
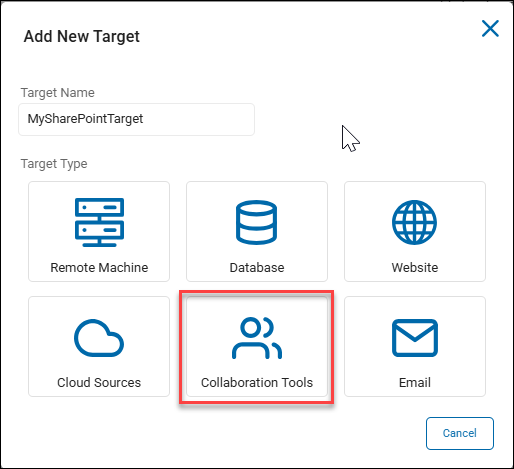
- The "Add New Target" pop-up window opens.
- Enter the name of your Target in the Target Name field. Make the name descriptive by including identifiers such as the Bitbucket server name, SharePoint site name, location, department, status, and/or date.
- Under "Target Type," click the Collaboration Tools tile.
- In the next window, select a Collaboration Tool to configure:
- SharePoint/SharePoint Online
- Bitbucket
- Continue with the applicable topic below to complete configuration of your Collaboration Tools Target.
How to Add a SharePoint/SharePoint Online Target
Use the following steps to add a new SharePoint/SharePoint Online Target:
- In the Add New Target pop-up window, select the SharePoint/SharePoint Online tile.
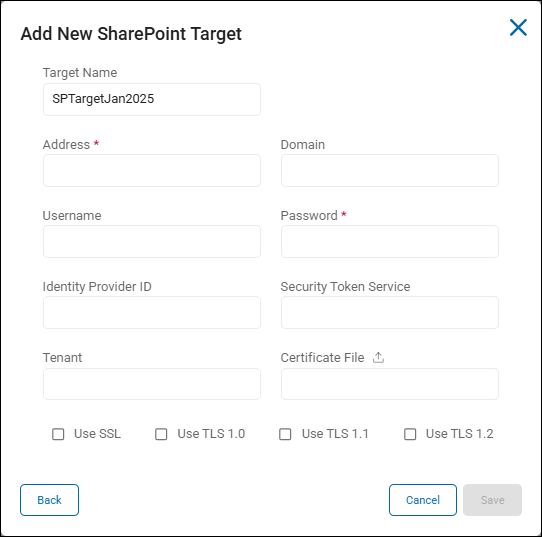
- The "Add New SharePoint Target" window appears.
- Enter the following information:
- Target Name: Enter the Target name.
- Address: Enter the URL to the SharePoint site being scanned.
- Domain: Enter the domain path.
- Username: Enter the username associated.
- Password: Enter the password associated.
- Identity Provider ID: Enter the Client ID.
- Security Token Service: Enter the token service.
- Tenant: Enter the Tenant name.
- Certificate File: Upload the Certificate associated with the Tenant.
- Select the applicable cryptographic protocol:
- Use SSL
- Use TLS 1.0
- Use TLS 1.1
- Use TLS 1.2
How to Configure Your SharePoint Target to Use Certificate Authentication
Certificate Authentication requires a fully registered EntraID App with a certificate configured for authentication purposes.
- Information on how to provision that application is found here: Register an application with the Microsoft identity platform.
The following data is necessary and can be taken from the registered app as well as from SharePoint:
- Address: Enter the Address
- Identity Provider ID: EntraID Application ClientID
- Tenant: FULL Tenant name (Example: mytenant.onmicrosoft.com)
- Certificate File: Upload the certificate (Confirm a certificate has been uploaded to the App - that is the same certificate we will use)
- Password: The password to the certificate
- Note: The EntraID application must be granted access rights to the SharePoint sites or Tenant to be scanned. If the rights are limited to READ access, then no remediation or modification of files can occur.
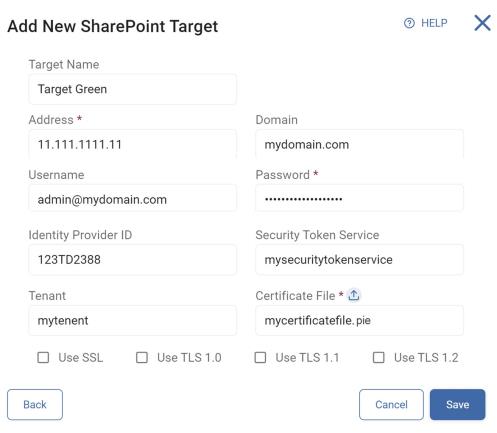
- Click the Save button to save, the Cancel button to discard, or the Back button to return to the previous screen.
- Your Target is now successfully added to Spirion Sensitive Data Platform.
- If you receive errors, confirm the values you entered into the Add New Target pop-up window fields are accurate and valid.
How to Add a Bitbucket Target
To add a new Bitbucket Target, use the steps below. This topic is a continuation of the steps above in "How to Add a Collaboration Tools Target."
- After selecting the Collaboration Tools tile from the "Add New Target" pop-up window, select the Bitbucket tile in the next window that appears.
- In the "Add New Bitbucket Target" pop-up window, enter the following information:
- Target Name: Enter the Target name if you have not already done so. Make the name descriptive.
- Admin User Account Name: Enter the admin user account name.
- Server URL: Enter the full URL of your Bitbucket server.
- Password: Enter the password associated with the admin user account.
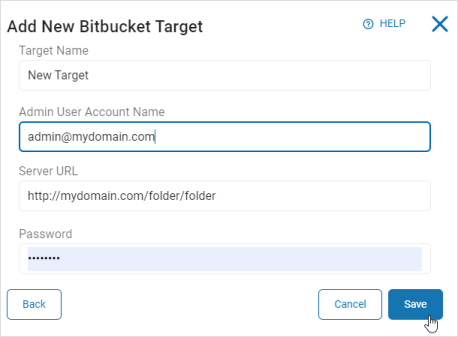
- Click the Save button at the bottom of the window to save, the Back button to return to the previous screen, or the Cancel button to discard your changes.
- Your Target is now successfully added to Spirion Sensitive Data Platform.
- If you receive errors, confirm the values you entered into the Add New Target pop-up window fields are accurate and valid.