How to Manage Classifications for an Individual Scan Playbook
Global Classifications
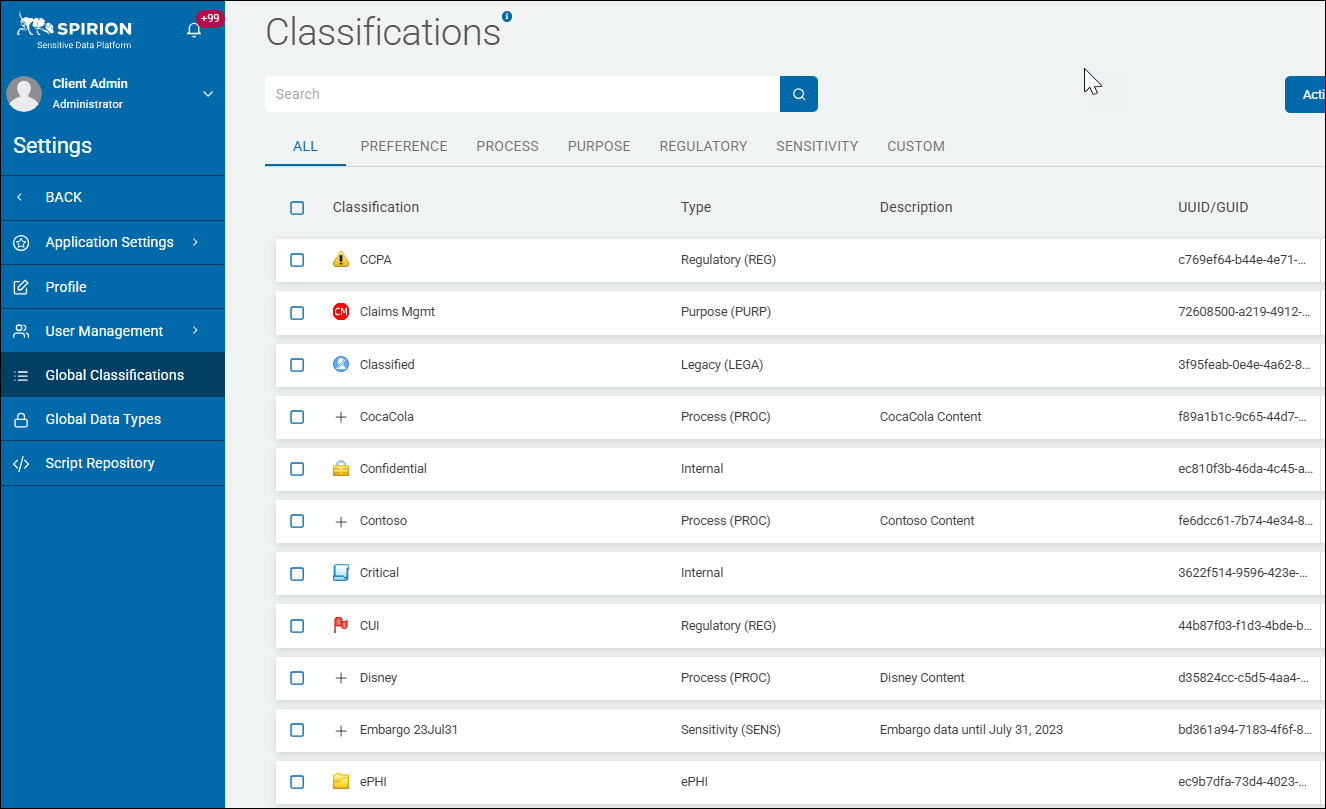
The Classification page in Spirion Sensitive Data Platform displays a searchable list of existing classifications.
- You can view, edit, and add classifications on the screen.
- Editing and adding classifications requires Admin permissions
- See "Global Classifications" for more information.
Persistent Classification
archTIS can apply persistent metadata tags to supported files automatically via a Scan Playbook.
- This can inform downstream reporting and edge systems about files that are moving around and possibly getting replicated to other systems.
- It also provides a visual indicator to end users to inform them that a given file has been classified.
- See Classification Persistence for information about file type support and persistence types
Use the following steps:
- Open the desired scan playbook.
- In the top left corner click the Actions button and then Manage Classification from the drop-down menu.
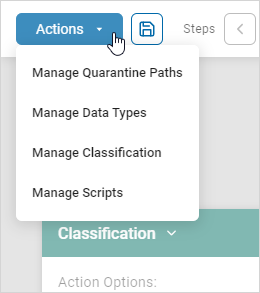
- The Classifications page opens.
- The "Classification" pop-up window opens.
- In the pop-up window, select "Perform Action on File and Database" under Action Options.
- By performing the action on the file which contains the SPI or PII, and not just the Spirion database record, the classification metadata tag persists across different systems and locations.
- For an example, see the topic "Spirion Classified File Example in Windows File Explorer," below.
- Select an option such as "Add Classification" under Classification Type.
- Select an option such as "Confidential" under Select Classification.
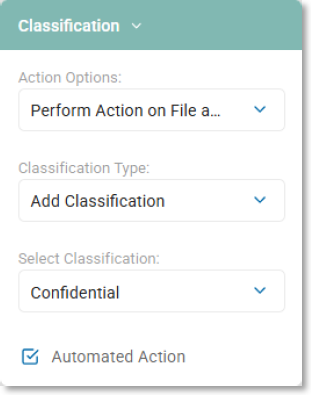
- Click outside of the drop-down list.
- Click the Save icon next to the Actions button in the top left corner to save your settings.
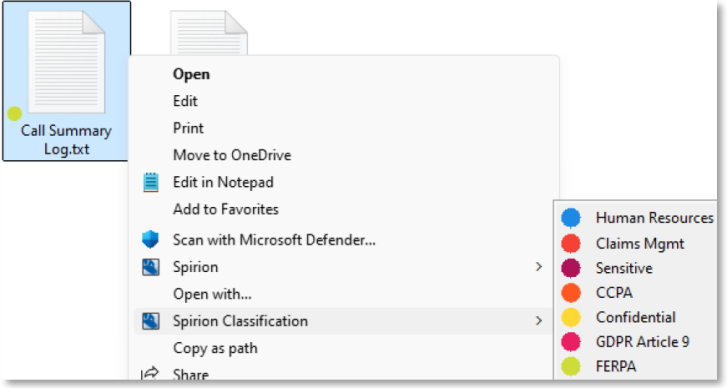
Spirion Classified File Example in Windows File Explorer
You can now classify a file from the Windows File Explorer file sub-menu as shown below.
Note: Classifications for files that are MPIP-protected do not show in Microsoft Windows File Explorer.