
How to Create New Data Assets
This topic details the options available under the Assets tab of the Data Assets and Targets page in Spirion Sensitive Data Platform.
How to Create a New Data Asset
When you create a new Data Asset, you must fill out the information in the tabs and their respective fields.
- Some data is required and some is optional.
- Each section indicates what the requirements are (red *) and if you have met them using this criteria:
|
|
|
|
|
|


To create a new Data Asset use the following steps:
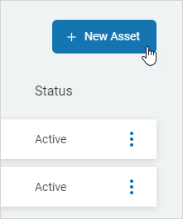
- In the top right of the screen, click New Asset.
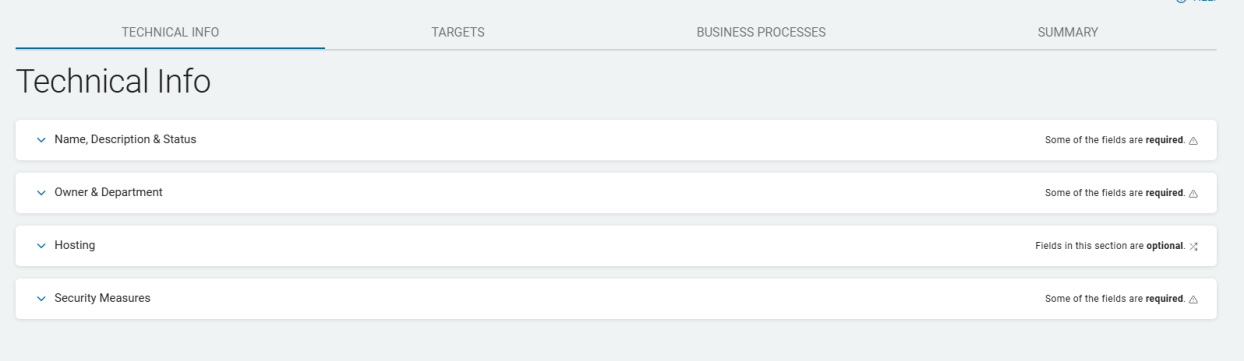
- The New Asset screen opens to the Technical Info tab. It displays a table with four collapsed sections.
- This screen is one of 4 tabs: Technical Info, Targets, Business processes, and Summary.
- Use the (˅) icon to expand any section on a tab.
Technical Info Tab
Procedure:
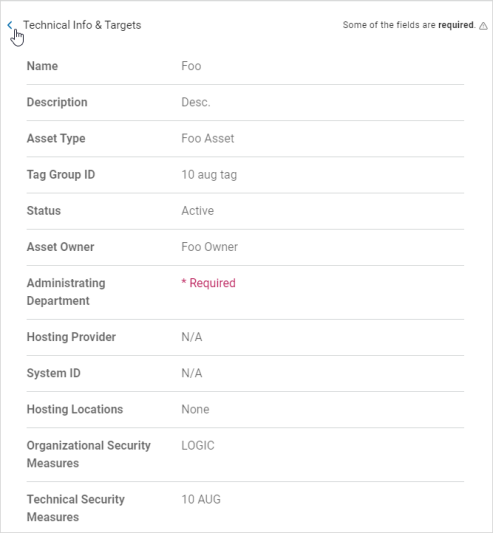
- Names, Description, & Status: Enter this information:
- Name: Type the Asset name. This is required entry field.
- Description: Type the Asset description.
- Asset Type: Select an option from the drop-down list.
- Tag Group ID: Select an option from the drop-down list.
- Status: Select an option from the drop-down list. This is a required entry field.
Owner & Department
Procedure:
- Each entry field is required.
- Asset Owner: Select an option from the drop-down list.
- You can manually add an owner and this activates the Edit option.
- Administrating Department: Select an option from the drop-down list.
- You can add and edit an administrating department as well.
Add an Asset Owner
Procedure:
- Click the ADD link at the entry field.
- Enter this information in the New Asset Owner pop-up window:
- Name:
- Title:
- Phone:
- Email:
- Note: The New Asset Owner window contains a message at the bottom: By choosing to create this new entry, you are populating a global list that you will be able to re-use in other Data Assets.
- Click Save & Add to save or Cancel to discard the changes.
Edit an Asset Owner
Procedure:
- Select an asset owner from the drop-down list to edit.
- Click the EDIT link at the entry field.
- The Edit Asset Owner window opens. Add this information:
- Name:
- Title:
- Phone:
- Email:
- You can select Delete in this window to delete the Asset Owner. Click Save to save or Cancel to discard the changes.
- If deleting an Asset Owner you are prompted to Confirm your selection.
Add an Administrating Department
Procedure:
- Click the ADD link at the entry field.
- Fill in the Name on the New Administrating Department pop-up window.
- Click Save & Add to save or Cancel to discard the changes.
Edit an Administrating Department
Procedure:
- Select an administrating department from the drop-down list to edit.
- Select EDIT to edit the Department information.
- Edit the Name on the Edit Administrating Department pop-up window:
- Click Save to save or Cancel to discard the changes or Delete to delete the Administrating Department.
- If deleting an Administrating Department you are prompted to Confirm your selection.
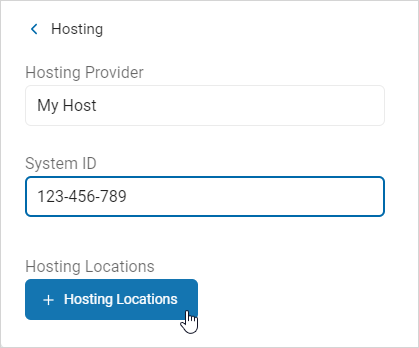
Hosting
This setting is optional.
- Hosting Provider: Type the hosting provider name.
- System ID: Type the provider system ID.
- Hosting Locations: Name of the location where the asset is hosted. Example: Tampa data center
- Click the + Hosting Locations button.
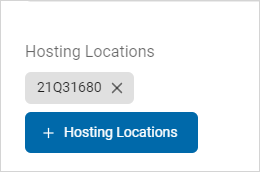
Select an Existing Hosting Location
Procedure:
- Select a location from the list.
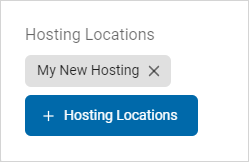
- Click Add Selected.
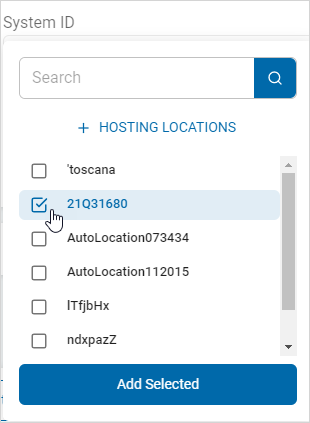
- The location appears as a tile in the Hosting Locations section.
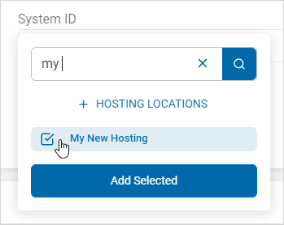
Search for a Hosting Location and Select
Procedure:
- Click + Hosting Locations.
- Type the name of the location in the search box. The matching location(s) are displayed.
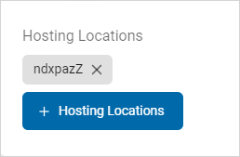
- Select the location and click Add Selected.
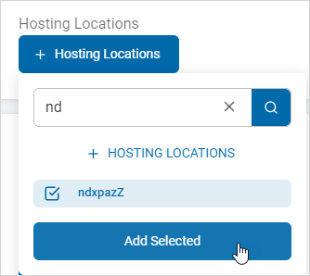
- The location appears as a tile in the Hosting Locations section.
Add a New Hosting Location
Procedure:
- Click + Hosting Locations.
- Enter the information:
- Name: Type the name of the hosting location.
- Country: Select an option from the drop-down list.
- Address Line 1: Type the address.
- Address Line 2: Type the second address line, if applicable.
- City: Type the name.
- State/Province: Type the name.
- Zip/Postal Code: Type the code.
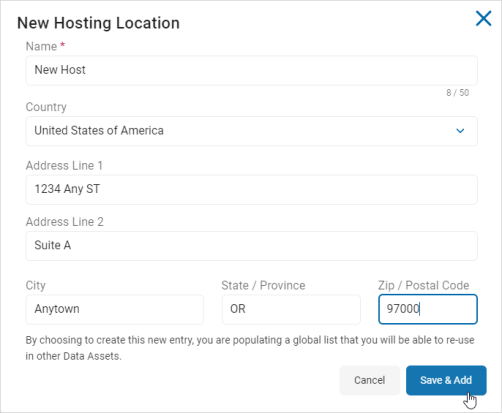
- Click Save & Add to add the new location or Cancel to discard.
- Click +Hosting Locations.
- Search and select the newly added location from the list.
- Click Add Selected.
- The location appears as a tile in the Hosting Locations section.
Delete a Hosting Location
The selected Hosting Location appears in the Hosting Locations section.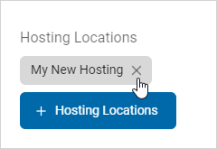
- Click the x and the selected Hosting Location is deleted.
Note: This action is immediate and cannot be undone.
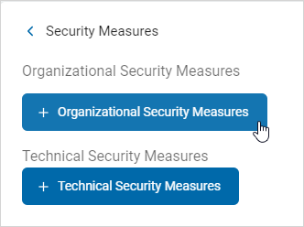
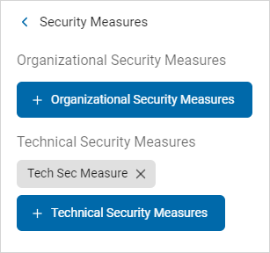
- Security Measures: This is optional.
Organizational Security Measures
Add an Existing Security Measure
Procedure:
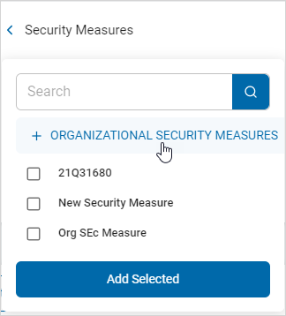
- Click + Organizational Security Measures.
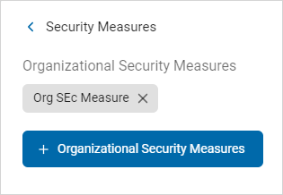
- Select a security measure from the list and click Add Selected.
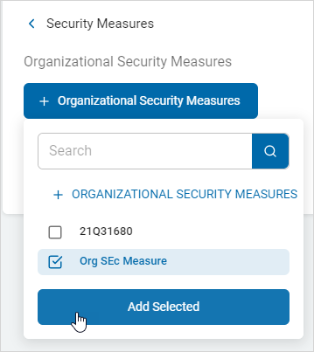
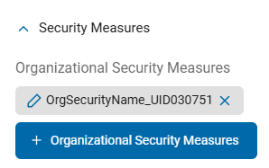
- The security measure appears as a tile in the Organization Security Measures section.
Search and Add an Existing Security Measure
Procedure:
- Click + Organizational Security Measures.

- Type the name of the security measure in the search box. The matching measure(s) are displayed.
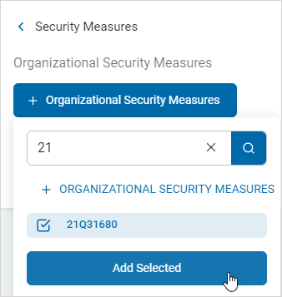
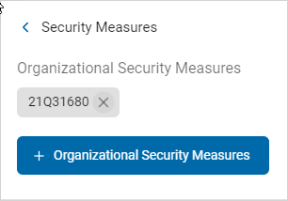
- Select the location and click Add Selected.
- The security measure appears as a tile in the Organizational Security Measures section.
Create and Add a Security Measure
Procedure:
- Click + Organizational Security Measures.

- Click + Organization Security Measures.
- Select + Organizational Security Measures and enter the information.
- The Name is the only required field.
- The Description field is optional.
- Click Save & Add to create the security measure or Cancel to discard.
- Select the new security measure from the list and click Add Selected.
Delete an Organizational Security Measure
Procedure:
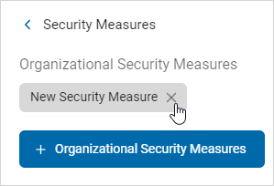
- The selected security measure appears in the Organizational Security Measures section.
- Click the x to delete the security measure.
- Note: This action is immediate and cannot be undone.
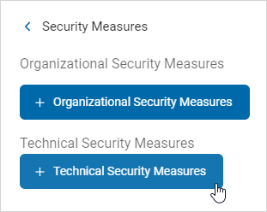
Technical Security Measure
You can manage your Technical Security Measures with the following:
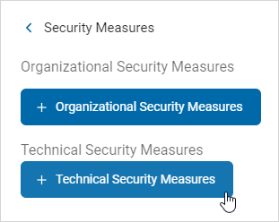
Add an Existing Technical Security Measure
Procedure:
- Click + Technical Security Measures.
- Select a security measure from the list and click Add Selected.
- The technical security measure is displayed in the Technical Security Measures section.
Search and Add an Existing Technical Security Measure
Procedure:
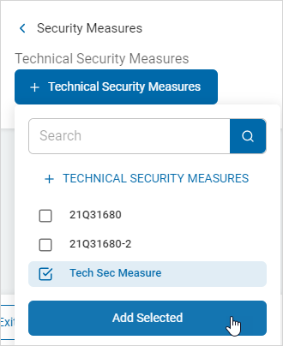
- Click the +Technical Security Measures button.
- Type the name of the technical security measure in the search entry field. The matching measure(s) are displayed.
- Select the technical security measure from the list and click Add Selected.
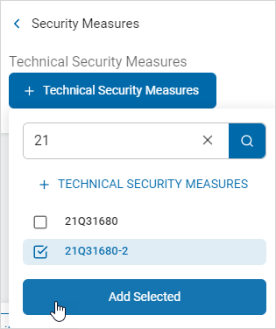
- The selected technical security measure appears in the Technical Security Measures section.

Create and Add a Technical Security Measure
Procedure:
- Click +Technical Security Measures.

- Click +Technical Security Measures.
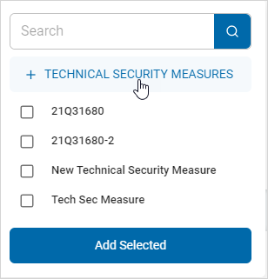
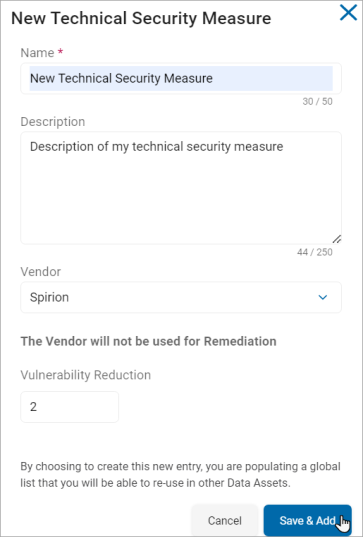
- In the + Technical Security Measure window, enter this information:
- Name: Type the name of the new technical security measure.
- Description: Type a description of the new technical security measure.
- Vendor: Select an option from the drop-down list.
- Vulnerability Reduction: Assign a vulnerability reduction value to the security measure.
- Click Save & Add to create the security measure or Cancel to discard.
- Select the new technical security measure from the list and click Add Selected
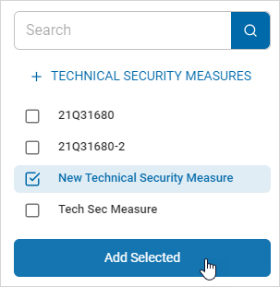
- The security measure appears in the Technical Security Measures section.
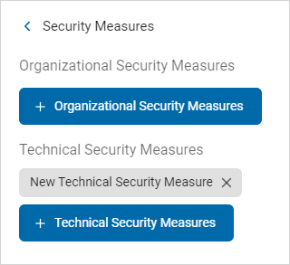
Delete a Technical Security Measure
Procedure:
- In the Technical Security Measures section, locate the security measure you want to delete.
- Click the x next to the selected technical security measure and it is deleted.
Note: This action is immediate and cannot be undone. - Click Next to go to the next tab or Exit Without Saving to discard.
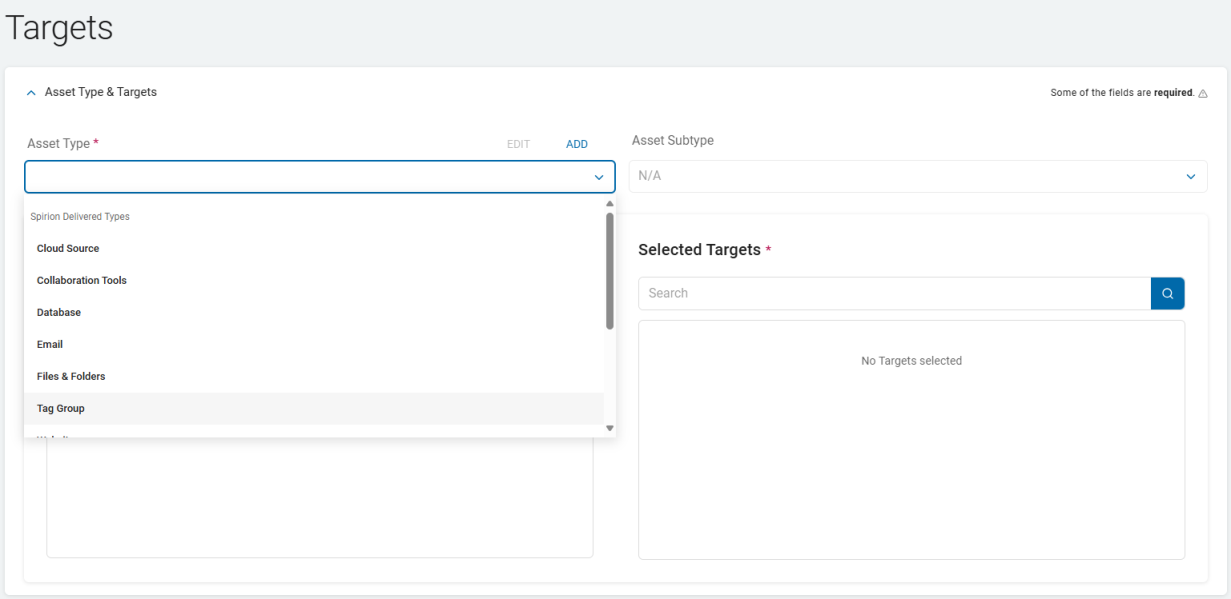
Targets Tab
The tab allows you to select the Targets and the Asset Type.
- Click the ˅ icon to expand the Asset Type & Targets section.
- Asset Type:
- Required
- Select a type from the Spirion Delivered list from the drop-down list.
- Cloud Sources - Google Drive, OneDrive, etc.
- Collaboration - SharePoint, Bitbucket
- Database - Oracle, Snowflake, SQL, etc.
- Email - Exchange, Gmail, etc.
- Files & Folders - For asset types such as a File servers or workstation files and folders
- Tag Group - Defines the asset as a Tag group
- Websites - Defines the asset as a website
- Use Edit and Add options to manage the asset types.
- Asset Subtype:
- Optional
- The Subtype list is based on the chosen Asset Type.
- Select a Subtype for the selected Asset Type from the drop-down list.
- Targets:
- Targets display based on the selection in the Asset Type section.
- When a Target in the list has a Tag assigned an arrow (circled in this image) appears next to the listed Target.
- All Targets:
- To search a specific Target, type the name in the search entry field.
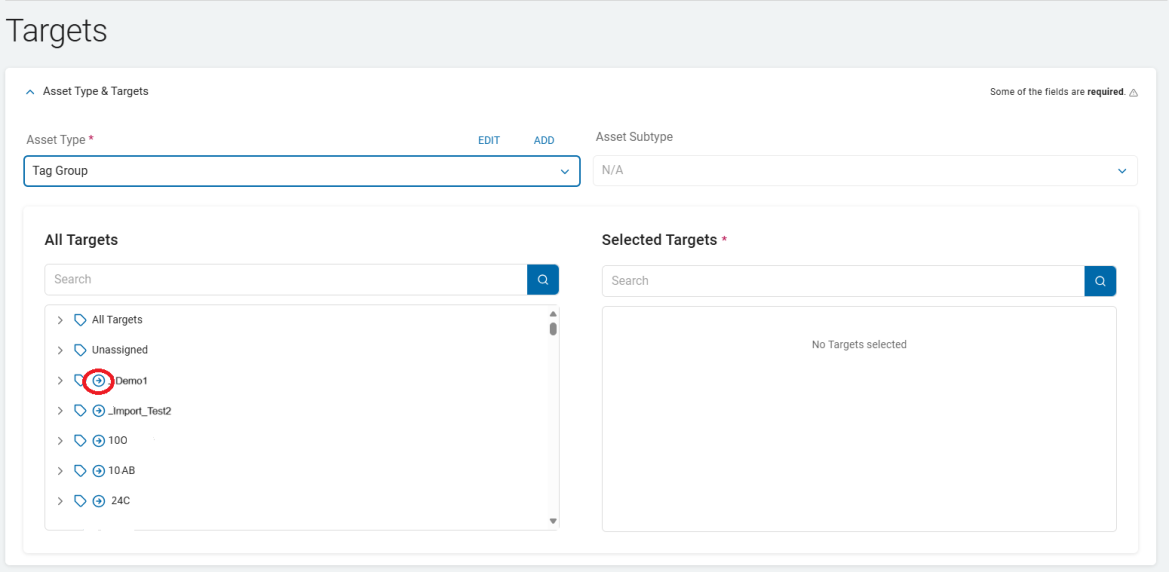
Note: Target appears gray if it is already selected in another data asset.
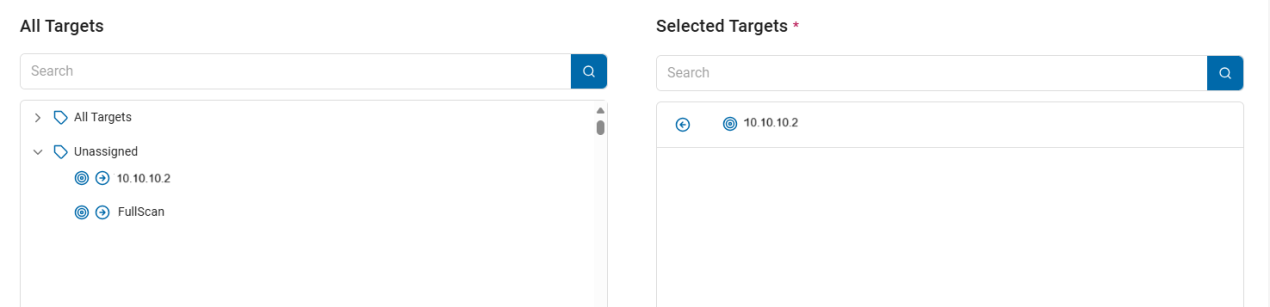
- To search a specific Target, type the name in the search entry field.
- To expand a Target in the list, click the chevron (>) next to the name.
- To add a Target, click the right arrow next to the Target name and it moves to the Selected Targets field.
- Selected Targets: To move a Target back to the All Targets field, click the arrow next to the Target name. This field is required.
- Click Next to go to the next tab, Previous to go to the previous tab, or Exit Without Saving to discard.
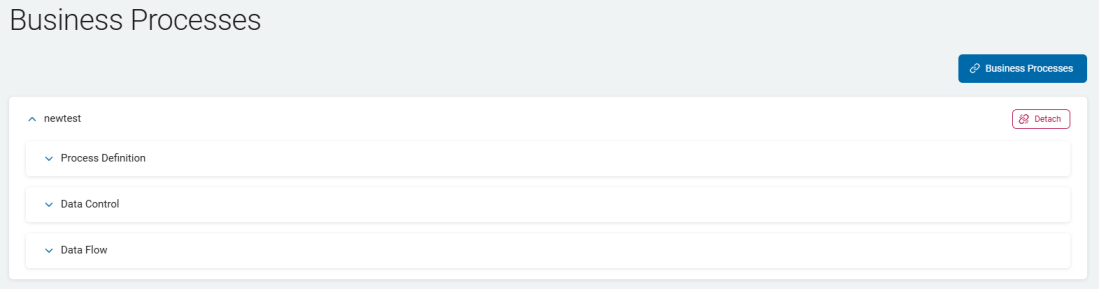
Business Processes Tab
Add Existing Business Processes:
- Click the Business Processes button.
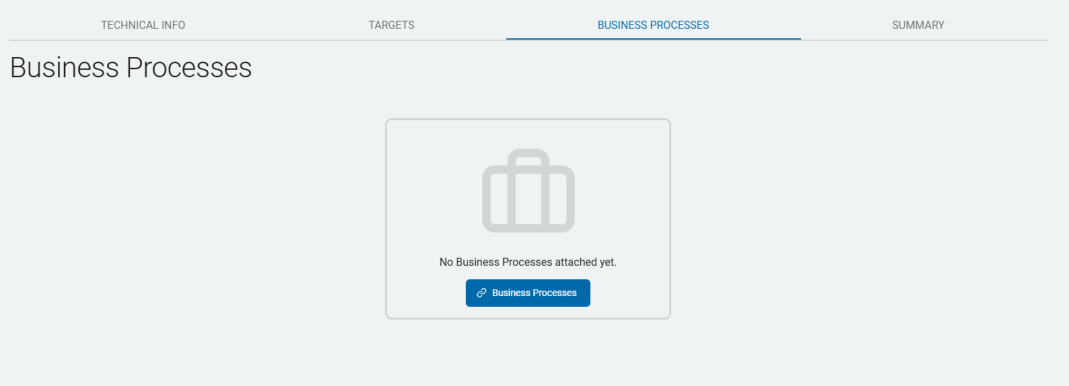
- Select a process to add and click Add Selected.

- The selected process appears as a row section. Click the chevron (>) to expand the section.
Search and Add Business Processes
Procedure:
- Click the Business Processes button in the top, right corner of the screen.
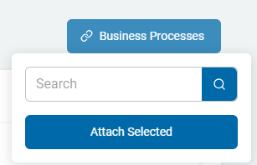
- Type the process name in the search field.
- When found, Add Selected.
Detach a Business Process
Procedure:
- Locate a business process in the list.
- Click
 Detach.
 - Click Next to go to the next tab, Previous to return to a previous tab, or Exit Without Saving to discard.
- Note: This action is immediate and cannot be undone.
Summary Tab
Procedure:
- Click the right arrow to expand each section.
- Review for any missing required information or additional needed information.
- Click Finish & Save to save, Previous to return to previous screens or click a tab to navigate to other tabs to change information, or Exit Without Saving to discard.