How to Configure Spirion Sensitive Data Platform to Connect to an Oracle Database
Prepare Windows server to scan Oracle databases using the Spirion Sensitive Data Platform.
Overview
This article provides a step-by-step guide on how to prepare Windows server to scan Oracle databases using Spirion Sensitive Data Platform.
- Windows Server should be installed and configured as per Spirion’s Best Practice.
- The first part of the document is to install the Oracle Instant Client onto the server.
- The second part is installing the Spirion agent if it has not been done already.
- Note: they do not have to be installed in any particular order. The third and last part of the document will describe the connection process.
- For a sample Oracle Connection String see the documentation.
In This Article
- Installing Oracle on a Spirion Discovery Server
- Configuring Spirion to Scan Oracle Databases
How to Install Oracle on a Spirion Discovery Server
Procedure:
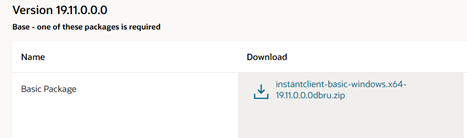
- Download the appropriate Instant Client 64-bit packages for your platform.
- All installations require the Basic or Basic Light package.
- https://www.oracle.com/za/database/technologies/instant-client/winx64-64-downloads.html
- Unzip the packages into a single directory such as: C:\oracle\instantclient_19_3
- Add this directory to the PATH environment variable.
- If you have multiple versions of Oracle libraries installed, make sure the new directory occurs first in the path.
- Restart any terminal windows or otherwise make sure the new PATH is used by your applications.
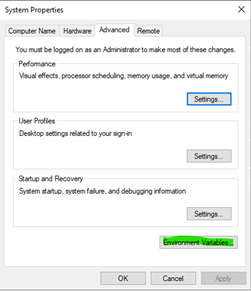
- Click the Windows Start menu and search for Advanced system settings. Click the option that appears as shown below.
- In the dialogue that appears, select Environment Variables.
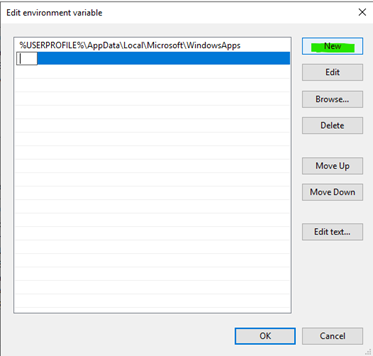
- Click on Path -> Edit…
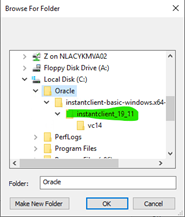
- Click New -> Browse
- Browse down to the folder InstantClient_##_## under the Oracle directory.
- Click OK on all open windows thereafter to save your settings.
- Download and install the correct Visual Studio Redistributable from Microsoft. Instant Client 19 requires the Visual Studio 2017 redistributable.
- Restart any terminal windows or otherwise make sure the new PATH is used by your applications.


How to Download and Install the Latest Spirion Agent
Download the latest Spirion Agent from the Spirion Sensitive Data Platform console:
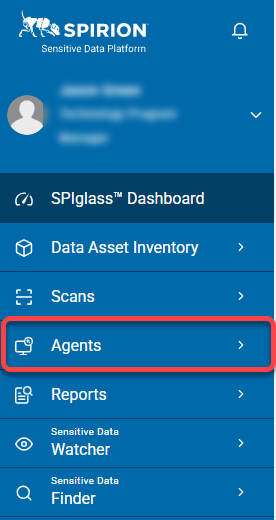
- Open Spirion Sensitive Data Platform.
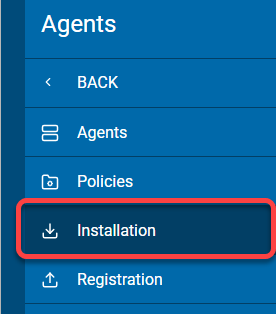
- Select Agents from the left menu.
- Select Installation.
- Download the latest Spirion MSI package.
- Install the Agent onto the Windows server by double-clicking the MSI just downloaded.
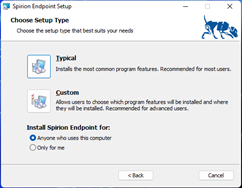
- Click Next.
- Click Next.
- Click Typical unless you require the installation files to be on another drive letter then select Custom.
- Click Install
- Wait for the installation to complete.
- Then click Finish.
- Close the agent after opening it as this interferes with any scans initiated by SDP.


How to Configure Spirion to Scan Oracle Databases
We now cover the process of configuring Spirion to scan the Oracle Database.
- During the process, you may need your license key if the agent is being installed for the first time.
- You will require either the Oracle Connection information from the DBA or have the DBA present during the configuration.
- Required information can be found in step 7.
Procedure:
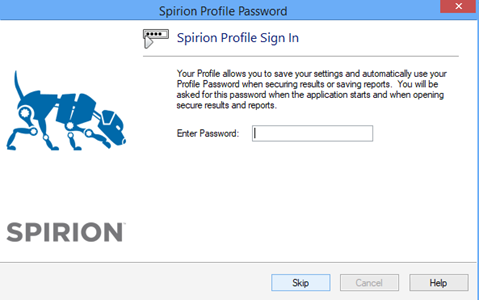
- Open the Spirion Agent by clicking on the Spirion App icon.
- Enter the password.
- If no password has been created:
- Create a password unique to this agent
- Else, continue as a guest
- Note: If you continue as a guest none of the settings will be saved to the agent and will have to be readded if needed.
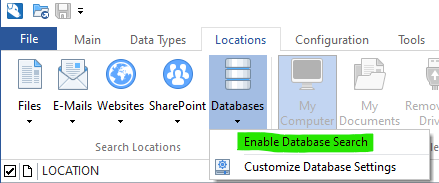
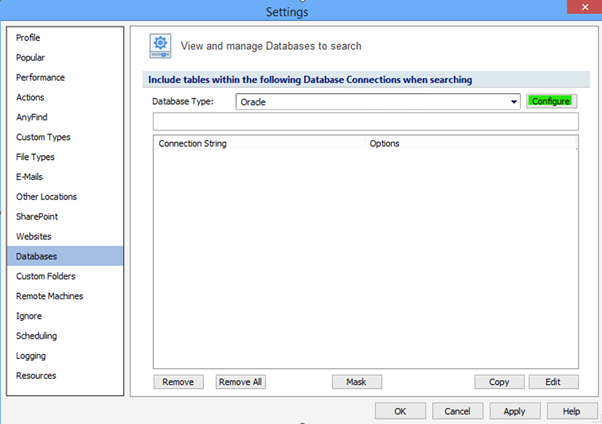
- Select Location->Databases->Enable Database Search.
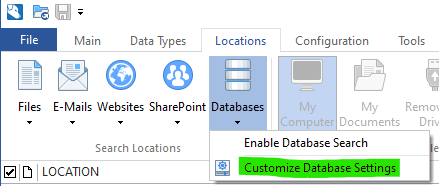
- Select Location->Databases->Customize Database Settings.
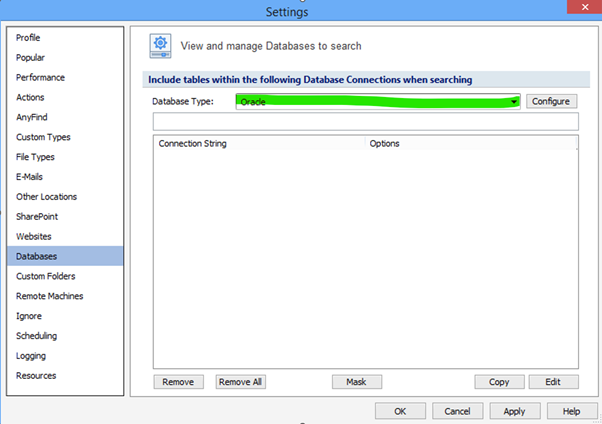
- Ensure that the database type selected is Oracle, otherwise click the drop-down menu and select the Database Type from the list.
- Once the Database Type is selected click Configure.
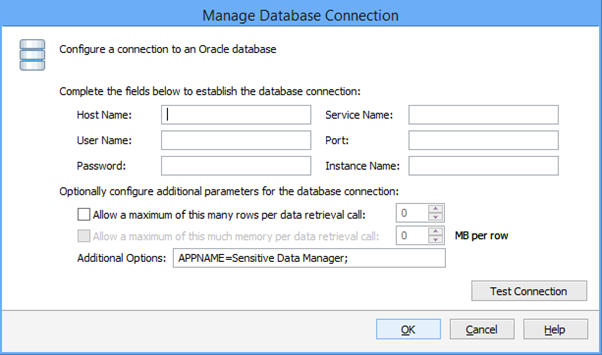
- Enter in the Database connection information as per the Oracle DBA.
- Click the Test Connection button to ensure that the settings are correct.
- If this fails, troubleshoot the issue with your database administrator.
- If this fails, troubleshoot the issue with your database administrator.
- Click OK.
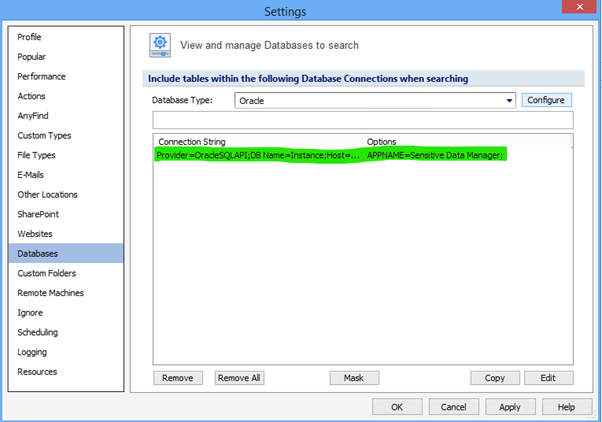
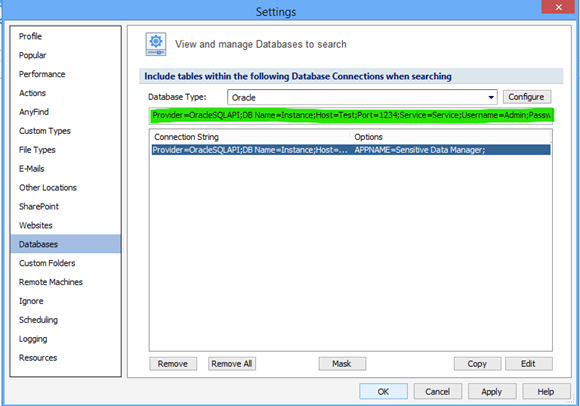
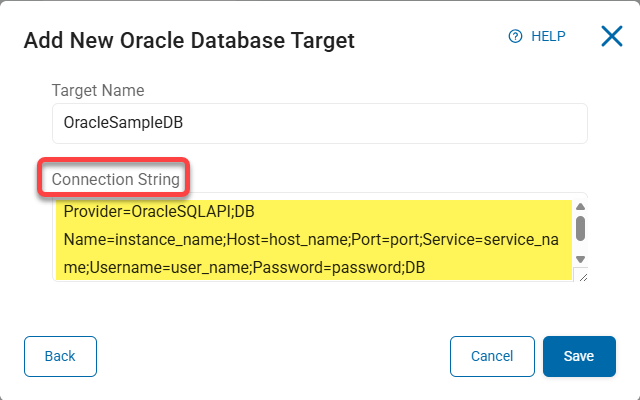
- Click and highlight the newly created connection string.
- The full connection string now appears above.
- Highlight and copy the string of text as shown in the image.
- This information will be entered into the Spirion Sensitive Data Platform Console to search the Oracle Database.
- This information will be entered into the Spirion Sensitive Data Platform Console to search the Oracle Database.
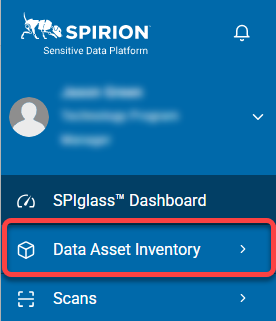
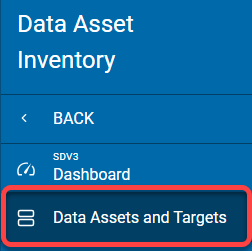
- Open the Spirion Sensitive Data Platform console and select Data Asset Inventory.
- Then select Data Assets and Targets.
- Now select Targets.
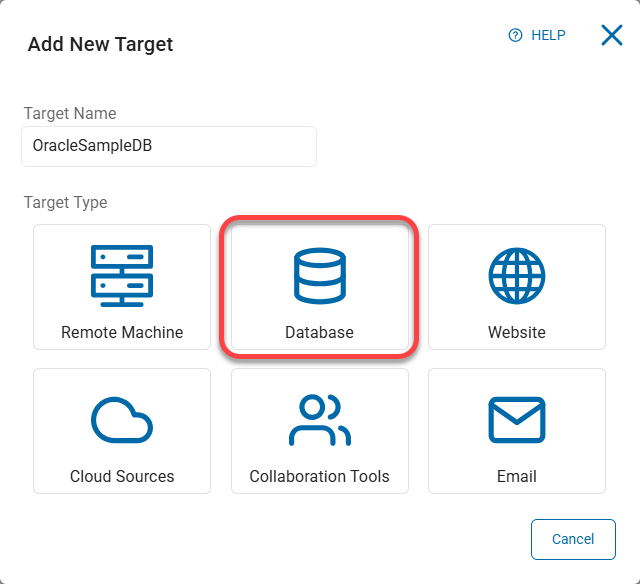
- Then select Add Target.
- Enter a Target name that makes sense to your organization.
- Then select Database.
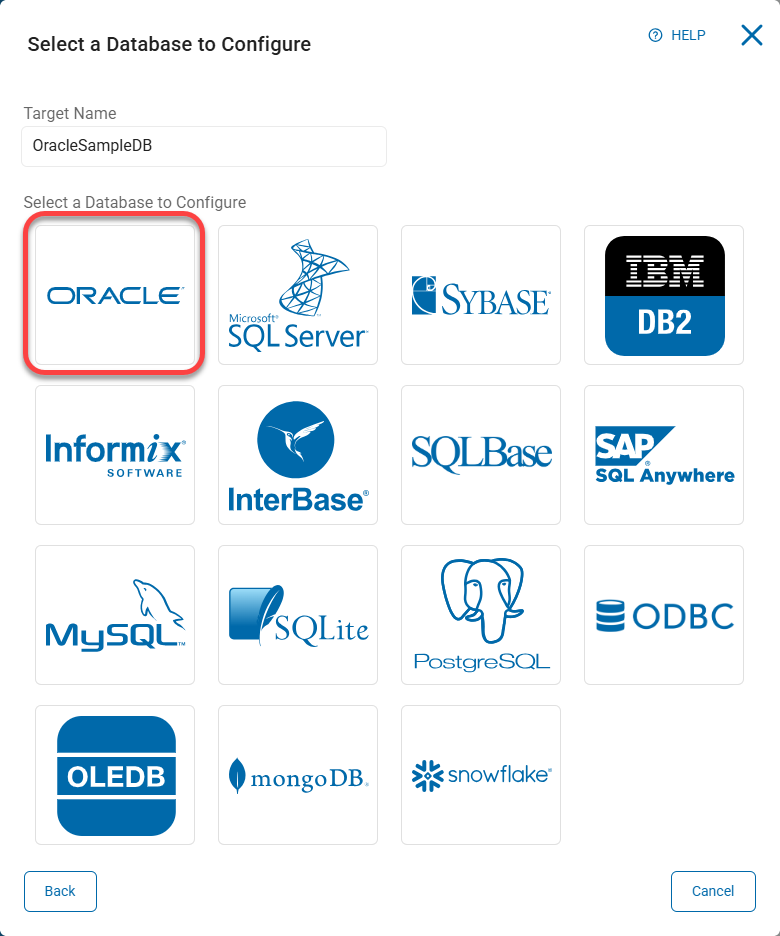
- Now select the Oracle button.
- Paste the connection string we generated in the Spirion Agent in step 10 and then click Save.
- The Oracle Database Server is now configured to be scanned by Spirion.