How to Add a Remote Machine Target
This topic describes how to add a remote machine Target by address, such as NETBIOS Name, IP Address, IP Wildcard, IP Range, or FQDN.
How to Add a Remote Machine Target
Use the following steps to add a new Remote Machine Target:
- From the left side navigation menu select Data Asset Inventory > Data Assets and Targets.
- The "Data Assets and Targets" page opens.
- Select the TARGETS tab in the top left part of the page.
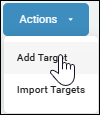
- In the upper right corner of the page, click the blue Actions button and select "Add Target" from the drop-down menu.
- The "Add New Target" pop-up window opens.
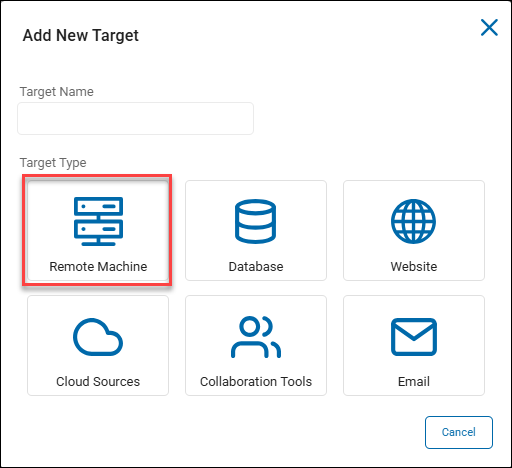
- Enter the name of the Remote Machine Target in the "Target Name" field. Make the name descriptive by including identifiers such as the remote machine name, address type, hostname, location, department, status, and/or date.
- Under Target Type, click the Remote Machine tile to proceed or the Cancel button to discard.
- Enter the name of the Remote Machine Target in the "Target Name" field. Make the name descriptive by including identifiers such as the remote machine name, address type, hostname, location, department, status, and/or date.
- The "Add New Remote Machine Target" window opens.
- Address Type: Click an option from the drop-down list:
- NETBIOS Name
- IP Address
- IP Wildcard
- IP Range
- FQDN
- Address: Enter the address of your chosen address type.
- Refer to the address syntax message that displays on the page to type the valid address values in the box.
- Username: Enter the user name associated with the account.
- Password: Enter the password associated with the user account.
- Mode: Select one of the following options:
- Authenticate
- Authenticate and Scan
- Scan
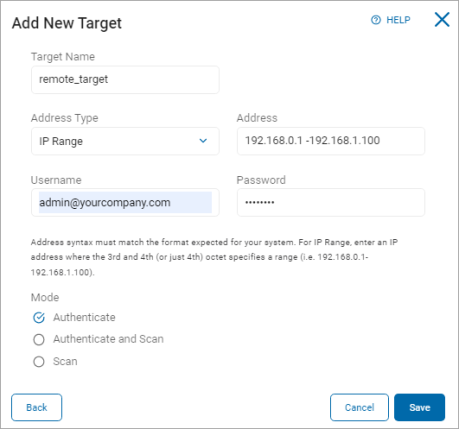
- At the bottom of the page click the blue Save button to save, Cancel button to discard, or Back button to return to the previous screen.
- The Remote Target has now been successfully added to Spirion Sensitive Data Platform.