
How to Use Certificates to Authenticate with SharePoint Online
Before You Start
Note that Spirion is capable of scanning most SharePoint Online (O365) items, but there are limitations. See below.
- Spirion can scan:
- Document Libraries
- Tasks
- Calendars
- Contacts
- Spirion cannot scan:
- Templates
- Yeoman
- Add-Ins
- InfoPath Forms
- Form Libraries
- Events
- Web Parts
Overview
Spirion recommends you use certificates instead of client secrets to authenticate SharePoint Online with Spirion Sensitive Data Platform, as many APIs no longer accept client secrets.
Procedure Overview
Perform the following high-level actions to use the certificate method to authenticate SharePoint Online sites in Spirion Sensitive Data Platform:
- Create Certificate Pair with PowerShell Script
- Create an Azure App Registration
- Record Application ID and Tenant ID
- Apply SharePoint API Permissions
- Create and Configure a SharePoint Online Target in Spirion Sensitive Data Platform.
How to Create a Certificate Pair using a PowerShell Script
The following PowerShell script creates self-signed certificates for use as a secret during Azure App Registration.
The files are created on the user's desktop.
Note: Replace the password -p@ssword - in the script code below with your own (and record for use later in this process).
$certname = "AzureSSCert" ## Replace {certificateName}
$DesktopPath = [Environment]::GetFolderPath("Desktop")
$cert = New-SelfSignedCertificate -Subject "CN=$certname" -CertStoreLocation "Cert:\CurrentUser\My" -KeyExportPolicy Exportable -KeySpec Signature -KeyLength 2048 -KeyAlgorithm RSA -HashAlgorithm SHA256
Export-Certificate -Cert $cert -FilePath "$($desktoppath)\$certname.cer" ## Specify your preferred location
$mypwd = ConvertTo-SecureString -String "p@ssword" -Force -AsPlainText ## Replace {myPassword}
Export-PfxCertificate -Cert $cert -FilePath "$($desktoppath)\SDPSScert.pfx" -Password $mypwd ## Specify your preferred location
How to Create an Azure Application Registration
Use the following steps to create an Azure application registration:
- Navigate to the Azure Portal and sign-in.
- From Azure Services, on the left side menu, expand the "Manage" section and select App registrations.
- Click the + New registration link at the top of the page.
- This generates an application (client) ID to use as the Identity Provider ID when you create a SharePoint Target in Spirion Sensitive Data Platform console.
- This generates an application (client) ID to use as the Identity Provider ID when you create a SharePoint Target in Spirion Sensitive Data Platform console.
- Click the “Add a certificate or secret” link under "Client Credentials" on the right-side of the window.
- Upload the certificate file (AzureSSCert.cer in our example).

- Upload the certificate file (AzureSSCert.cer in our example).
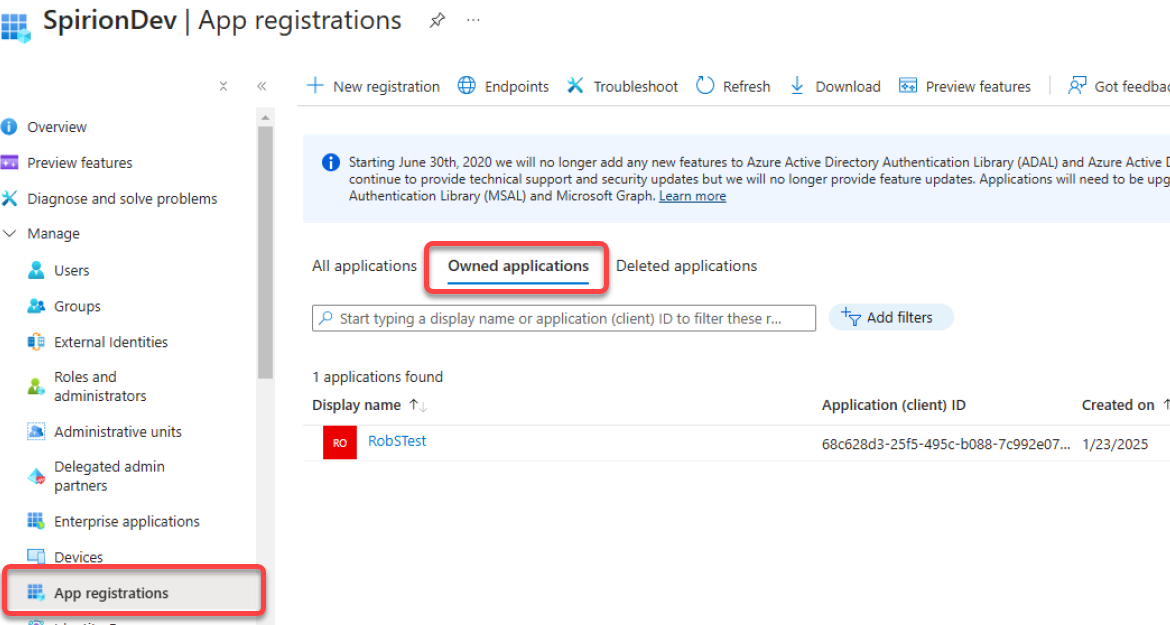
- Record the Application (client) ID and the Directory (tenant) ID from their respective fields.

- From the left side navigation menu, expand the "Manage" section and select API permissions for your new app registration.

- Select the + Add a permission link under the "Configured permissions" section.
- Add the following permission for the SharePoint API:
- Application permissions: Sites.FullControl.All
(see the image below).
- Application permissions: Sites.FullControl.All

How to Create a SharePoint Online Target in Spirion Sensitive Data Platform Console
Use the following steps to authenticate SharePoint sites in the Spirion Sensitive Data Platform console:
- Within Spirion Sensitive Data Platform, from the left side navigation menu, navigate to Data Asset Inventory > Data Assets and Targets.
- The "Data Assets and Targets" page opens.
- Select the TARGETS tab at the top of the page.
- Select the blue Actions button in the top right corner of the page and select Add Target from the sub-menu that appears.
- The "Add New Target" window opens.
- Enter the Target Name in the "Target Name" field and select Collaboration Tools in the pop-up dialog.
- Select the "SharePoint/SharePoint Online" tile.

- Enter the appropriate information in the fields below.

- Address: Enter the URL for the site you wish to scan
- Password: Enter the password used when creating the certificates
- Identity Provider ID: Enter the Application (client) ID
- Tenant: Enter the Directory (tenant) ID
- Certificate File: Upload your cert file (SDPSScert.pfx in our example)
- There is no need to select any SSL or TLS settings (checkboxes) as these are automatically used.
- Click the Save button at the bottom of the page.