How to Customize Scan Result Table Columns
How to Customize Scan Results Table Columns
To customize scan results columns, use the following steps:
- From the left side navigation menu, select Scans > Scan Results.
- Set the desired scan results criteria and click the blue Find Scan Results button.
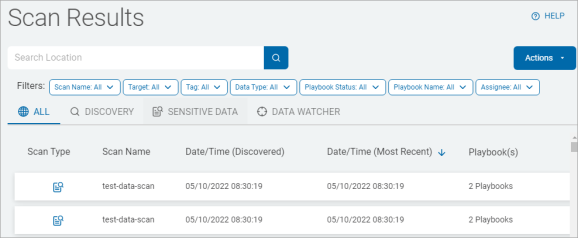
- The "Scan Results" page opens with scan results in a large table.
- In the top right of the screen, click the blue Actions button.
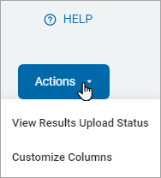
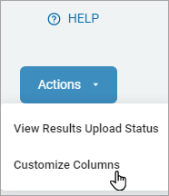
- Click Customize Columns from the drop-down list.
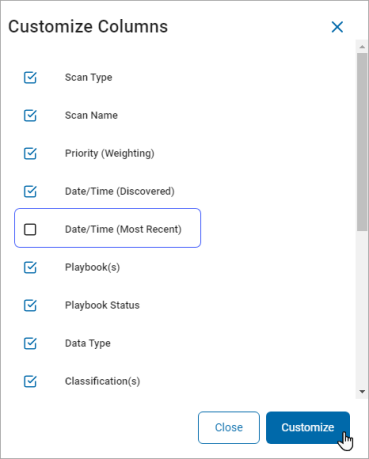
- The Customize Columns pop-up window opens.
- Select the columns to display in the Scan Results table.
- For example, if you select all the columns except Date/Time (Most Recent), it does not display in the Scan Results table.
- For example, if you select all the columns except Date/Time (Most Recent), it does not display in the Scan Results table.
- Click the blue Customize button.
- The Scan Results table displays with the selected columns.