How to Manage Your Target Tags
This topic describes how to assign a Tag to your Target for easier management.
In Spirion Sensitive Data Platform, you can assign a single Tag to multiple Targets.
Note that Agents can also act as Targets. For example, an Agent on a local workstation scanning that workstation for sensitive data is acting as a Target.
One or more Agents and/or Targets can be assigned to a Tag.
How to Assign a Tag to your Target
Use the following steps to assign one or more Tags to a Target:
- From the left side navigation menu select Data Asset Inventory.
- Next, select Data Assets and Targets from the navigation menu.
- The "Data Assets and Targets" page opens.
- Select the TARGETS tab at the top of the page.
- Locate the Tag you want from the list on the left side of the page.
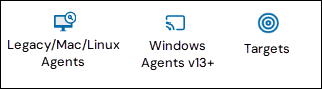
- Select All Targets to see all configured Targets in your environment. Recall, Agents, such as legacy Windows (pre-version 13.0) Agents, Mac, and Linux Agents, and current Windows Agents (version 13.5 and later) can act as Targets and are listed in the table alongside standard Targets.
- Target types in the table are visually indicated by icons:
- To create a new Tag, see How to Create a Tag
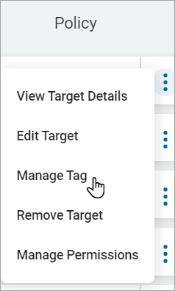
- For the desired Target, click the more options menu on the far right side of the row.
- Click Manage Tag from the sub-menu that appears.
- Select the Tag(s) to assign to the Target.
- Below are two Target examples: a legacy SQL Agent and a remote Target - Remote Target Delta.
Legacy SQL Agent Target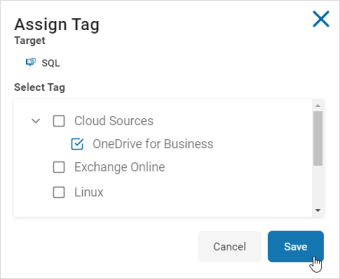
Remote Target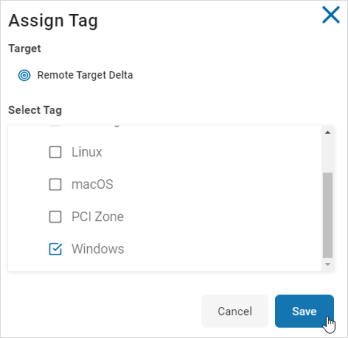
- Below are two Target examples: a legacy SQL Agent and a remote Target - Remote Target Delta.
- Click the Save button at the bottom to save changes or Cancel to discard.
- A toast message is displayed showing a successful update.