
Example Data Asset Inventory Setup
Sample Data Asset Inventory Setup
The topics below describe how to set up a Data Asset Inventory to scan a SQL server for all databases that contain credit card numbers and calculate an SDV3 score to determine their valuation, volume, vulnerability.
How to Add a New Asset to your Data Asset Inventory
Use the following steps to add a new asset to your data asset inventory:
- From the the left side navigation menu in Spirion Sensitive Data Platform, click Data Asset Inventory.
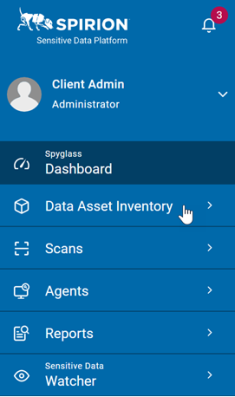
- Click Data Assets and Targets.
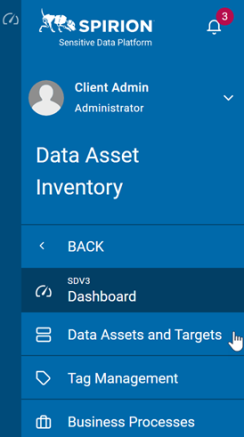
- The "Data Assets and Targets" page opens.
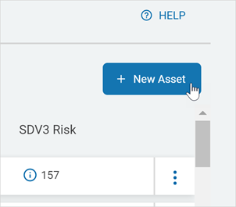
- In the top right corner click the blue + New Asset button.
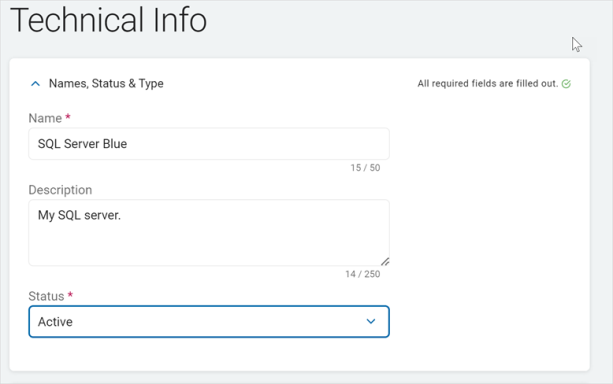
- Expand the "Name, Description & Status" section and fill in the following fields (all fields are required):
- Name: Enter the name of the Asset. For example: SQL Server Blue.
- Description: Enter a short description of the Asset that gives you an easy way to remember the Asset and its contents. For example: My SQL server.
- Status: Select an option from the drop-down list. For example: "Active"
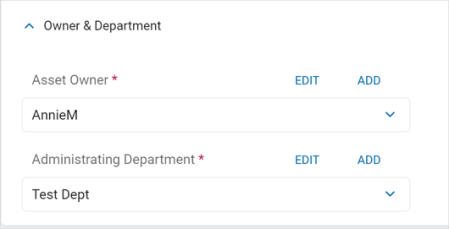
- Expand the "Owner & Department" section and fill in the following (required):
- Asset Owner: Click an option from the drop-down list or click the blue ADD link to add a new owner.
- Administering Department: Click an option from the drop-down list or click the ADD link to add a new department.
- Expand the "Hosting" section and fill in the following fields (optional):
- Hosting Provider: Enter the hosting provider name.
- System ID: Enter the System ID.
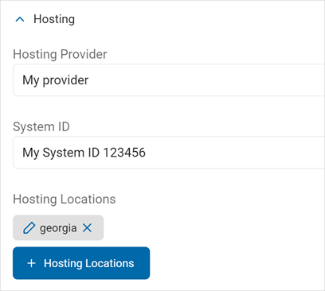
- Hosting Locations: Click the + Hosting Locations button. Next, do what of the following options:
- Search for and select an existing hosting location, then click the Add Selected button
- Click the + HOSTING LOCATIONS link to add a new location
- The "New Hosting Location" window appears.
- Fill in the fields shown with all available information.
- Only the Name field is required, but archTIS recommends you enter as much information as possible.
- Note: By creating a new Hosting Location, you are populating a global list that you can re-use in other Data Assets
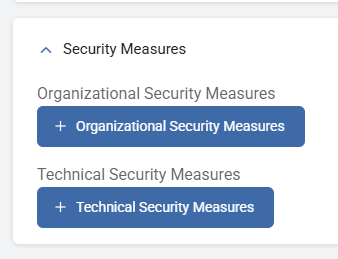
- Expand the "Security Measures" section and complete both sub-sections (both sections are required):
- Organizational Security Measures: These are policies on how to use this data that affect the overall security without a physical component. For example, a password policy or PCI training.
Peform the following steps: - Click the blue + Organization Security Measures button.
- Click the + ORGANIZATIONAL SECURITY MEASURES link.
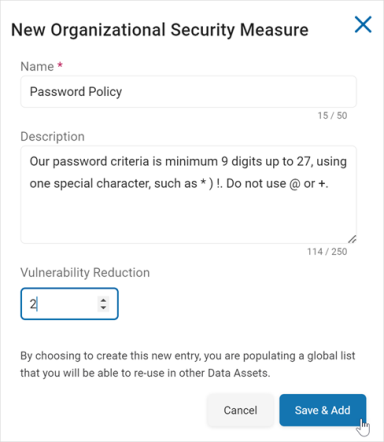
- Name: Required field. Enter a descriptive name such as Password Policy.
- Description: Enter a short description of what the policy is, such as password minimum length, special characters, restricted characters, etc.
- Vulnerability Reduction: Use the up-down number control to set a value of how much using this Security Measure reduces the vulnerability of the data. This can be valued from 1 (lowest) to 10 (highest).
- Organizational Security Measures: These are policies on how to use this data that affect the overall security without a physical component. For example, a password policy or PCI training.
- At the bottom of the dialog click the blue Save & Add button to add the new Organizational Security Measure or the Cancel button to discard.
- Locate the new Security Measure in the list and click the Add Selected button at the bottom of the window.
- Technical Security Measures: These are physical measures that reduce the vulnerability of your data. For example, firewalls, anti-virus software, malware intrusion, etc.
Do the following: - Click the + Technical Security Measures button.
- Click the + TECHNICAL SECURITY MEASURES link.
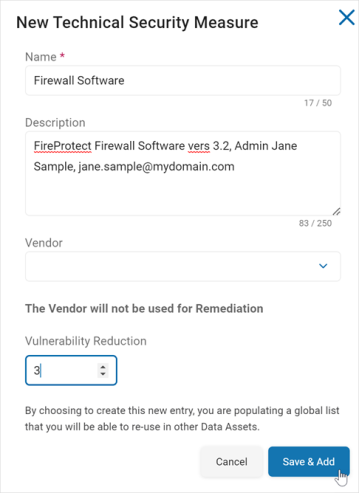
- Name: Required field. Enter a description name, such as "Firewall Software."
- Description: Optional field. Enter a short description of the measure, such as software name, admin, etc.
- Vendor: Optional field. Select the vendor name from the drop-down list.
- Vulnerability Reduction: Use the up-down number control to set a value of how much using this Technical Security Measure reduces the vulnerability of the data. This can be valued from 1 (lowest) to 10 (highest).
- At the bottom of the window click the Save & Add button to add the Technical Security Measure or the Cancel button to discard and start over.
- Locate the new Technical Security Measure in the list and click the Add Selected button at the bottom of the dialog.
- Click the Next button.
How to Associate a Target with Your Asset
Use the following steps to associate a Target with an Asset:
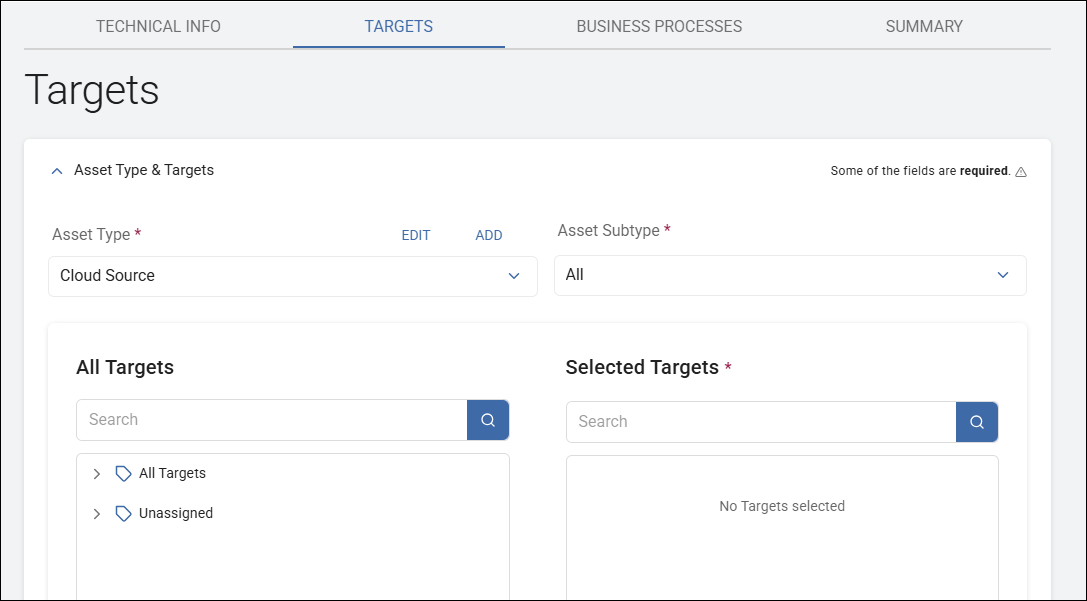
- On the TARGETS tab, select the following:
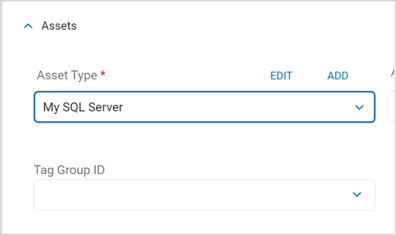
- Asset Type (required): Choose the asset type from the drop-down list. For example: My SQL Server.
- Asset Subtype (optional): Choose the subtype from the drop-down list.
- Tag Group ID (optional): Choose the ID from the drop-down list.
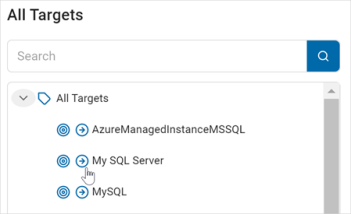
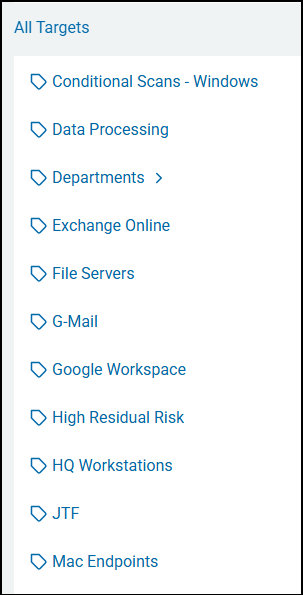
- In the All Targets section, select your new Target. You can search for Targets by name or locate the Target manually by browsing the All Targets section.
- Click the circular right-pointing arrow icon to add a Target from the list to the Selected Targets section.
- You can click the circular left arrow of a Target in the Selected Targets section to remove the Target.
- Click the Next button.
How to Add Data Content
If you need to add new data content, use the following steps:
- On the TARGETS tab, do the following:
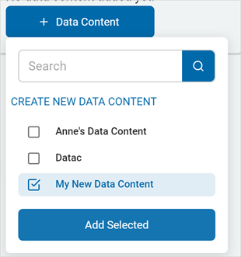
- Click +Data Content.
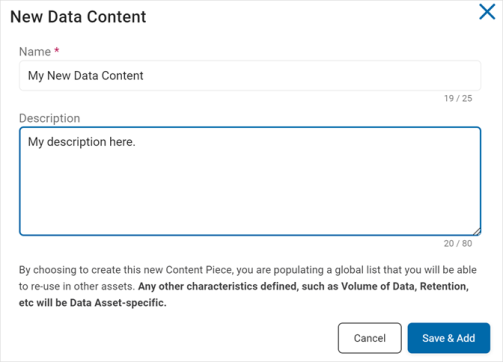
- Click Create New Data Content.
- Name: Enter the name of the content. For example: My New Data Content.
- Description: Enter a short description.
- Click Save & Add to add or Cancel to discard and start over.
- Select the new content from the list and click Add Selected.
- Click Next.
Add a Business Process
On the BUSINESS PROCESSES tab, you can add a business process that you have set up. This is optional.
Procedure:
- Click the blue Business Processes button.
- Select a business process from the list.
- Click the Attached Selected button.
- Click the Next button.
Review Your Asset
On the SUMMARY tab, you can review all your information and you can decide whether you have met all the required data fields.
Perform the following steps:
- Review each section for accuracy.
- Ensure all required fields are filled out.
- Click the Finish & Save button to save your Asset.
How to Add a New Target to Scan
If you need to add a new Target, use the following steps.
- From the left side navigation menu, select Data Assets and Targets.
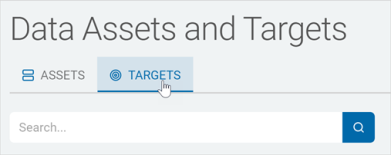
- The Data Assets and Targets page opens.
- On the Data Assets and Targets page, click the TARGETS tab.
- In the top right corner click the blue Actions button and select "Add Target" from the drop-down list.
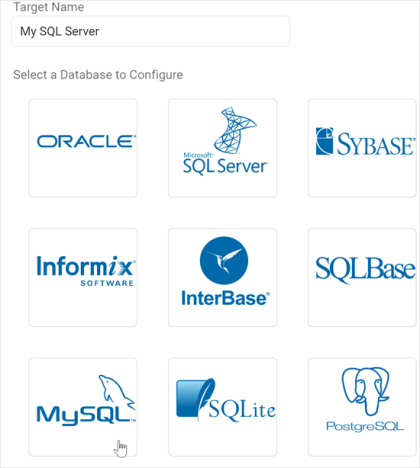
- Target Name: Enter a descriptive Target name. Later, you may search for your Target by name. Your name might include the operating system - "WIN" for Windows, or Target type such as "SharePoint," or "File Share," or "Confluence." Also consider including terms indicating scan type ("local" or "remote") and/or Location type ("Custom" for custom folder list scans). Some users append the date the scan was first created ("_25Nov"). Tags are used to organize Targets into easy to manage collections. See the example list of Tags below.
- Target Type: In this example we select a database. Click the Database tile.

- Target Name: Enter a descriptive Target name. Later, you may search for your Target by name. Your name might include the operating system - "WIN" for Windows, or Target type such as "SharePoint," or "File Share," or "Confluence." Also consider including terms indicating scan type ("local" or "remote") and/or Location type ("Custom" for custom folder list scans). Some users append the date the scan was first created ("_25Nov"). Tags are used to organize Targets into easy to manage collections. See the example list of Tags below.
- Click a database to configure. For example: SQL Server
- The "Add New {Database Type} Database Target" dialog opens.
- In the Connection String field enter the connection string needed to connect to the database. Use the sample connection string below. Also see How to Test and Configure Database Connection Strings.
- Sample connection string:
Provider=MySQLProvider;DB Name=mysqlserverLarge;Server=10.0.1.99;Port=9999;Username=userJohn;Password=JohnsPassword;DB Type=9;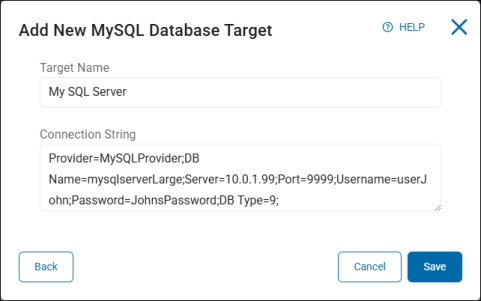
- Sample connection string:
- Click the Save button to add the database Target or the Cancel button to discard it.
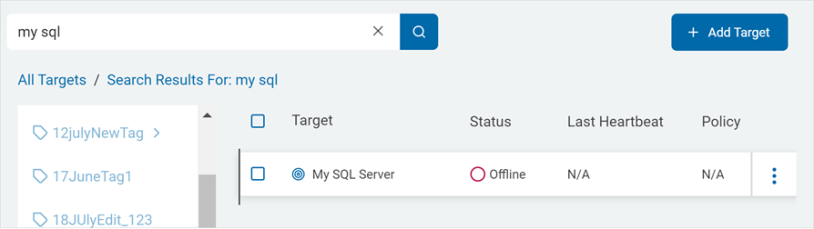
- Select the All Targets tag in the list of tags on the left side of the page. Search for your Target by name, status, last heartbeat, policy, version or SDV3 Risk. ArchTIS recommends searching by name. Note that partial name search is supported. No asterisk is required when performing a partial name search.
How to Create and Run a New Scan
- Use the steps in How to Create a New Sensitive Data Scan to create a scan using the Asset and Targets you have just created.
- [This is where the specific parameters of the credit card scan will go].
Run the new scan:
- From the left side navigation, select Scans > All Scans.
- The Scans page opens.
- The ALL SCANS tab opens by default.
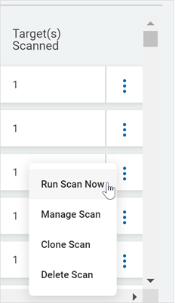
- From the scans table locate your new scan and perform the following actions:
- On the same line as your scan click the more options menu (3 veritcal dots) at the far right, and select Run Scan Now from the sub-menu.
- If the scan completes successfully it displays the text "Done, View Results" in the Status column.
- If a scan doesn’t complete successfully, perform the following steps:
- Check the scan’s status in the console to see whether it’s been delayed (for example, by temporary console downtime during an upgrade) or if there’s a connection issue between the scanning agent and the console.
- In many cases, if an agent stops mid-scan it automatically resumes when it reconnects; note that Spirion Agents only retry connection attempts for a limited time, which might cause the scan to be interrupted or delayed.
- On the same line as your scan click the more options menu (3 veritcal dots) at the far right, and select Run Scan Now from the sub-menu.
Review SDV3 Scores
When you new scan is complete, the data points are displayed in your SDV3 dashboard.