
How to Use Notifications Settings
This topic describes the various options under the Notifications section of the Scans Settings page in Spirion Sensitive Data Platform.
Overview
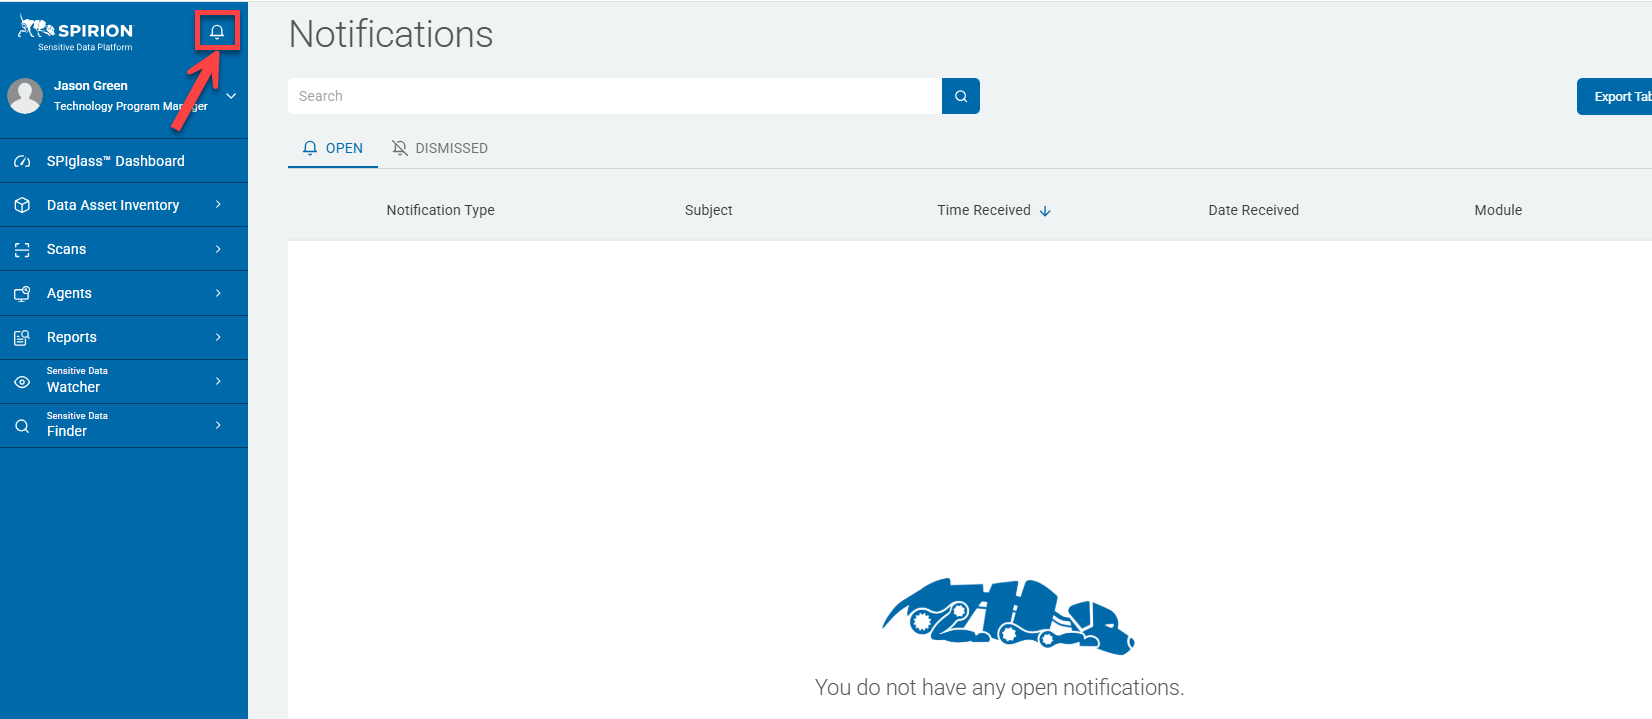
- Users are alerted to notifications by the bell icon in the blue navigation menu at left.
- The number of new notifications is shown in a red circle next to the bell icon:
- Clicking the bell icon opens the Notifications page, shown below.

- Notification Settings are located within Spirion Sensitive Data Platform under Settings > Scans Settings > Notifications section.
How to Use Notification Settings
Use the following steps to modify Notifications settings:
- From the left side navigation menu, click Settings > Application Settings > Scans Settings.
- The Scans Settings page opens.
- Click the down arrow next to the "Notifications" section to expand the section.
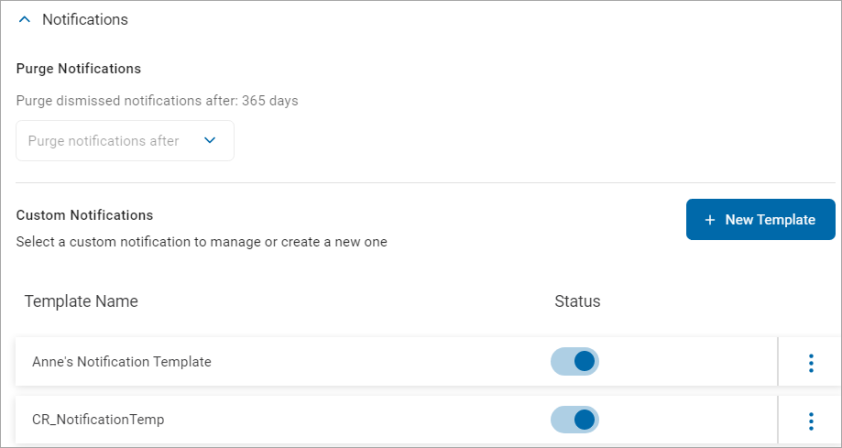
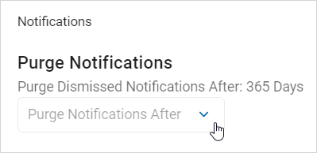
- In the Purge Notifications section, select an option from the "Purge Dismissed Notification After" drop-down list.
- Select one of the following options: 365 days, 180 days, 90 days, 60 days, 30 days

- Select one of the following options: 365 days, 180 days, 90 days, 60 days, 30 days
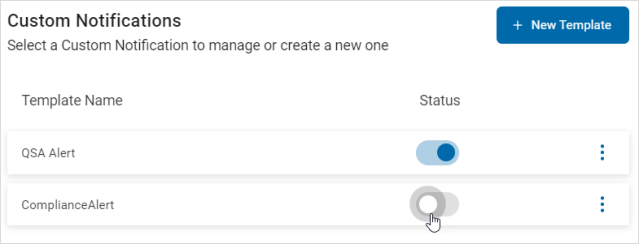
- In the Custom Notification section, you can manage existing custom notifications or create new ones.
How to Modify or Delete a Custom Notification Template
To manage custom notifications, use the following steps:
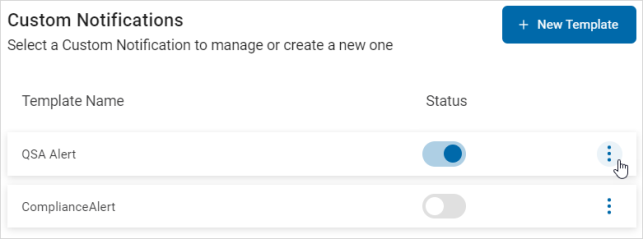
- Locate a template in the list.
- Use the toggle to change the deployed status.
- To manage a template, click the more options menu.
- Click Manage from the menu.
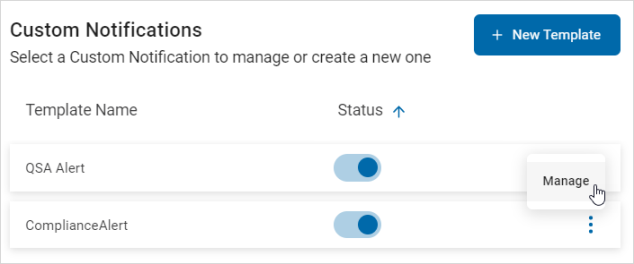
- The Manage Custom Notification pop-up window appears.
- Make any updates in this window.
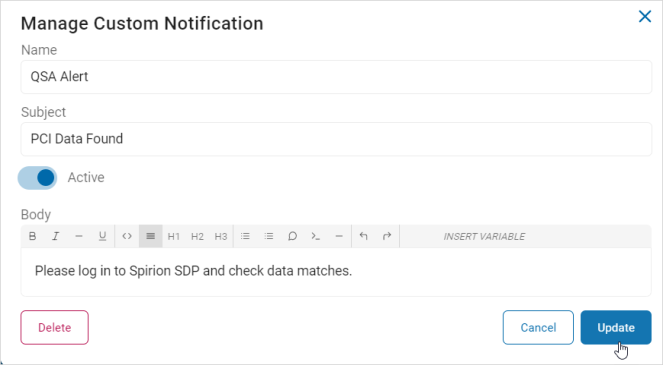
- Click the Update button to save updates, Cancel to discard updates, or Delete to delete the template.
Note: If you click the Delete button, it immediately deletes the template. There is no undo feature.
How to Create a New Custom Notification Template
Use the following steps to create a new custom notification template:
- In the Custom Notifications section, click the blue "+ New Template" button.

- In the Create Custom Notification pop-up window, fill in the following:
- Name: Enter the template name.
- Subject: Enter a description of the template subject.
- Active: Use the toggle to change the Active status.
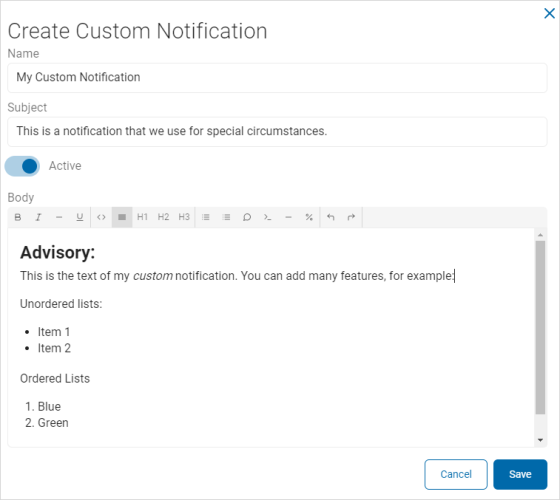
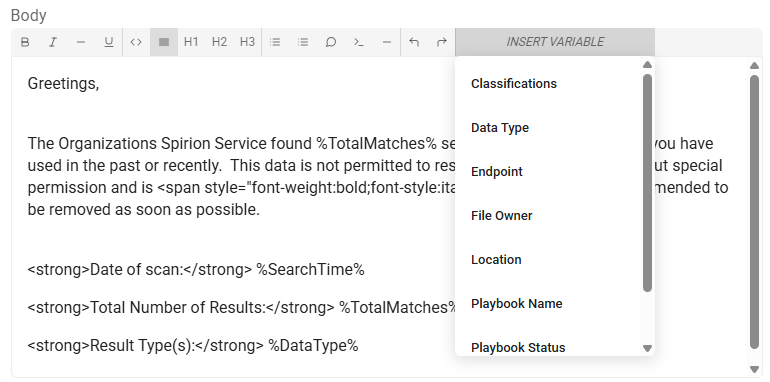
- Body: Use the text editor to compose the body of the template.
- Use the toolbar to format the text and paragraphs
- Insert code and variables as desired.
- Available variables include: Classifications, Data Type, Endpoint, File Owner, Location, Playbook Name, Playbook Status, and Scan Name
- Click Save to save the template or Cancel to discard.
Custom Notification Template Example
In the example below
