
How to Schedule a Scan
This topic describes how to schedule a scan using a scan date, time, and recurrence using the options provided on the "Select the scan schedule" screen.
Overview
When creating a new scan or modifying an existing scan, you have the option to schedule the scan to run on a specific date and time and optionally, to repeat on an interval that you specify.
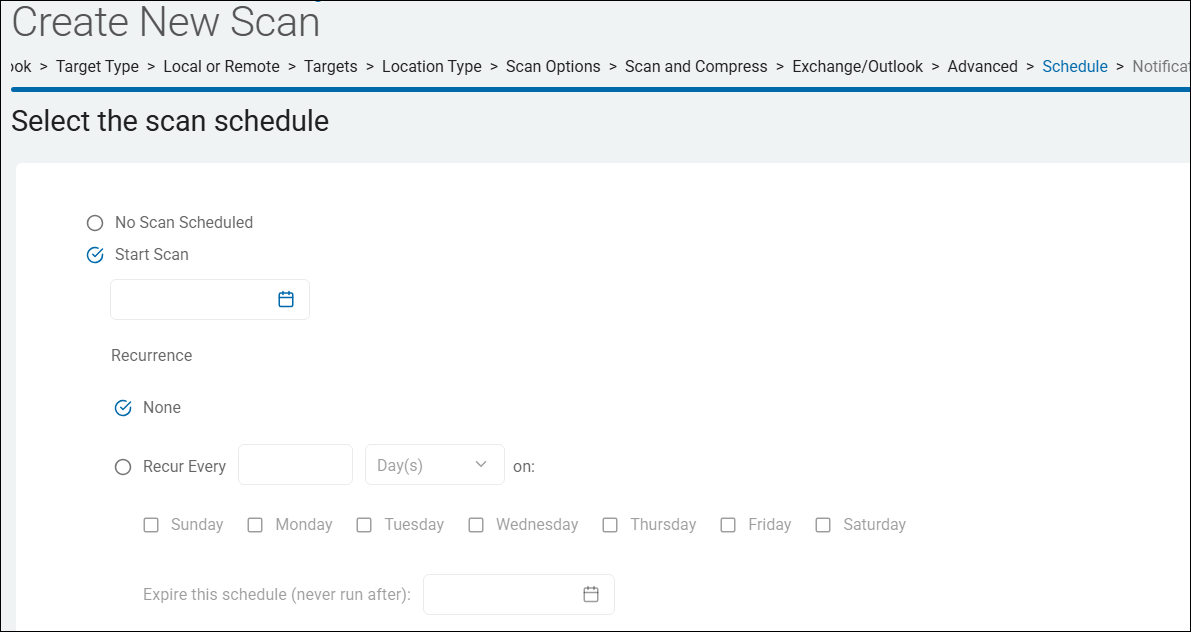
The "Select the scan schedule" screen appears after the "Select advanced options" screen and before the Notifications are set ("Select who should receive notification of scan completion" screen). See the screenshot below.
Note: Both Discovery and Sensitive Data scans can be scheduled.
How to Set the Date and Time of a Scheduled Scan
On the Select the scan schedule page of either the "Create New Scan" or "Edit Scan" (modifying an existing scan) wizard, perform the following steps:
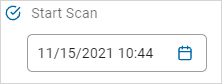
- Select the circular "Start Scan" check circle.
- To set the scan date, click inside the date/time selector:
- Spirion recommends you set the date/time in the order year > month > day > time.
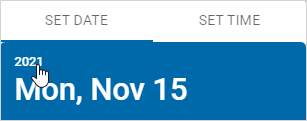
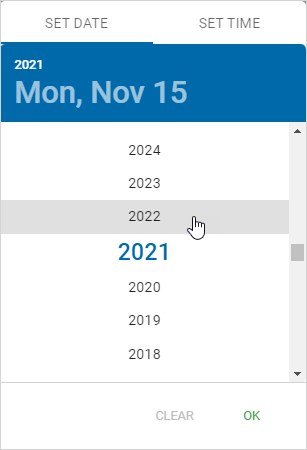
- To set a scan year:
- On the "SET DATE" tab, click the year link in the upper left corner.
- Select a year from the list. You can scroll up and down to see additional available years.
- On the "SET DATE" tab, click the year link in the upper left corner.
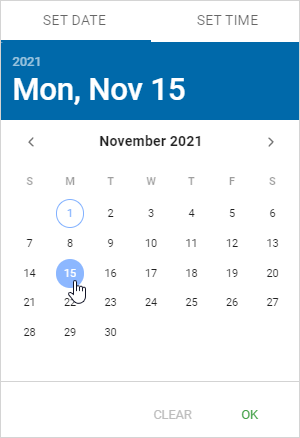
- Monthly options appear. To set the scan month:
- Click the desired month.
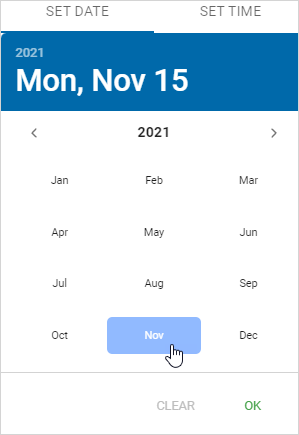
- Daily options appear. Click the day.
- Click the desired month.
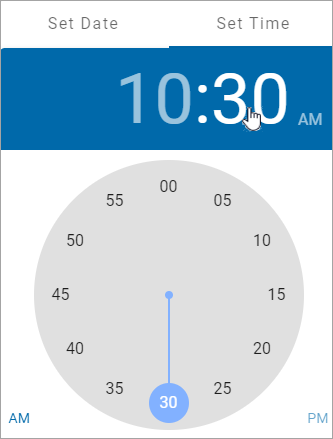
- The SET TIME tab opens. To set a scan time:
- Click the digital hour display.
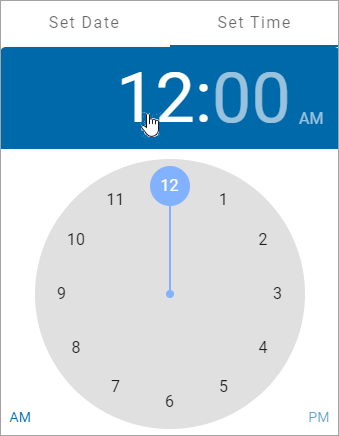
- Use your pointer to click and drag the blue circle to the hour you want on the clock face or simply click the hour number.
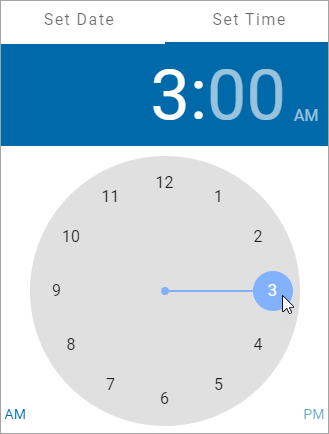
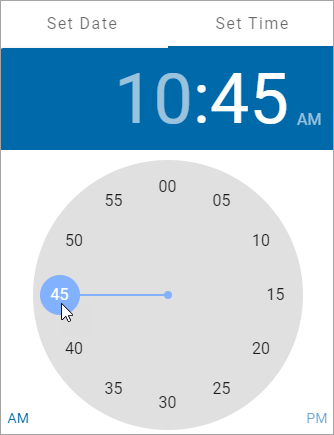
- Click the minute digital display.
- Use your pointer to click and drag the blue circle to the minutes you want on the clock face.
- Click AM or PM.
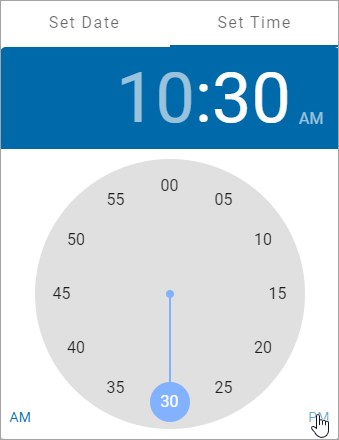
- Click OK to save or Clear to start over.
- Recurrence: Optional. Set the scan to recur by days, weeks, or months.
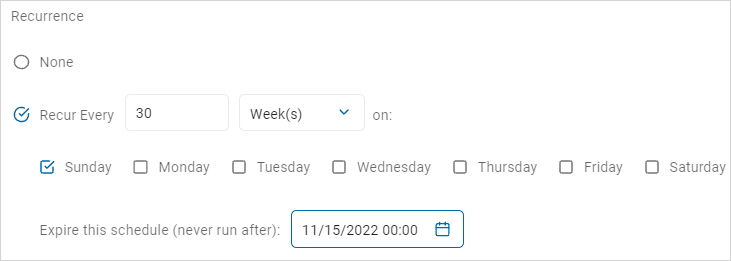
- None: Select None to run the scan at only the set date and time.
- Complete the following settings:
- Recur every: Select the check circle and select a value from the numeric up-down controller.
- Time frame: Select an option from the drop-down list.
- Day(s): Scan will run every day selected
- Week(s): Select one or more days of the week using the checkboxes next to the days.
- Month: The day and time each month is taken from the values in the "Start Scan" field.
- Expire this schedule (never run after): Use the date/time selector to chose an expiration date and time.
- Click the digital hour display.
- At the bottom of the page click the blue Next button to proceed, Previous button to return to the previous screen, or Exit Without Saving button to discard.