
How to Use Filters to Find Scan Results
This topic describes how to use the Filter feature to find Scan Results based on specific criteria.
Overview
The filters available in Spirion Sensitive Data Platform on the "Scan Results" page provide a very powerful way of examining your scan results.
Use what you know when filtering scan results - the scan name, the date/time when the scan was most recently run, scan playbook status, Target being scanned, etc.
Note: You can filter by more than one attribute. That is, multiple different filters (Scan Name and Data Type), or multiple instances of the same filter type (for example, filter for both Confluence and GiHub Targets). Note that adding multiple filters can extend the wait time for search results.
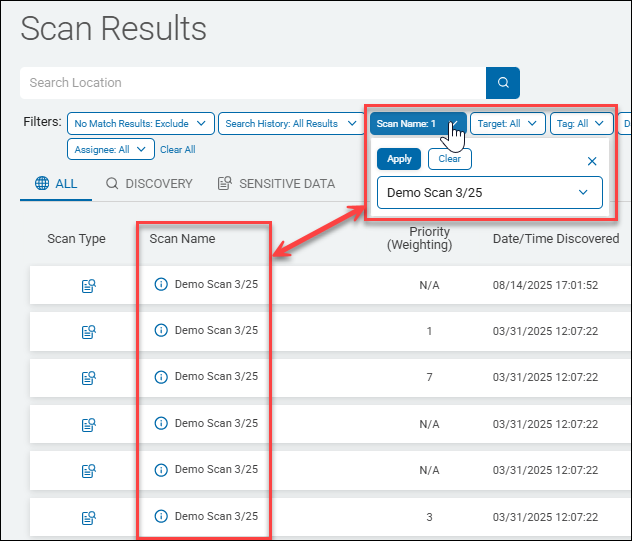
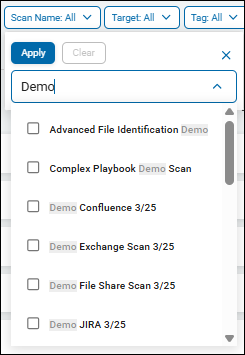
Filter Scan Results by Scan Name Example
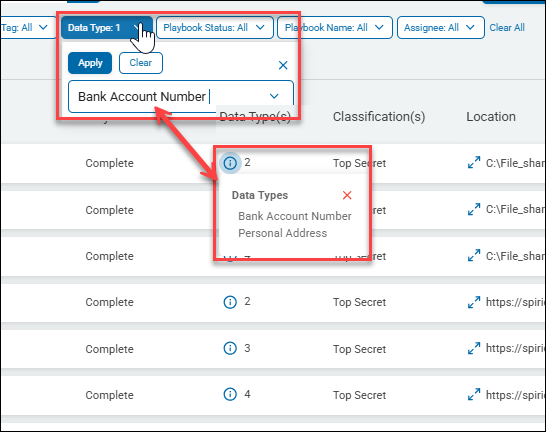
Filter Scan Results by Date Type Example
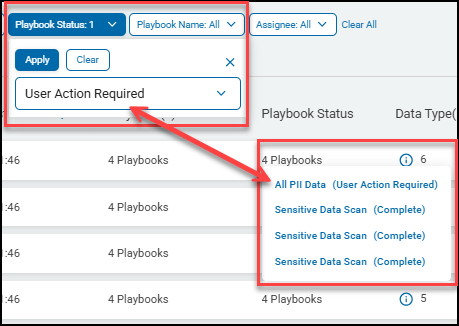
Filter Scan Results by Scan Playbook Status Example
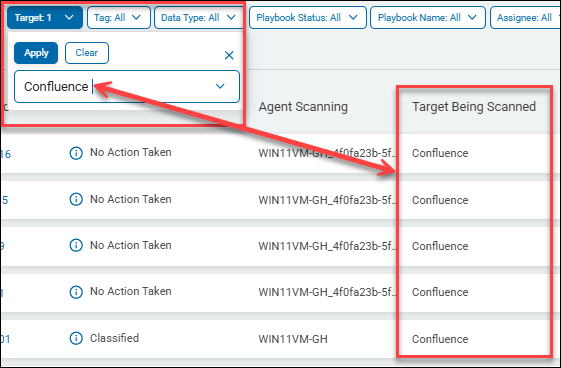
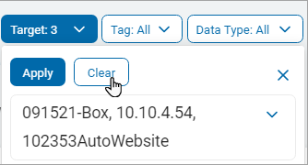
Filter Scan Results by Target Example
Scan Names: Instant Filtering
You do not need to know the exact term or name of what you are filtering for.
- Filter data is indexed
- As you enter text into a filter field, options are instantly filtered by the entered text
- This enables you to find a Playbook, by name, for example, by entering only a portion of the playbook name
How to Use Filters to Find Scan Results
Use the following instructions to filter Scan Results based on specific criteria:
- From the left side navigation menu select Scans > Scan Results.
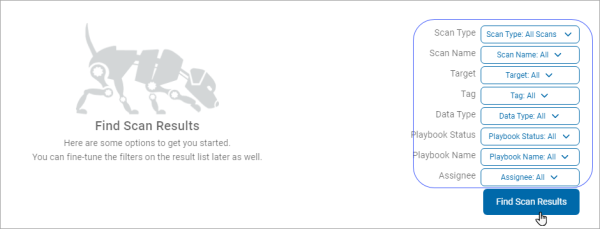
- The Find Scan Results screen opens.
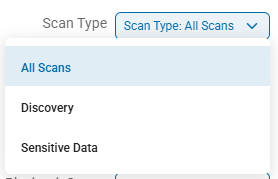
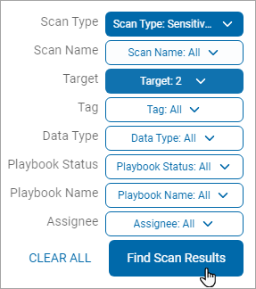
- From the top drop-down list, select a Scan Type.
- All Scans - Both Discovery and Sensitive Data scans
- Discovery - Scan for locations which contain sensitive data (metadata only)
- Sensitive Data - Scan identified locations for sensitive data (social security numbers, credit card numbers, phone numbers, addresses, IMEI, etc.)
- For the below selection criteria, select one or more items from the drop-down list.
- Scan Name - Name of the scan(s) to include in scan results
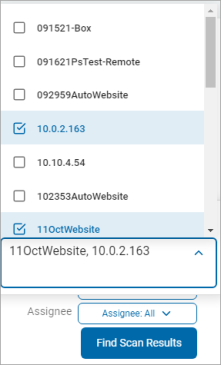
- Target - Name of the Target(s) to include in scan results
- Tag - Name of the Tag(s) (collection of Assets/Targets or Agents) to include in scan results
- Data Type - Type of sensitive data to include in scan results. Example: social security numbers, credit card numbers, SIN, etc.
- Playbook Status - Status of the playbook to include in scan results, such as complete, user action required (such as manual input needed), user intervention required (such as file cannot be redacted, action failed), etc.
- Playbook Name - Name of the playbook(s) to include in scan results.
- Assignee - Any sensitive data discovered by the scan that match the criteria in the playbook are assigned to the role or user (email address) specified here. This user then applies remediation action to the data such as quarantine, shred, restrict access, etc.. See Assign.
- Playbook name - In this case, multiple playbooks are selected.
- Click the blue Apply button to apply the filter.
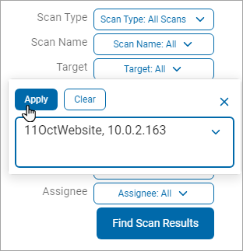
- Click the Clear button and then click the Apply button to remove the filter.
Note: You can add multiple filters.
However, adding multiple filters can extend the wait time for the search results. - Click the white CLEAR ALL button to clear all the filters. Else, click the blue Find Scan Results button.
- The "Scan Results" screen appears.
- In the upper left of the screen, go to the Filters section
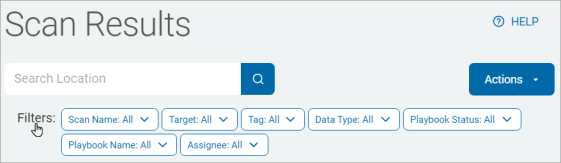
- You can filter by one or more of the following selection criteria:
- Scan Name - Name of scan
- Target - Name of Target
- Tag - Name of Tag
- Data Type - Type of data, such as:
- Date of birth, Social Security number, SIN, IMEI, file hash, keyword, etc.
- Playbook Status - Status of playbook:
- Complete, Error, Overridden, Processing, User Action Required, User Intervention Required
- Playbook Name - Name of playbook
- Assignee - User or role assigned via playbook action. See Assign.
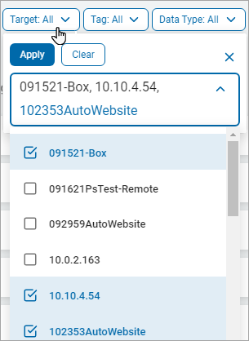
- Click the Apply button to apply the filter to the Scan Results list.

- Click the Clear button and then click the Apply button to remove the filter.
- The results are displayed in the Scan Results table.
- To remove all the set filters click the white CLEAR ALL button at the bottom of the page.
Note: You can add multiple filters. However, adding multiple filters can extend the wait time for the search results.