How to Manage Business Processes
Overview
The "Business Processes" page in Spirion Sensitive Data Platform is where you view and manage your business processes.
It's important to remember Business Processes contain the following:
- The Business Process purpose
- Who is owns the Business Process
- How the Business Process is defined
- How the data is controlled in the Business Process
- How the data flows throughout the Business Process
How to Access and View Your Business Processes
Use the following steps to acces and view your business processes:
- From the left side nagivation menu, select Data Asset Inventory > Business Processes.
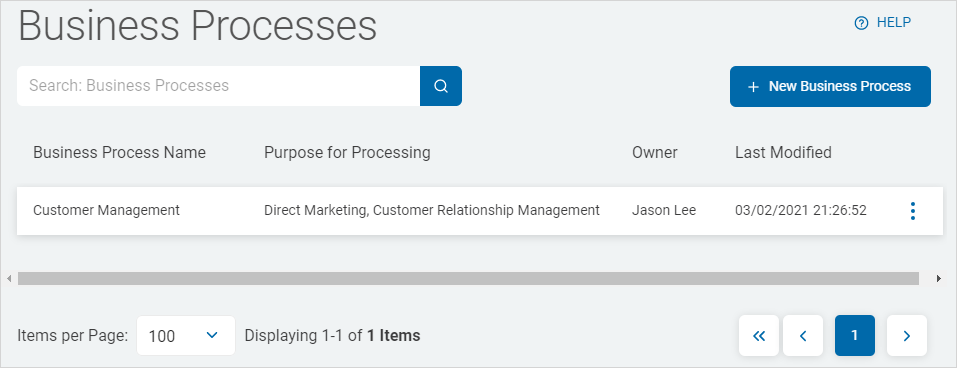
- The Business Processes page opens.
- Business Processes are displayed in a table sorted by the following categories:
- Business Process Name
- Purpose for Processing
- Owner
- Last Modified
- More options
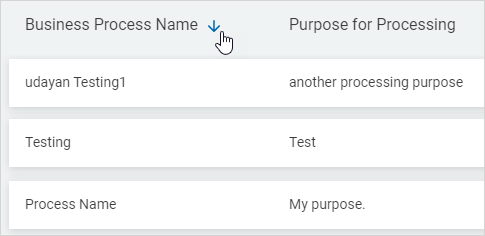
- Click a column in the table to sort ascending.
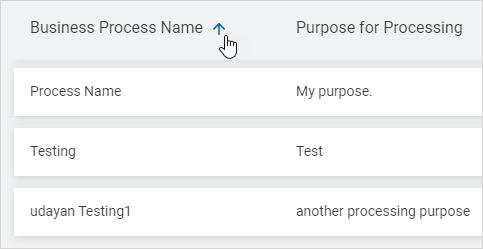
- Click the column in the table again to sort descending.
How to Search for a Business Process
You can search for business processes by the following attributes:
- Business Process Name
- Purpose for Processing
- (Business Process) Owner
Use the following steps to search for a business process:
- From the left side nagivation menu, select Data Asset Inventory > Business Processes.
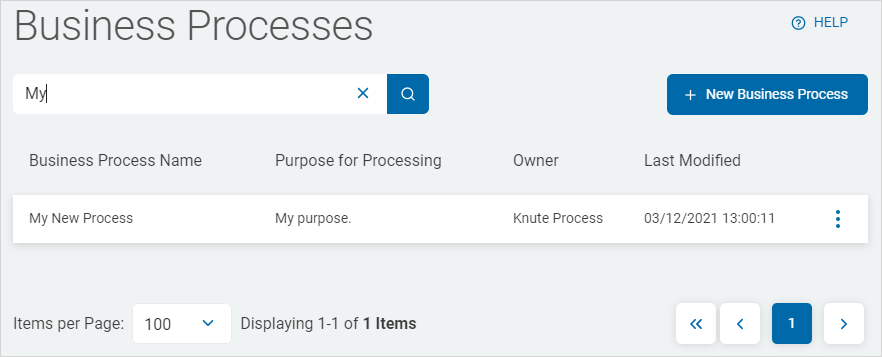
- The Business Processes page opens.
- Enter the query in the search box and the results are filtered and displayed in the list below.
- Click the x in the search field to clear the search term.
How to Add a New Business Process
To add a new Business Process use the following steps:
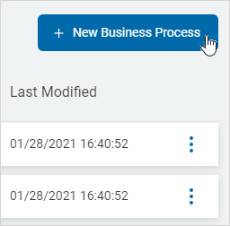
- In the top right corner of the screen, click the + New Business Process button.
- Note: Items marked with a red asterisk (*) are required.
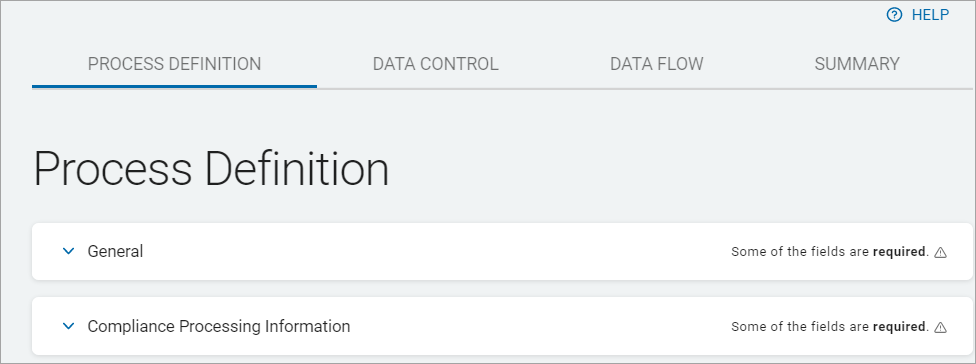
Process Definition
The "Process Definition" tab is divided into the following two sections:
- General
- Compliance Processing Information
- In a tab section, click a right arrow to expand a section or a left arrow to collapse a section.
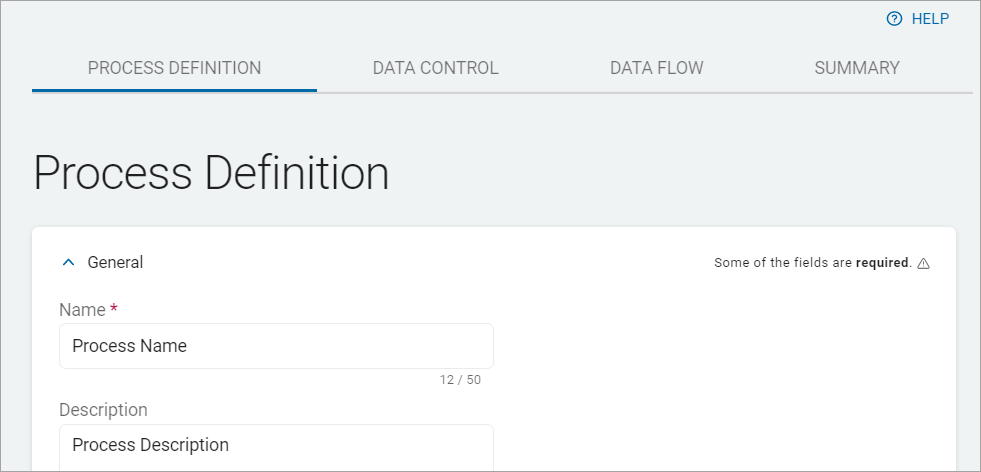
How to Add a General Process Definition
To add a General Process Definition, complete the following fields:
- Name: Process name (maximum 50 characters)
- Description: Process description (maximum 50 characters)
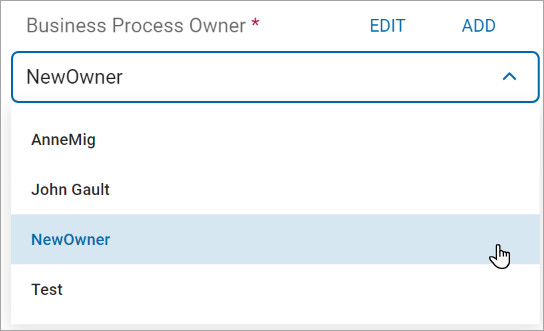
- Business Process Owner: Do one of the following:
- Add an existing owner:
- Click the down arrow (
 ) to view the drop-down list.
- Click the down arrow (
- Click an option from the drop-down list.
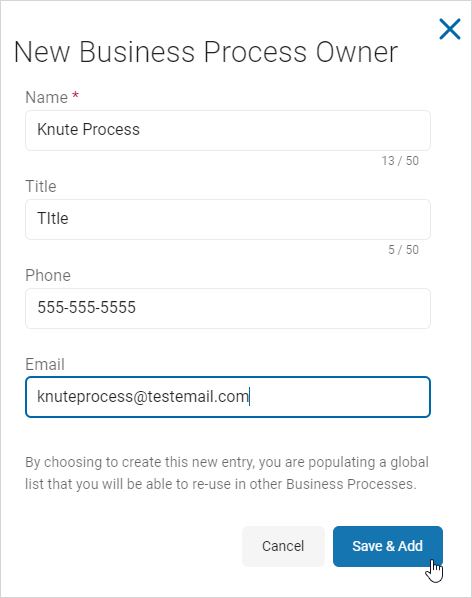
- Add a new Business Process Owner:
- Click Add.

- Name: Type the process name. (maximum 50 characters)
- Title: Type the process title. (maximum 50 characters)
- Phone: Type the phone number.
- Email: Type the email address.
- Click Add.
- Click the Save & Add button to create or the Cancel button to discard.
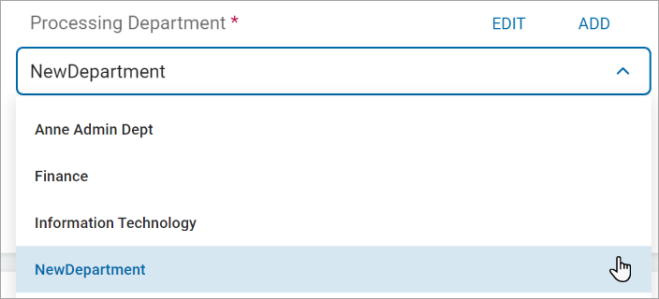
- Processing Department: Do one of the following:
- Add an existing Processing Department:
- Click the down arrow to view the drop-down list.

- Click an option from the drop-down list.
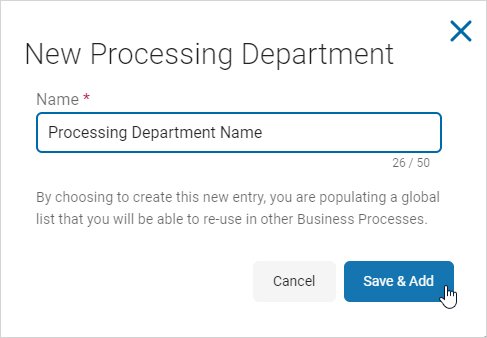
- Create a new Processing Department:
- Click Create New Processing Department.

- In the Name box, type the new processing department name.
- Click Create New Processing Department.
- Click Save & Add to create or Cancel to discard.
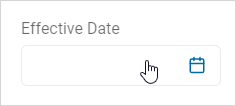
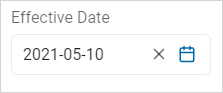
- Effective Date: Click the Effective Date box to activate it.
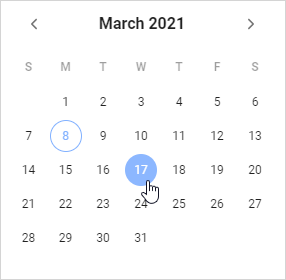
- Change the Day of the Current Month: Click a different day of the current month.
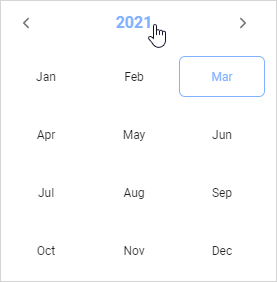
- Change the Month:
- Click the Effective Date box.
- Click a different month.
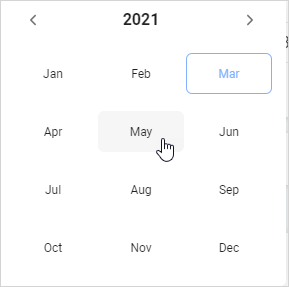
- Click the Effective Date box again to choose the day.
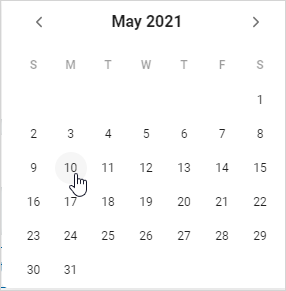
- Click the Effective Date box.
- The date is displayed in the Effective Date box.
- Change Year:
- Click the Effective Date box.
- Click the year link.
- Click a year from the list.
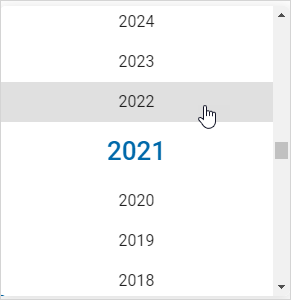
- Click the Effective Date box.
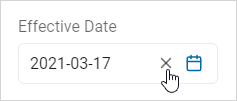
- Reset: To reset the date, click the x.
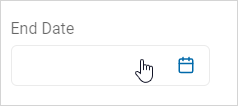
- End Date: Click the End Date box to activate it.
- Change the Day of the Current Month: Click a different day of the current month.
- Change the Day of the Current Month: Click a different day of the current month.
- Change the Month:
- Click the End Date box.
- Click a different month.
- Click the End Date box.
- Click the End Date box again to choose the day.
- Change Year:
- Click the End Date box.
- Click the year link.
- Click a year from the list.
- Click the End Date box.
- Reset: To reset the date, click the x.
Compliance Processing Information
Define compliance processing by completing the following fields:
- Does this process use personal information: Select one:
- Yes
- No
- Purpose for Processing: Process purpose. (maximum 250 characters)
- Report in Subject Request: Select one:
- Yes
- No
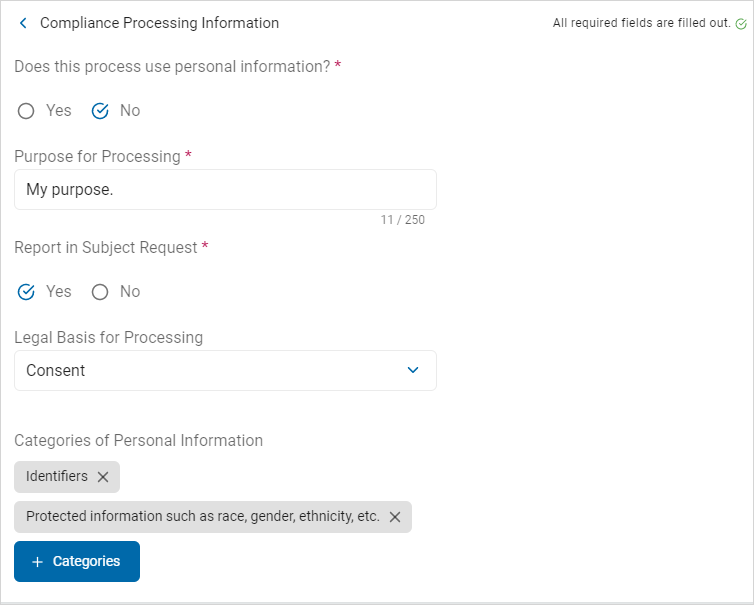
- Legal Basis for Processing: Select an option from the drop-down list.
- Categories of personal Information:
- Click the + Categories button.
- Select an option from the drop-down list.
- Click Add Selected.
- Click the Next button to proceed or Exit Without Saving button to discard.

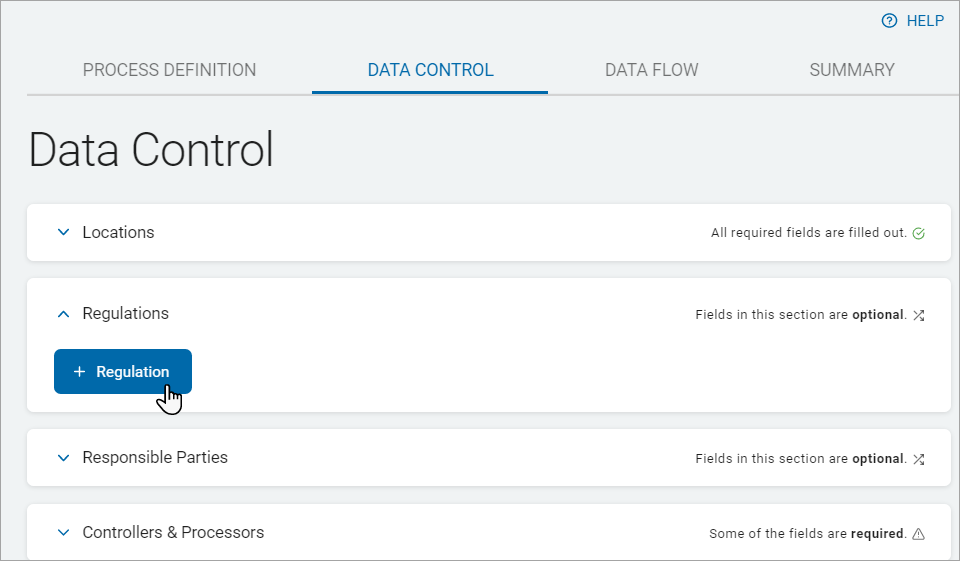
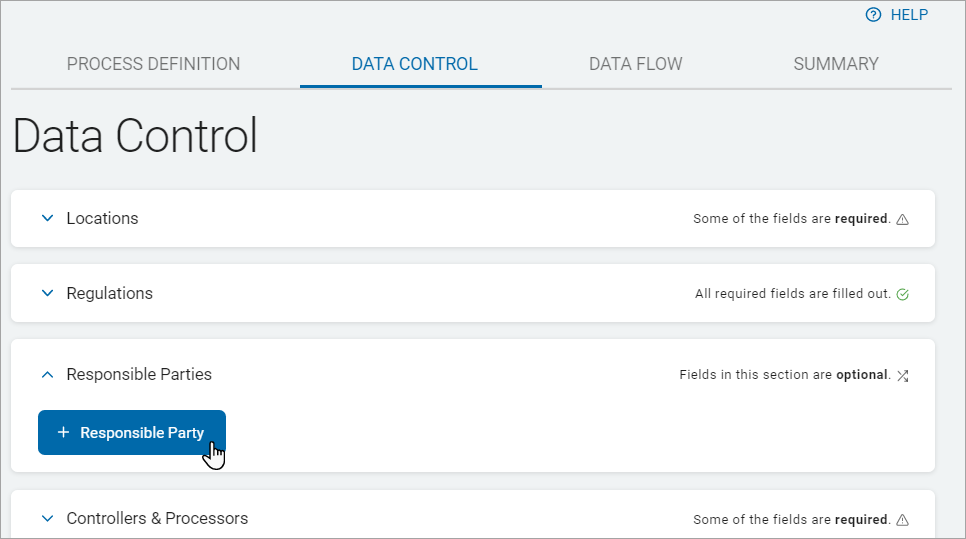
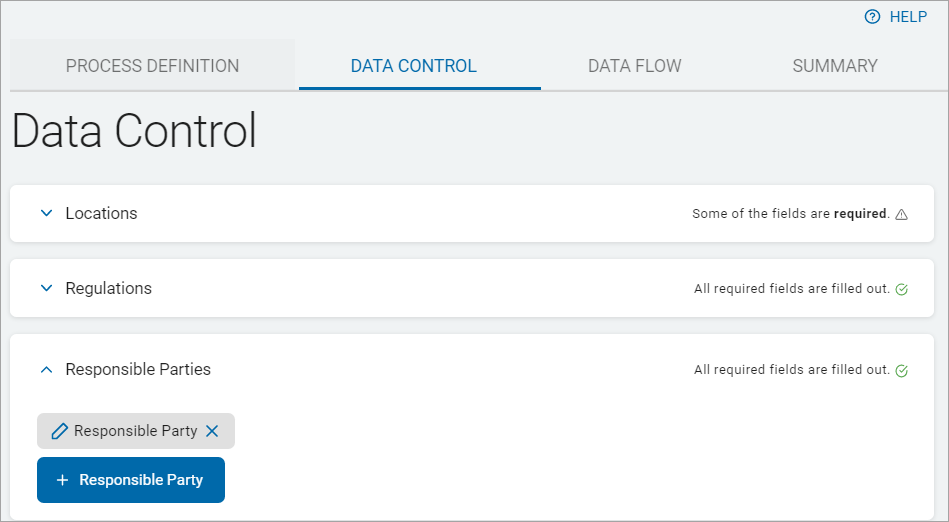
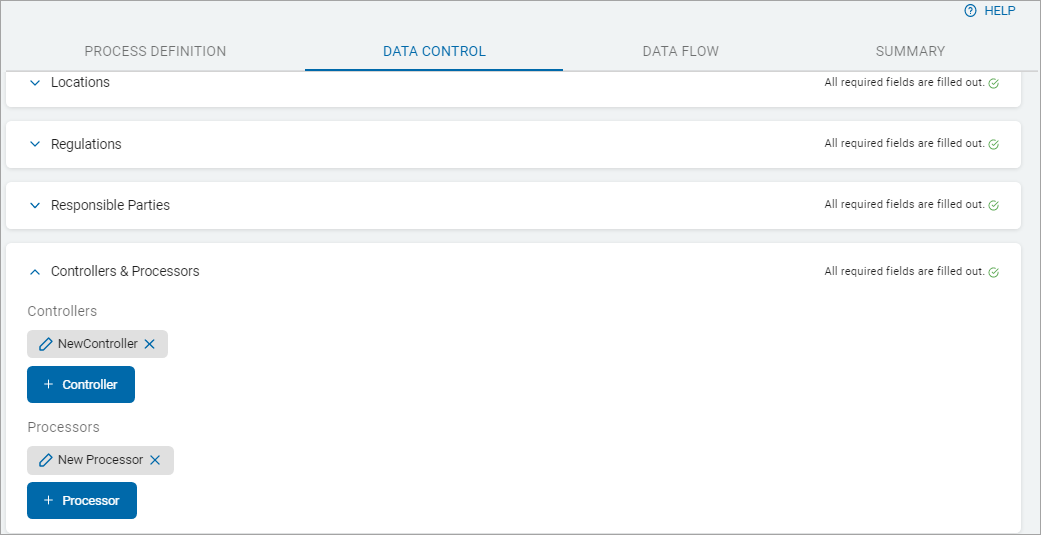
Data Control
The DATA CONTROL tab has the following four sections:
- Locations
- Regulation
- Responsible Parties
- Controllers & Processors
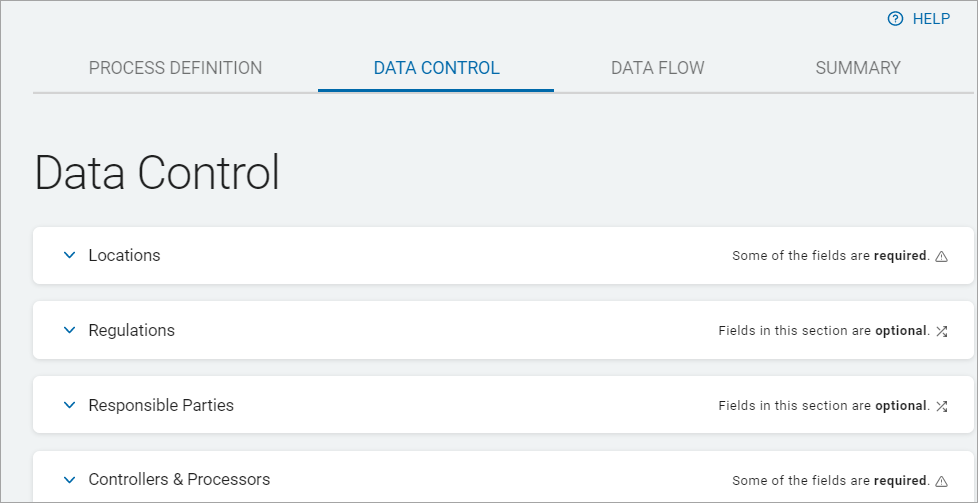
Click a down arrow to expand a section or an up arrow to collapse a section:
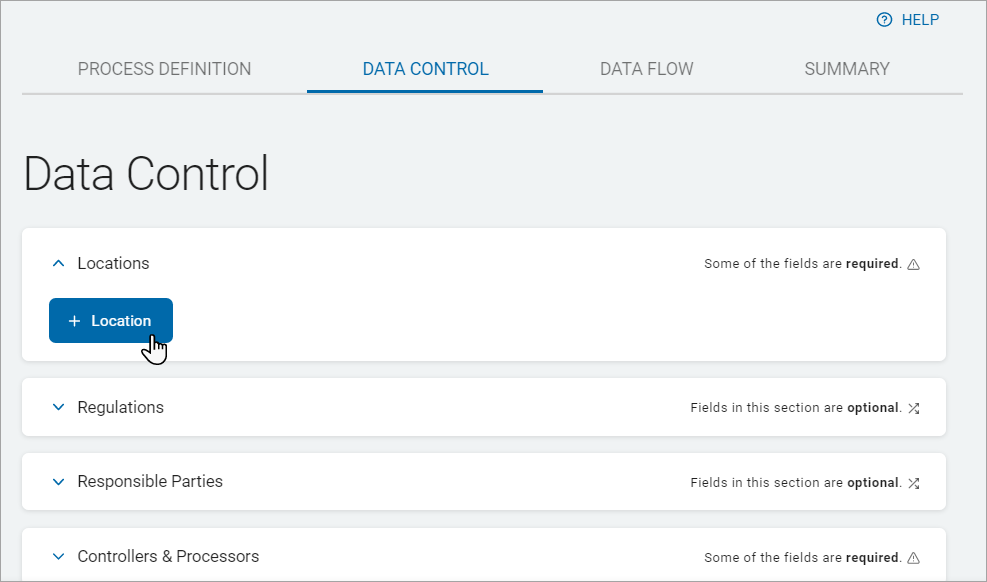
How to Add a Location
Use the following steps to add a Location:
- Click the blue + Location button.
- Do one of the following:
- Use an existing location:
- Select a location from the drop-down list.
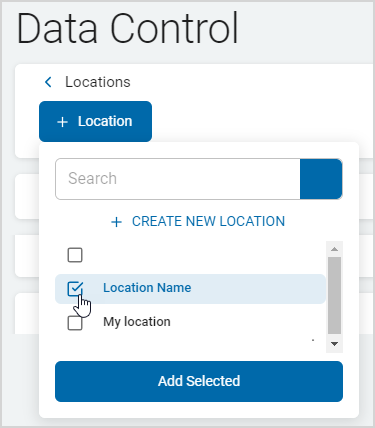
- Click the Add Selected button.
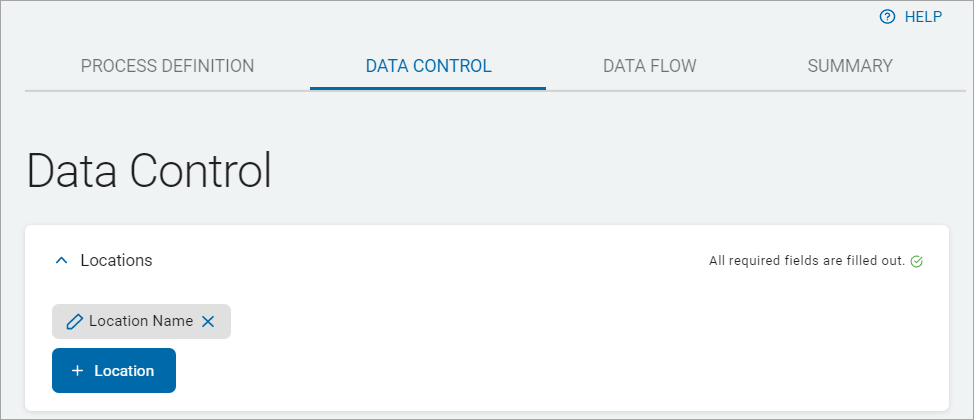
- The location is added to the "Locations" section.
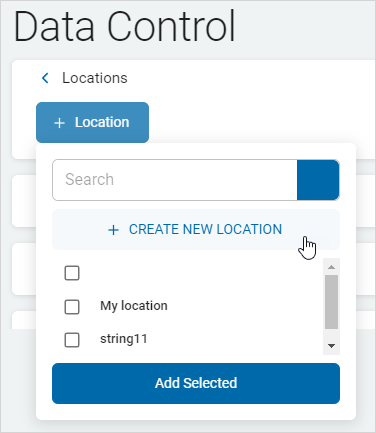
- To create a new location use the following steps:
- Click Create New Location.
- In the "New Location" pop-up window, fill in the following fields:
- Name (50 characters maximum)
- Select an option from the Country drop-down list
- Address Line 1
- Address Line 2 (if applicable)
- City
- State/Province
- Zip/Postal Code
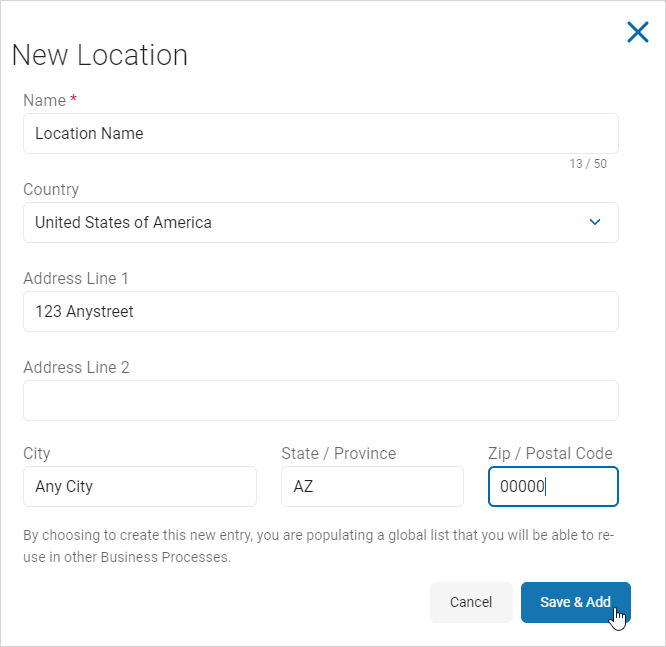
- Click the Save & Add button to add the new location or the Cancel button to discard.
- Click Create New Location.
- Select the new location from the drop-down list.
- Click the Add Selected button.
- The new location is added to the "Locations" section.
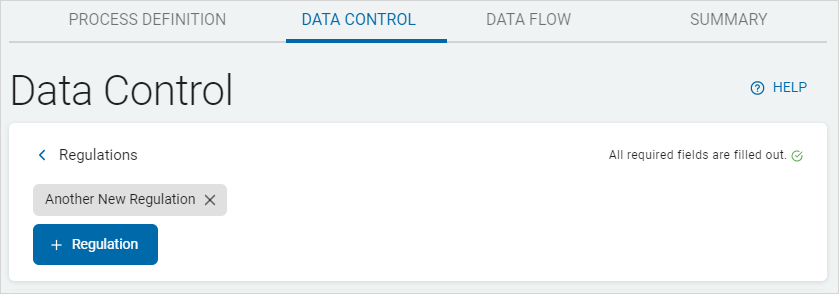
How to Add a Regulation
Use the following steps to add a Regulation:
- Click the + Regulation button.
- To use an existing regulation, select a regulation from the drop-down list.
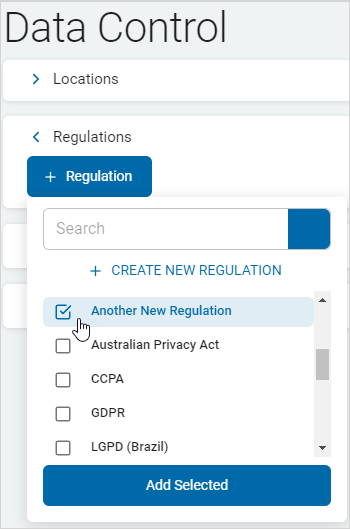
- Click the Add Selected button.
- The regulation is added to the "Regulations" section.

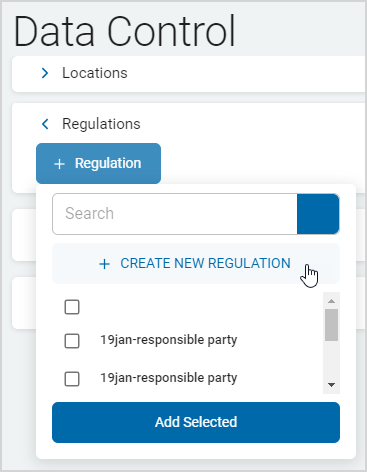
- To add a new regulation click the + CREATE NEW REGULATION link.
- In the "New Regulation" pop-up window, complete the following fields:
- Name (50 characters maximum)
- Description
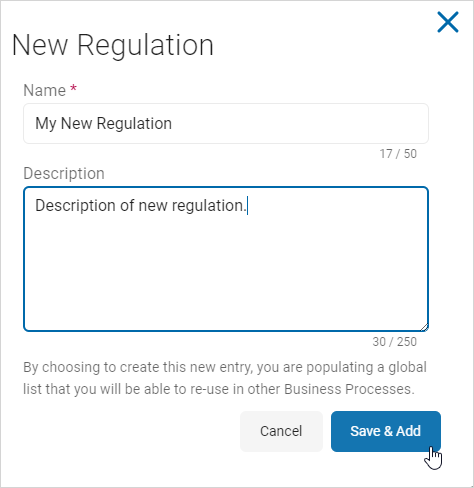
- Click the Save & Add button to add the new location or Cancel to discard.
- Select the new regulation from the drop-down list.
- Click the Add Selected button.
- The new regulation is added to the "Regulations' section.
How to Add a Responsible Party
Use the following steps to add a Responsible Party:
- Click the + Responsible Party button.
- To use an existing responsible party select an option from the drop-down list.
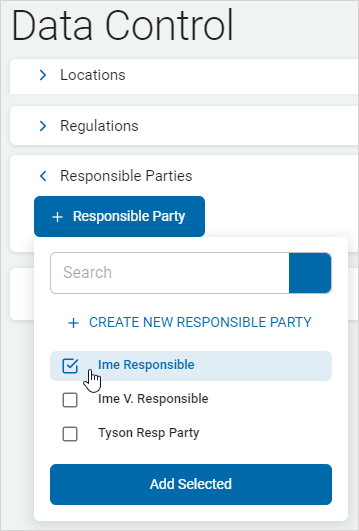
- Click the Add Selected button.
- The responsible party is added to the Responsible Parties section.
- To add a new responsible party:
- Click the + Responsible Party button.
- Click the CREATE NEW RESPONSIBLE PARTY link.

- In the "New Responsible Party" pop-up window, fill in the following:
- Name (50 characters maximum)
- Title
- Department
- Telephone Number
- Country: Select an option from the drop-down list
- Address Line 1
- Address Line 2 (if applicable)
- City
- State/Province
- Zip/Postal Code
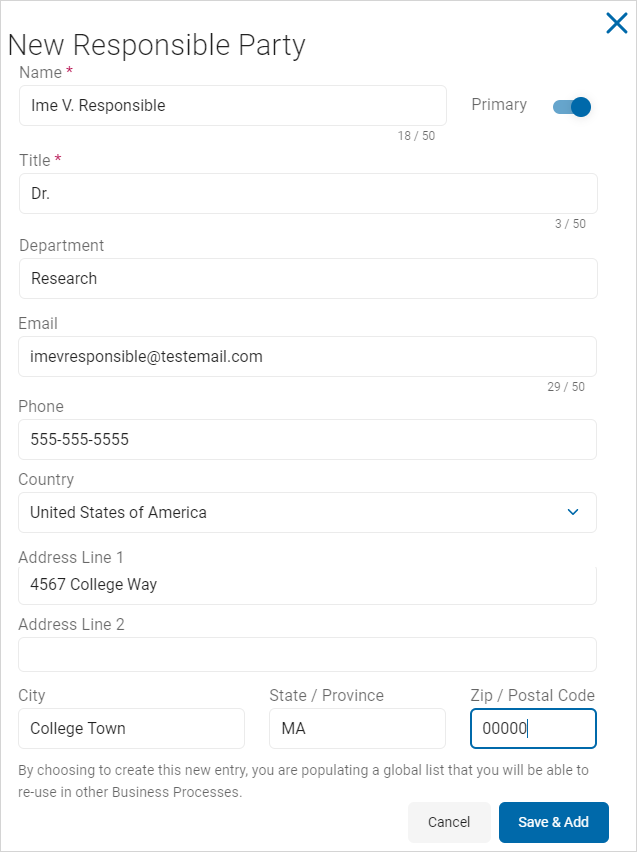
- Click the Save & Add button to add the new responsible party or Cancel button to discard.
- Select the new responsible party from the drop-down list.
- The new responsible party is added to the "Responsible Parties" section.
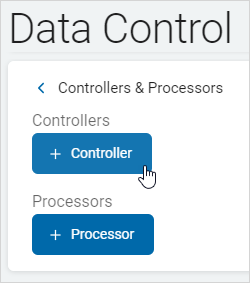
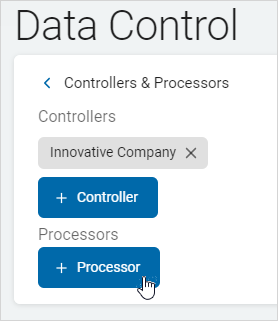
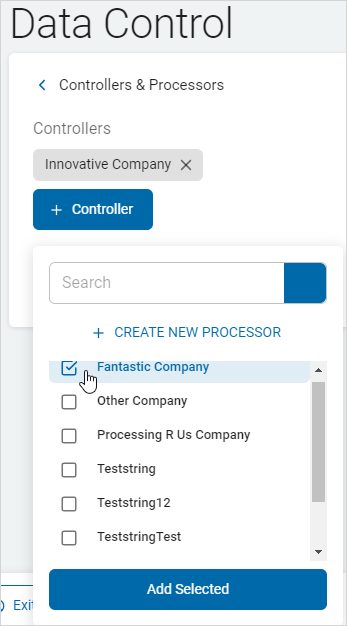
How to Add Controllers & Processors
You can add controllers and processors in this section.
Use the following steps to add a new or existing Controller:
- To add an existing controller:
- Click the + Controller button.
- Click an option from the drop-down list.
- Click the Add Selected button.
- The controller is added to the Controllers section.
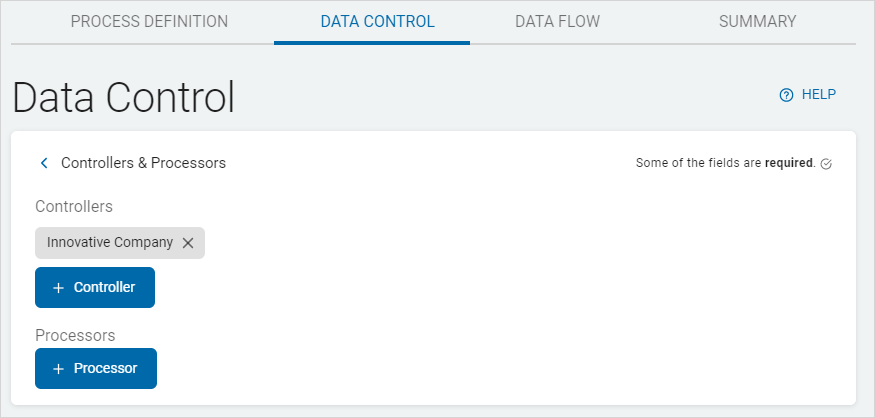
- Click the + Controller button.
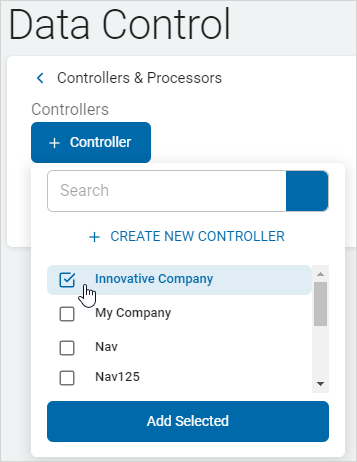
- Add a new controller:
- Click the + Controller button.
- Click the + CREATE NEW CONTROLLER link.

- In the "New Controller" pop-up window, complete the following fields:
- Company Name (50 characters maximum)
- Contact Name (50 characters maximum)
- Description (250 characters maximum)
- Telephone Number
- Country: Select an option from the drop-down list
- Address Line 1
- Address Line 2 (if applicable)
- City
- State/Province
- Zip/Postal Code
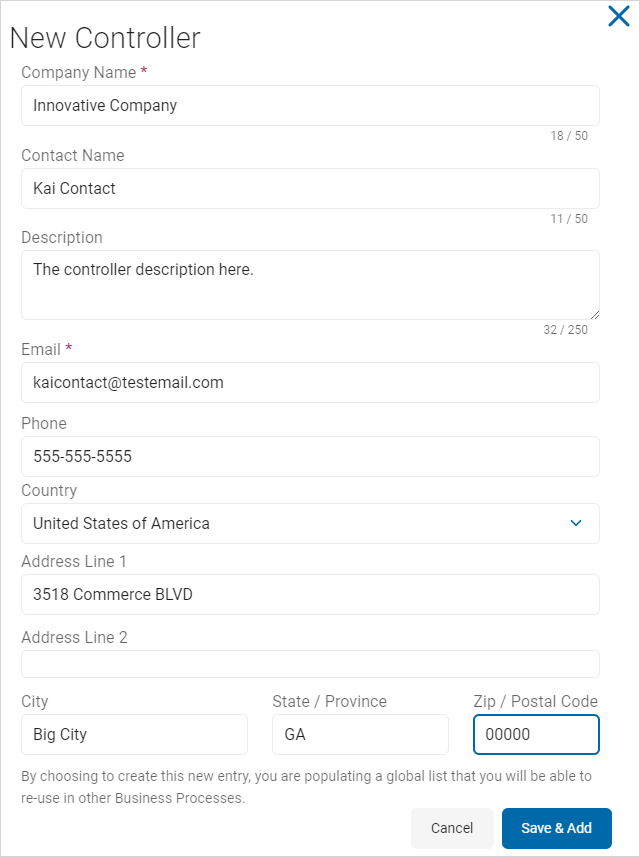
- Click the Save & Add button to add the new controller or Cancel button to discard.
- Select the new controller from the drop-down list.
- Click the Add Selected button.
- The new controller is added to the "Controllers" section.
- To add a new processor, do one of the following:
- To add an existing processor:
- Click + Processor.
- Select an option from the drop-down list.
- Click the Add Selected button.
- Click + Processor.
- The new processor is added to the Processors section.
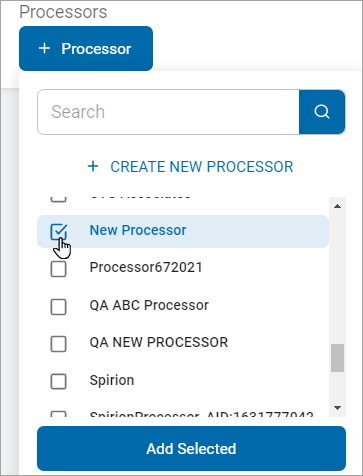
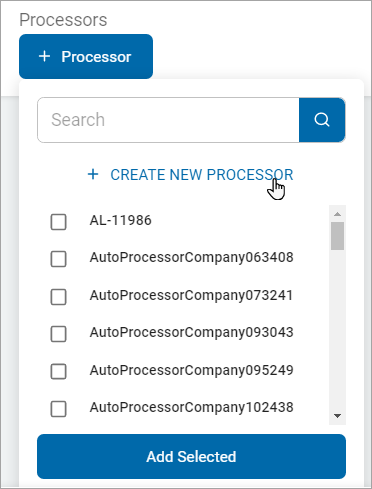
- To add a new processor:
- Click + Processor.
- Click CREATE NEW PROCESSOR.
- In the "New Processor" pop-up window, fill in the following:
- Company Name (50 characters maximum)
- Contact Name (50 characters maximum)
- Description (250 characters maximum)
- Telephone Number
- Country: Click an option from the drop-down list
- Address Line 1
- Address Line 2 (if applicable)
- City
- State/Province
- Zip/Postal Code

- Click the Save & Add button to add the new processor or Cancel button to discard.
- Select the new processor from the drop-down list.
- Click the Add Selected button.
- The new processor is added to the "Processor" section.
- Click Next to proceed, Previous to return to the previous screen, or Exit Without Saving to discard.

Data Flow
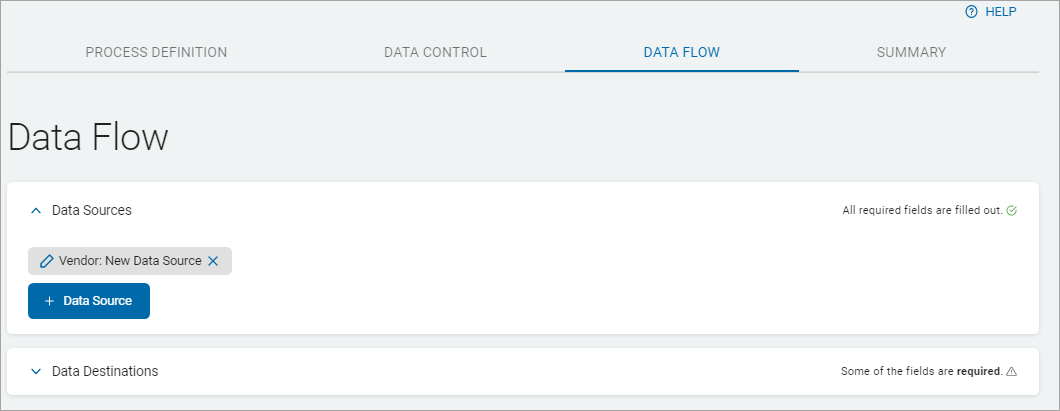
The Data Flow tab has two sections:
- Data Sources
- Data Destinations
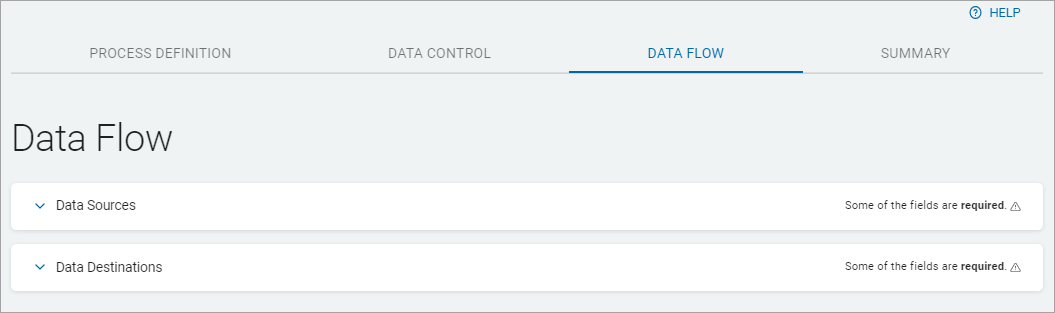
- In a tab section, click a down arrow to expand a section or a up arrow to collapse a section:
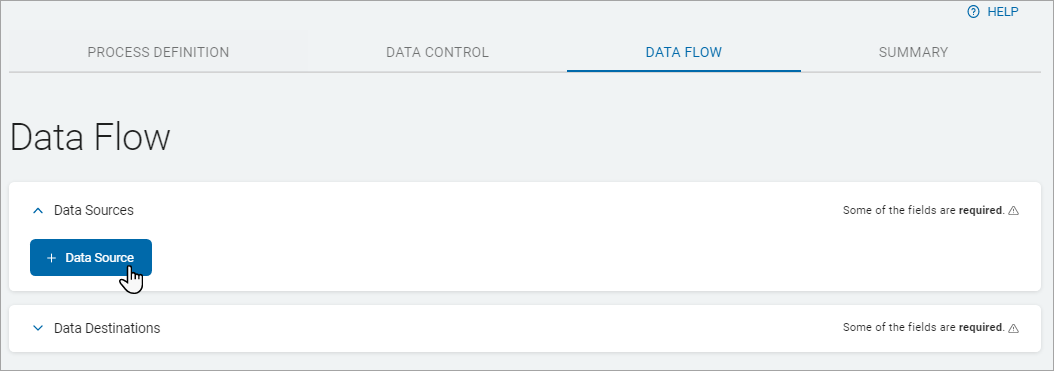
Add a Data Source
Do one of the following:
- Use an existing data source.
- Click Data Source.
- Select an option from the drop-down list.
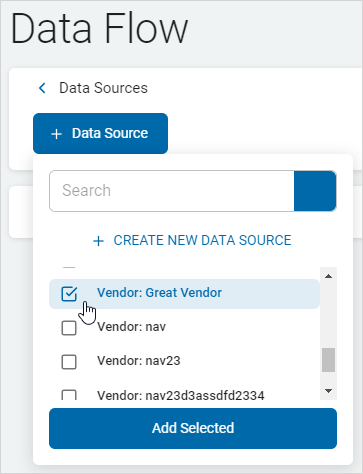
- Click Add Selected.
- The data source is added to the Data Sources section.
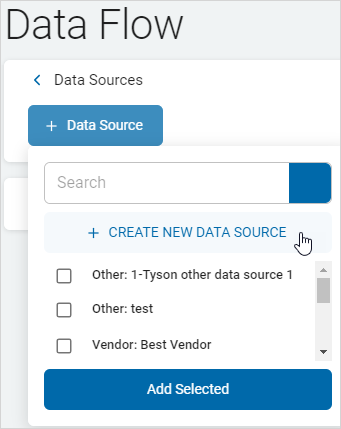
- Create a new data source:
- Click Data Source.
- Click Create New Data Source.
- In the New Data Source, fill in the following:
- Select Data Source Type: Choose one
- Vendor Name (50 characters maximum)
- Contact Name (50 characters maximum)
- Description (250 characters maximum)
- Sale of Information: Choose one
- Telephone Number
- Country
- Address Line 1
- Address Line 2 (if applicable)
- City
- State/Province
- Zip/Postal Code

- Click Save & Add to save changes or Cancel to discard.
- Select the new data source from the drop-down list.
- Click Add Selected.
- The new data source is added to the Data Sources section.
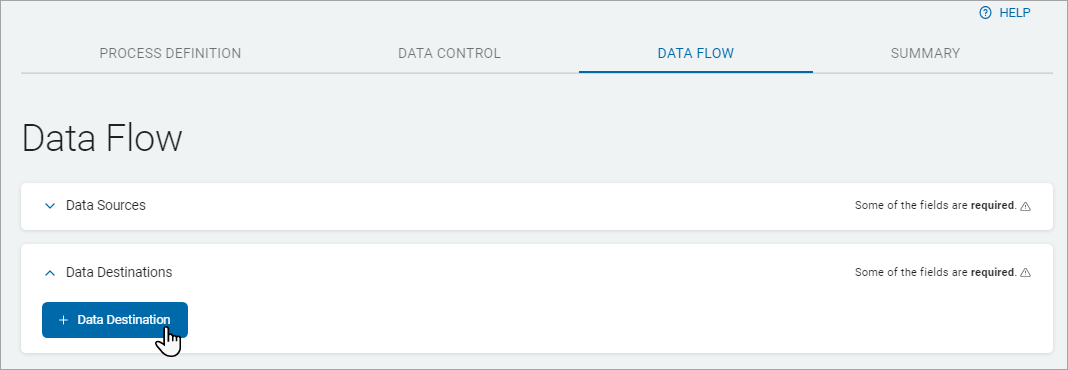
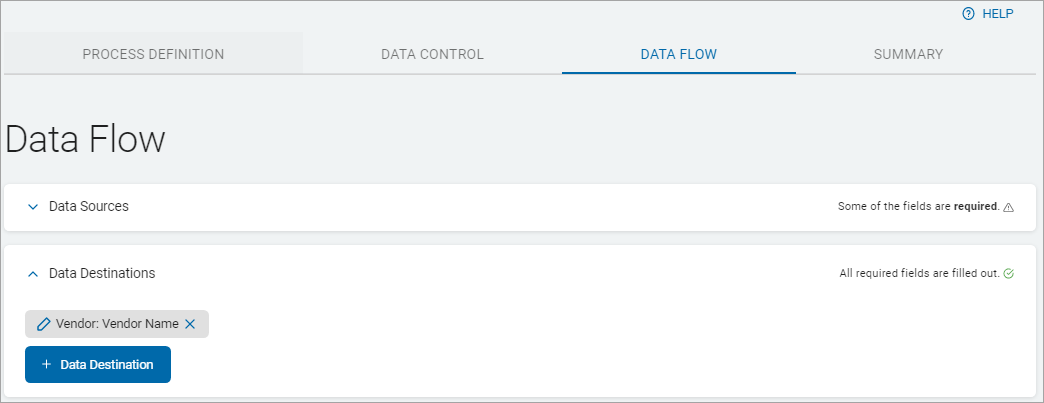
Add a Data Destinations
To add a data destination, do one of the following:
- Add an existing data destination
- Create and add a new data destination
- Add an existing destination:
- Click Data Destination.
- Click Data Destination.
- Click an option from the drop-down list.
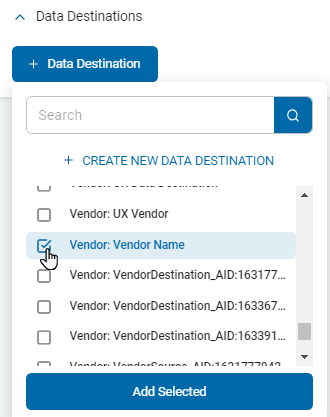
- Click Add Selected.
- The data destination is added to the Data Destinations section.
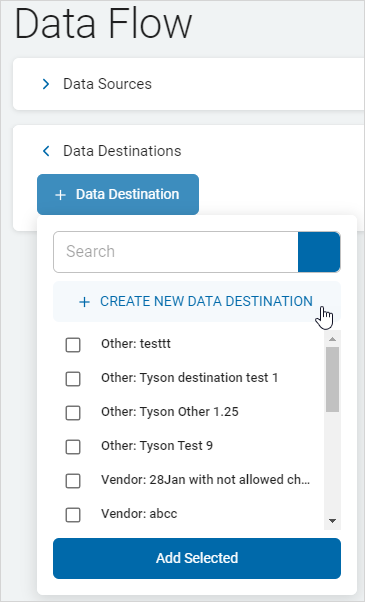
- Create a new data flow:
- Click Data Destination.
- Click + CREATE NEW DATA DESTINATION.
- In the New Data Destination pop-up window, fill in the following:
- Select Data Destination Type: Choose one
- Vendor Name (50 characters maximum)
- Contact Name (50 characters maximum)
- Description (250 characters maximum)
- Sale of Information: Choose one
- Telephone Number
- Country: Select an option from the drop-down list.
- Address Line 1
- Address Line 2 (if applicable)
- City
- State/Province
- Zip/Postal Code
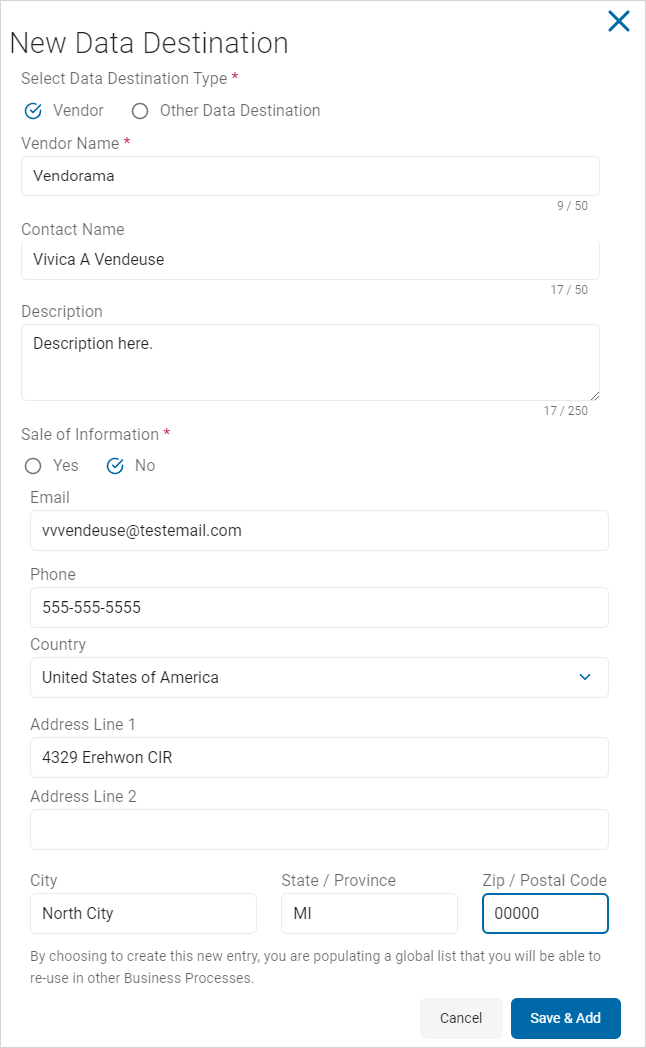
- Click Save & Add to add new destination or Cancel to discard.
- Select the new destination from the drop-down list.
- Click Add Selected.
- The new destination is added to the section Data Destinations.
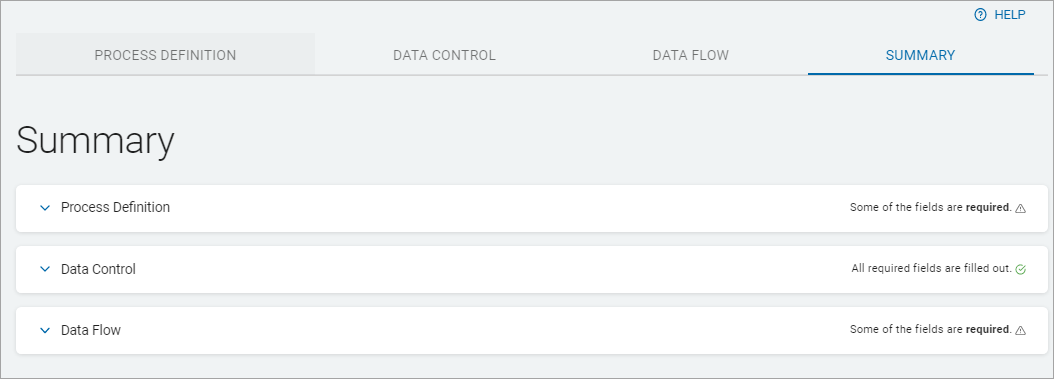
Summary
The Summary tab is divided into three sections:
- Process Definition
- Data Control
- Data Flow
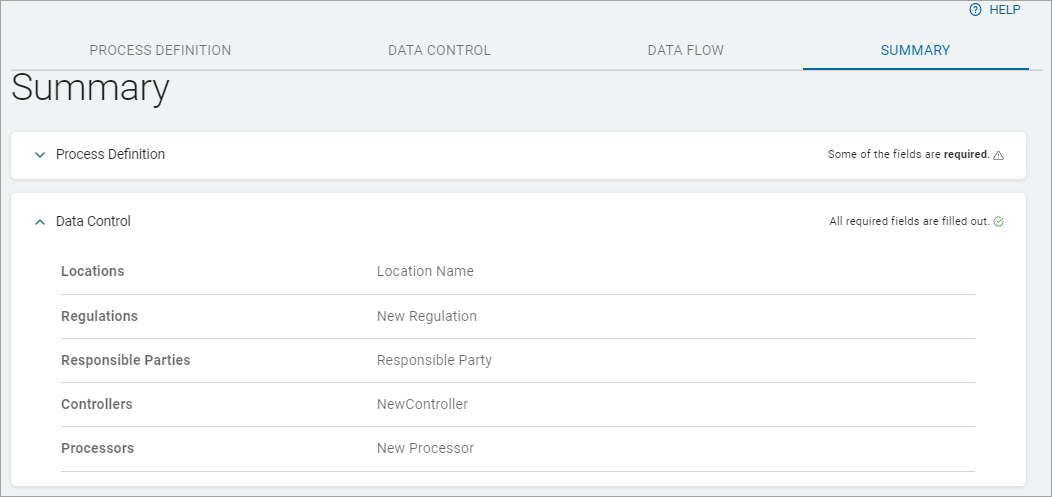
- In a tab section, click a right arrow (
 ) to expand a section or a left arrow (
 ) to collapse a section.
 - Review each section content for accuracy.
- To make changes:
- Click a tab to return to a section. For example: Process Definition tab, Processing Department.
- Make needed changes.
- Click the Summary tab to return to review changes.
- Note: Missing required items are marked *Required. You cannot save the new process until they are corrected.
- Click Finish & Save to save the new process, Previous to return to the previous screen, or Exit Without Saving to discard the whole record.

Edit a Business Process
To edit a Business Process use the following steps:
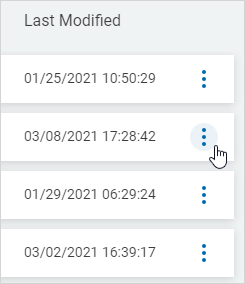
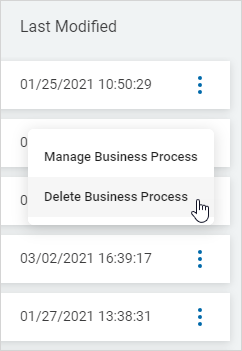
- Locate a process in the Business Processes list.
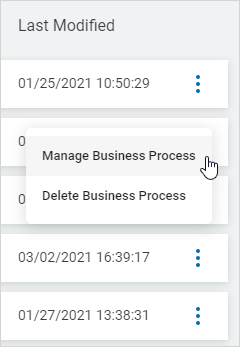
- In the far right column, click the more options menu.
- Click Manage Business Process.
- Click tabs to move between sections. Click a right arrow () to expand a section or a left arrow () to collapse a section.

- Make needed changes in each tab and their sections.
- Click Save Changes to save updates.
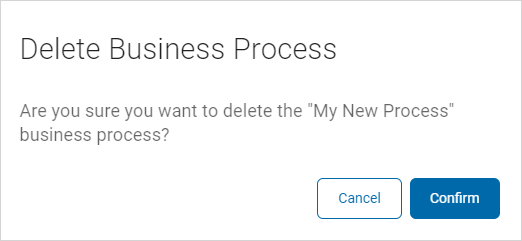
Delete a Business Process
To delete a Business Process use the following steps:
- Click Delete Business Process.
- Click Confirm to delete a process or Cancel to discard.