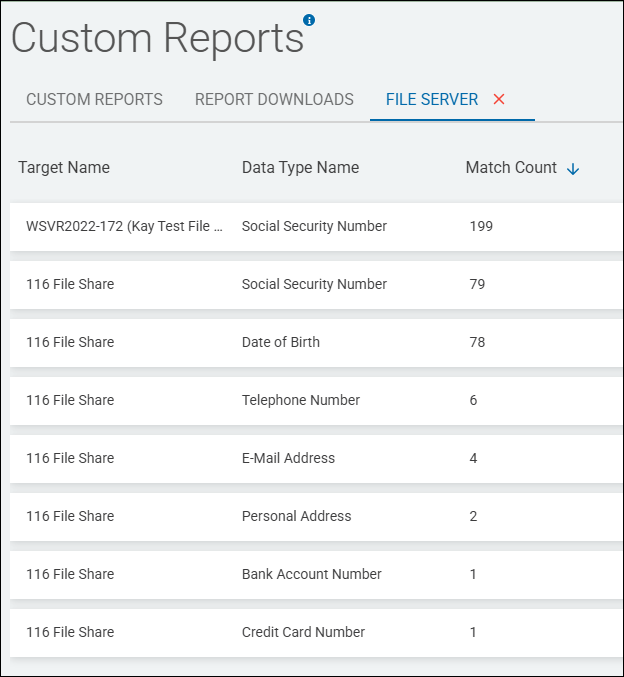
Example Custom Report: On-premise File Shares
This article describes how to create a custom report which displays the match count and (optional) match data types stored on on-premise (non-cloud based) File Shares.
Use the following steps to create a report about On-premise (non-cloud based) File Shares such as shared Windows directories on local workstations, laptops, servers, etc.:
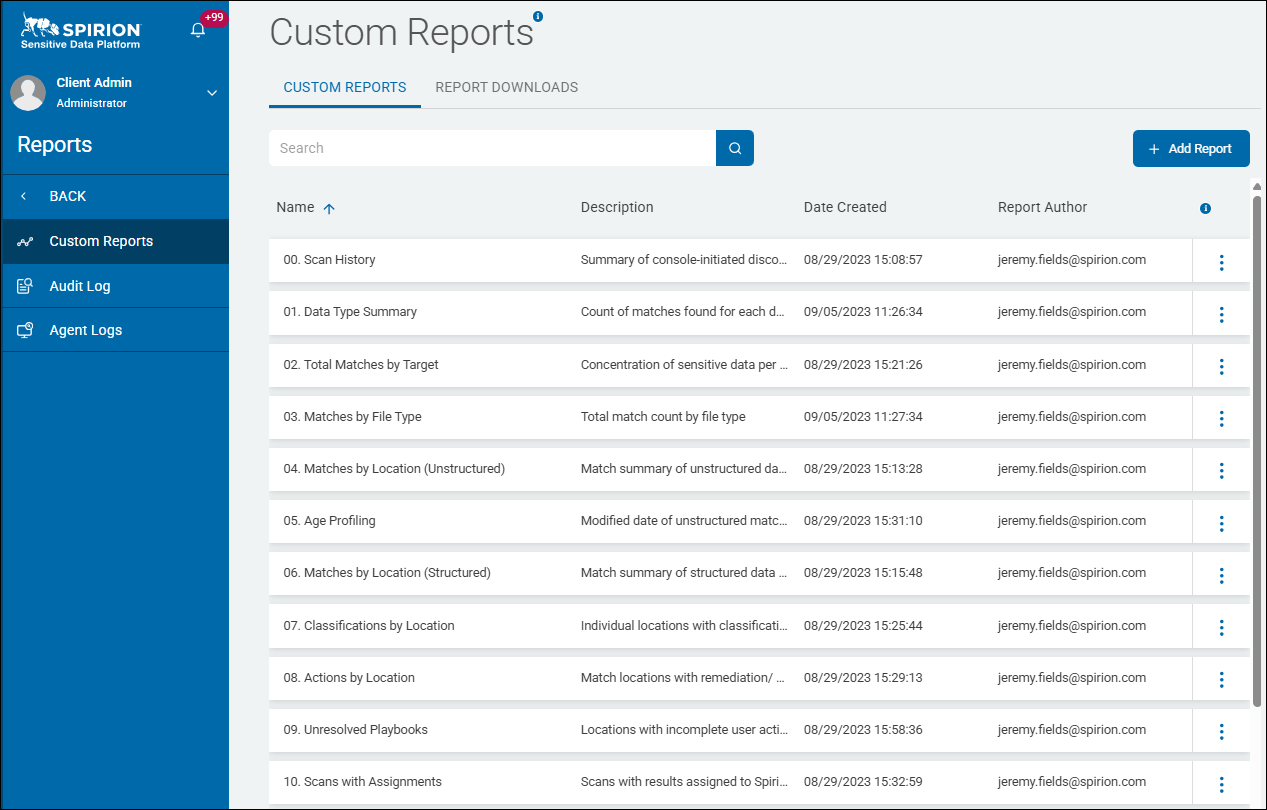
- From the left side navigation menu, select Reports > Custom Reports.
- The "Custom Reports" page opens.
- In the top right corner click the blue + Add Report button.
- The "Create Report" wizard is displayed.
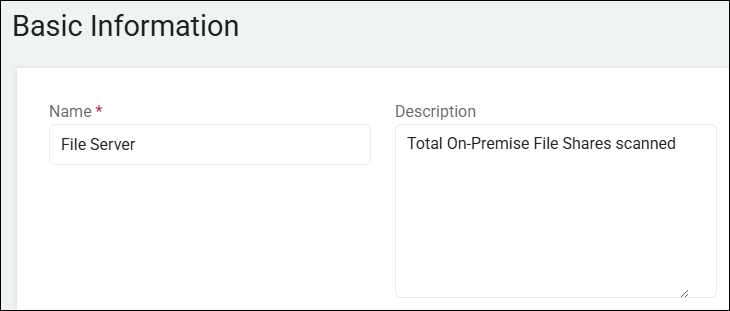
- On the Basic Information page, provide a name and description that describe what your report will provide. This information can be changed at a later time:
- Name: Enter a descriptive name such as "Age of Locations," or "SSN Locations"
- Description: Enter a proper description, such as "Which company laptops contain Social Security numbers."
- Click the Next button.
- The "Columns Setup" page appears.
- The columns and filters you choose next determine what kind of information (Targets, locations, data types, etc.) your report will contain and display when viewed.
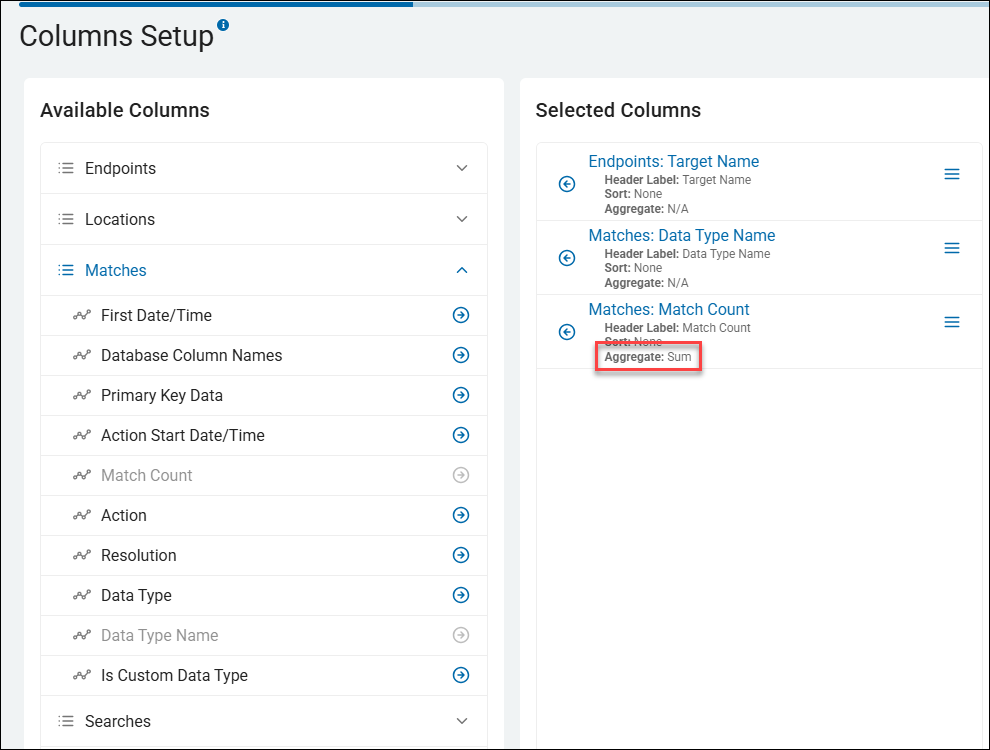
Columns Setup Page
Note: In this example we include a column which contains the Data Type Name. This column is is optional. This enables the viewer to see the match count for each File Share Target broken down by Data Type.
Set up your columns as follows (all options found under Available Columns on the "Columns Setup" page):
Columns Setup for On-Premise File Share Report
- Endpoints: Target Name
- Header Label: Target Name
- Sort: None
- Aggregate: N/A
- Matches: Data Type Name
- Header Label: Data Type Name
- Sort: None
- Aggregate: N/A
- Matches: Match Count
- Header Label: Match Count
- Sort: None
- Aggregate: Sum
Note: archTIS strongly recommends using the Aggregate: Sum option when using the Matches column "Matches: Match Count"
Filters Page
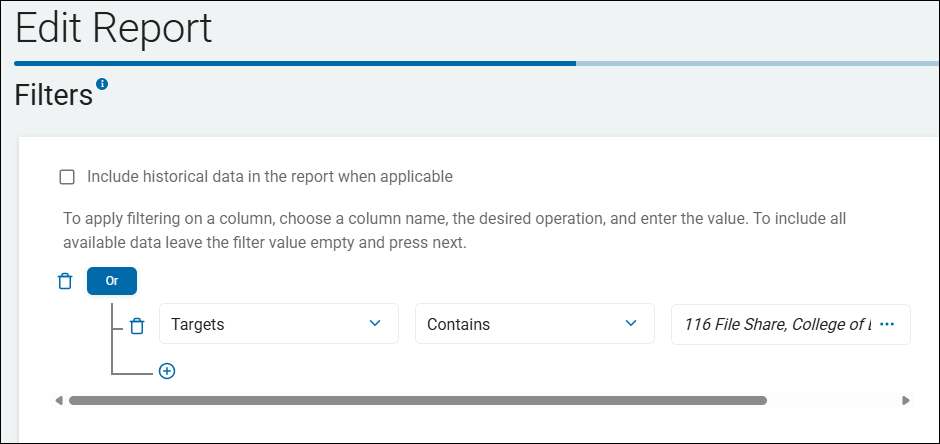
Set the following filter on the Filters page:
- 1st drop-down: Targets
- 2nd drop-down: "Contains" operator
- 3rd drop-down: <your-selected-file-servers-file-shares>
Filters Setup for On-Premise File Share Report
Set Export Schedule and Finish Report Creation
When the columns and filters for your report have been set, only two pages remain. Continue with the steps below to set the Export Schedule and finish creating the report on the Summary page.
- Click the Next button.
- The Export Schedule page opens.
- Leave the No Schedule (Export manually) option selected to manually run the report. (See How to Use Custom Reports for other scheduling options.)
- Click the Next button.
- The Summary page opens.
- Click the Generate Report Preview to preview your report (optional).
Note: The report preview loads up to 100 rows of data for review. For complex reports this can take several minutes to complete.
- Click the Generate Report Preview to preview your report (optional).
- Click the Finish & Save button to save the report.
View the Report
To view the report perform the following steps:
- Locate the new report on the Custom Reports page.
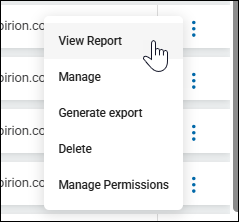
- Click the kebab menu then click View Report from the sub-menu that appears.
- The report opens in a new tab.
- In the example below the report is sorted by Match Count (descending).
Example On-Premise File Share Report