
How to Add a New Business Process
To add a new Business Process use the following steps:
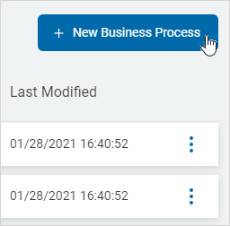
- In the top right corner of the screen, click the + New Business Process button.
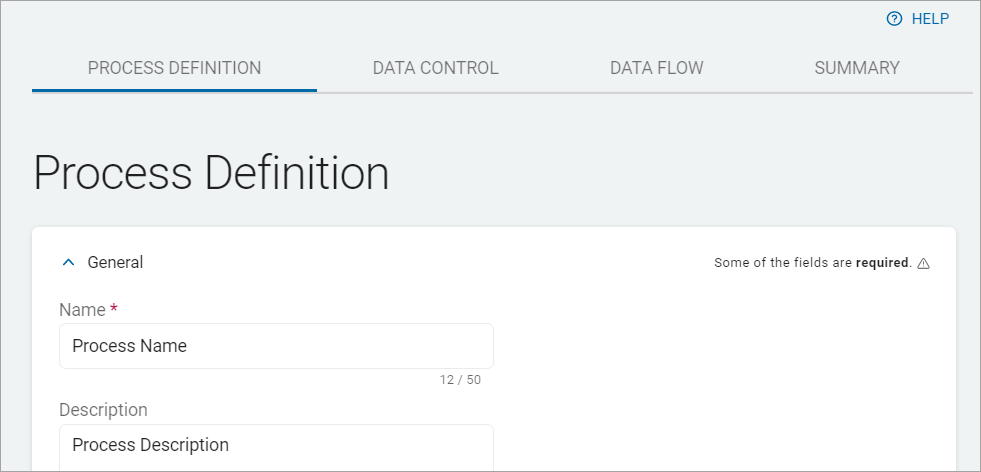
- Note: Items marked with a red asterisk (*) are required.
Process Definition
The "Process Definition" tab is divided into the following two sections:
- General
- Compliance Processing Information
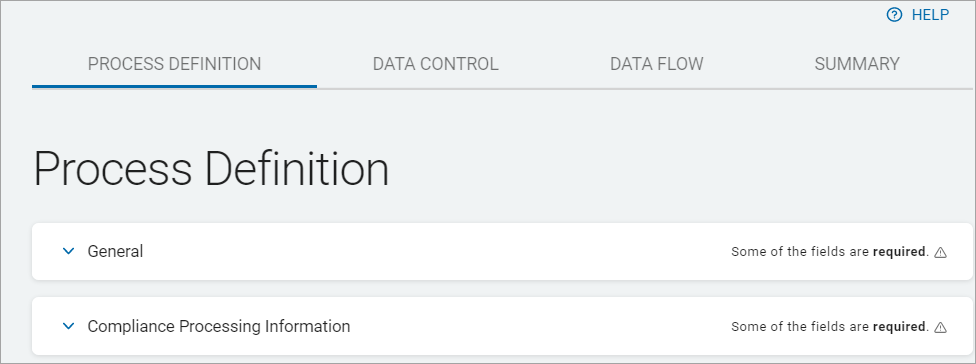
- In a tab section, click a right arrow to expand a section or a left arrow to collapse a section.
How to Add a General Process Definition
To add a General Process Definition, complete the following fields:
- Name: Process name (maximum 50 characters)
- Description: Process description (maximum 50 characters)
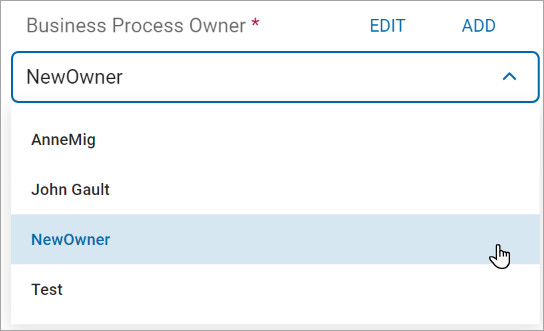
- Business Process Owner: Do one of the following:
- Add an existing owner:
- Click the down arrow (
 ) to view the drop-down list.
- Click the down arrow (
- Click an option from the drop-down list.
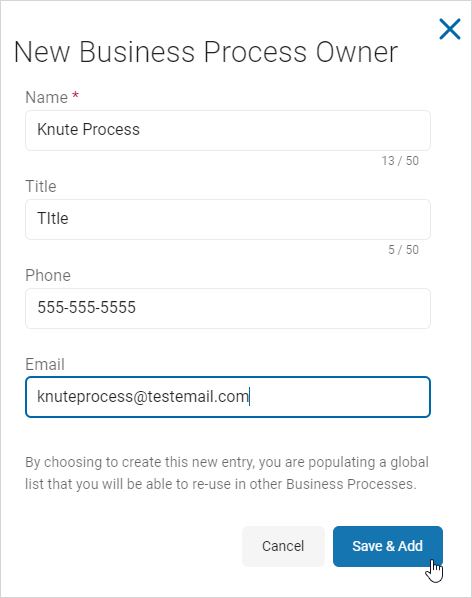
- Add a new Business Process Owner:
- Click Add.

- Name: Type the process name. (maximum 50 characters)
- Title: Type the process title. (maximum 50 characters)
- Phone: Type the phone number.
- Email: Type the email address.
- Click Add.
- Click the Save & Add button to create or the Cancel button to discard.
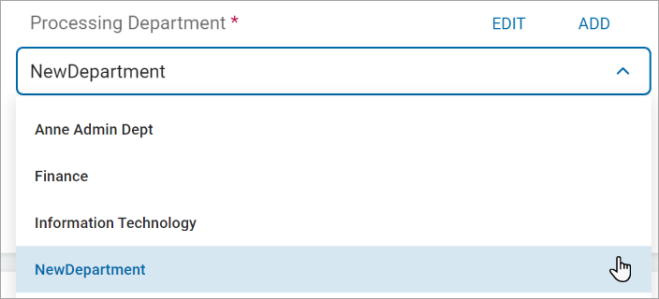
- Processing Department: Do one of the following:
- Add an existing Processing Department:
- Click the down arrow to view the drop-down list.

- Click an option from the drop-down list.
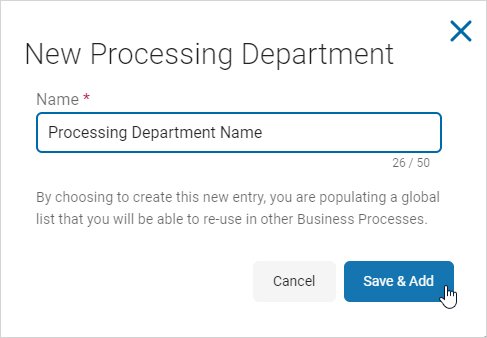
- Create a new Processing Department:
- Click Create New Processing Department.

- In the Name box, type the new processing department name.
- Click Create New Processing Department.
- Click Save & Add to create or Cancel to discard.
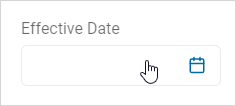
- Effective Date: Click the Effective Date box to activate it.
- Change the Day of the Current Month: Click a different day of the current month.
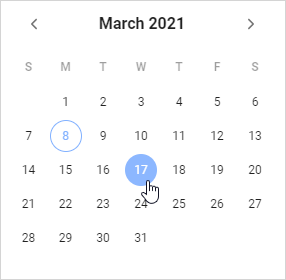
- Change the Month:
- Click the Effective Date box.
- Click a different month.
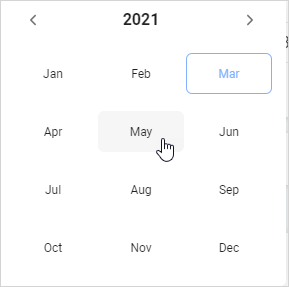
- Click the Effective Date box again to choose the day.
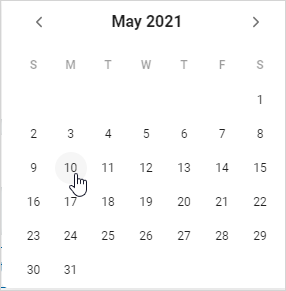
- Click the Effective Date box.
- The date is displayed in the Effective Date box.
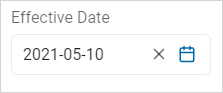
- Change Year:
- Click the Effective Date box.
- Click the year link.
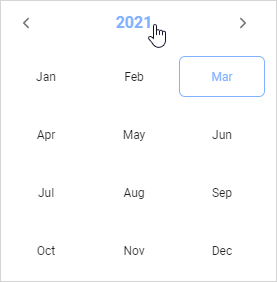
- Click a year from the list.
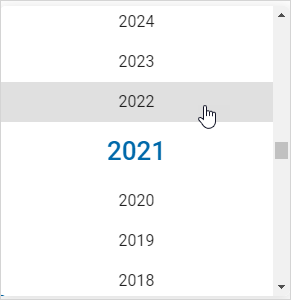
- Click the Effective Date box.
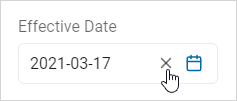
- Reset: To reset the date, click the x.
- End Date: Click the End Date box to activate it.
- Change the Day of the Current Month: Click a different day of the current month.
- Change the Day of the Current Month: Click a different day of the current month.
- Change the Month:
- Click the End Date box.
- Click a different month.
- Click the End Date box.
- Click the End Date box again to choose the day.
- Change Year:
- Click the End Date box.
- Click the year link.
- Click a year from the list.
- Click the End Date box.
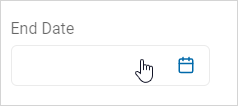
- Reset: To reset the date, click the x.
Compliance Processing Information
Define compliance processing by completing the following fields:
- Does this process use personal information: Select one:
- Yes
- No
- Purpose for Processing: Process purpose. (maximum 250 characters)
- Report in Subject Request: Select one:
- Yes
- No
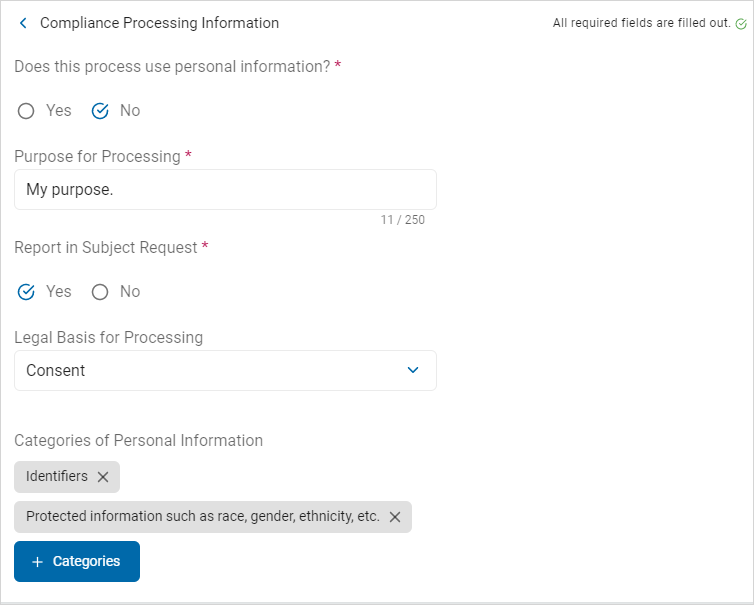
- Legal Basis for Processing: Select an option from the drop-down list.
- Categories of personal Information:
- Click the + Categories button.
- Select an option from the drop-down list.
- Click Add Selected.
- Click the Next button to proceed or Exit Without Saving button to discard.

Data Control
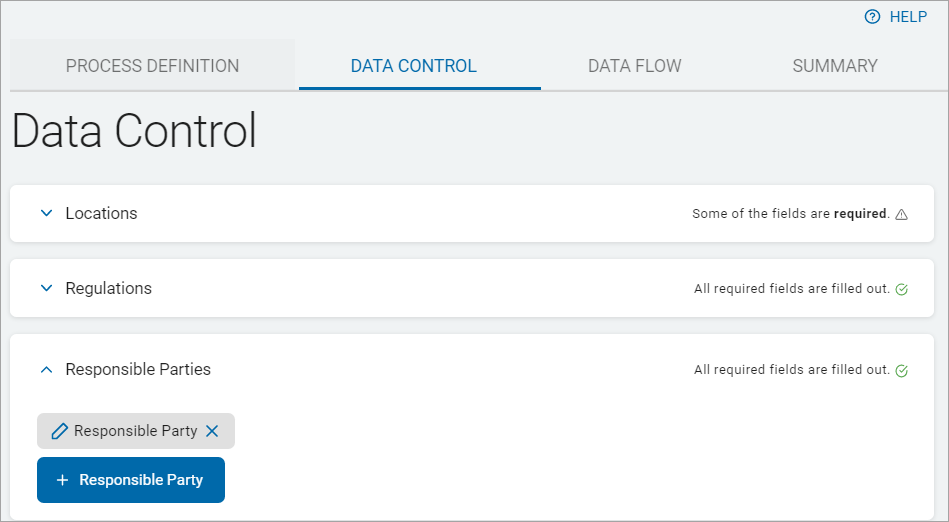
The DATA CONTROL tab has the following four sections:
- Locations
- Regulation
- Responsible Parties
- Controllers & Processors
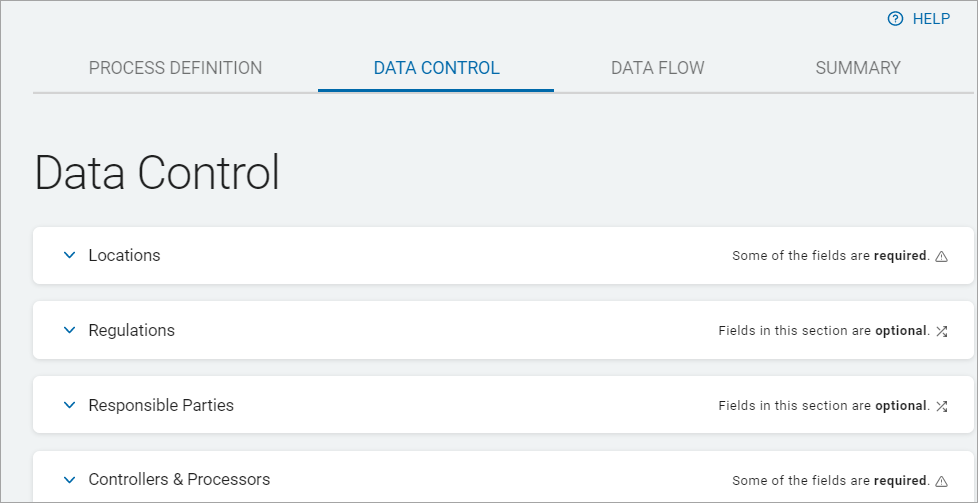
Click a down arrow to expand a section or an up arrow to collapse a section:
How to Add a Location
Use the following steps to add a Location:
- Click the blue + Location button.
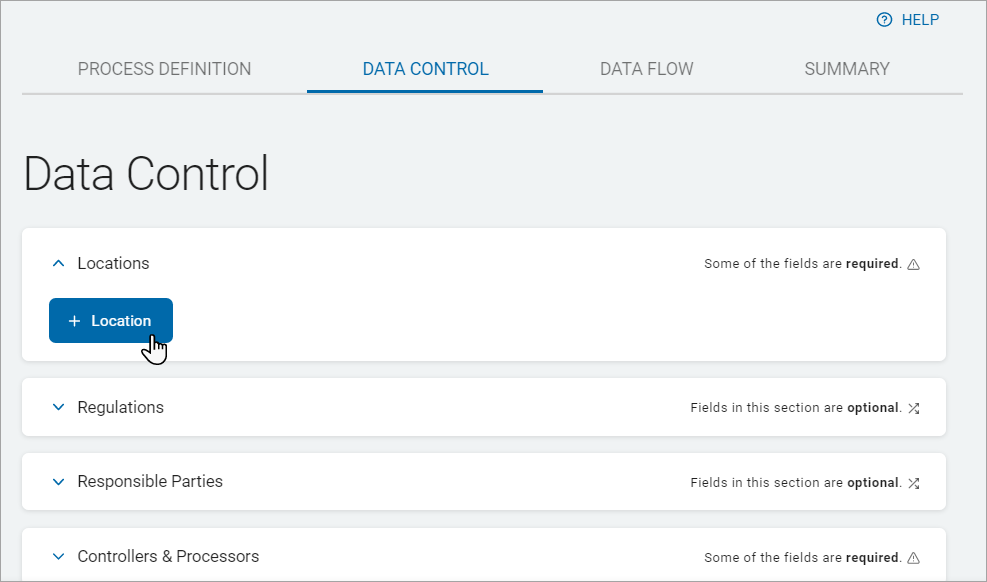
- Do one of the following:
- Use an existing location:
- Select a location from the drop-down list.
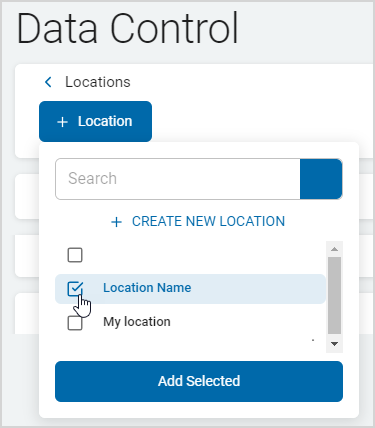
- Click the Add Selected button.
- The location is added to the "Locations" section.
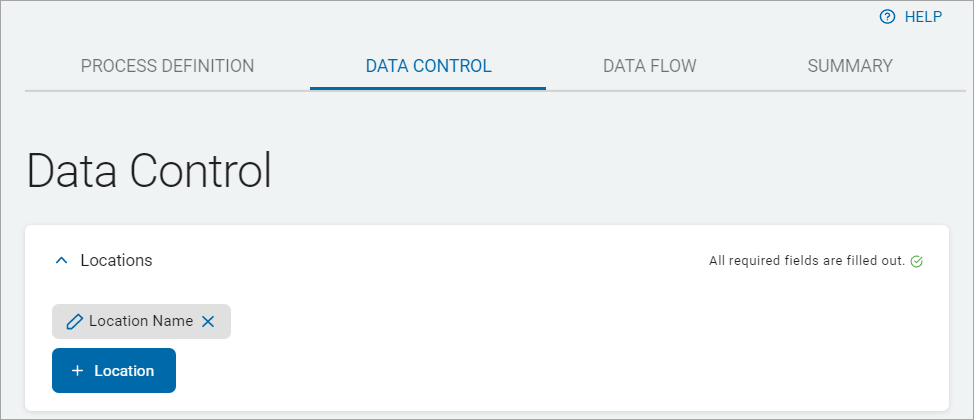
- To create a new location use the following steps:
- Click Create New Location.
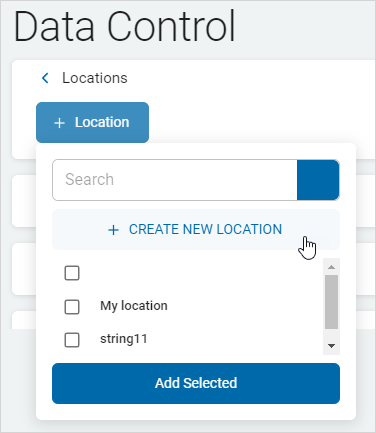
- In the "New Location" pop-up window, fill in the following fields:
- Name (50 characters maximum)
- Select an option from the Country drop-down list
- Address Line 1
- Address Line 2 (if applicable)
- City
- State/Province
- Zip/Postal Code
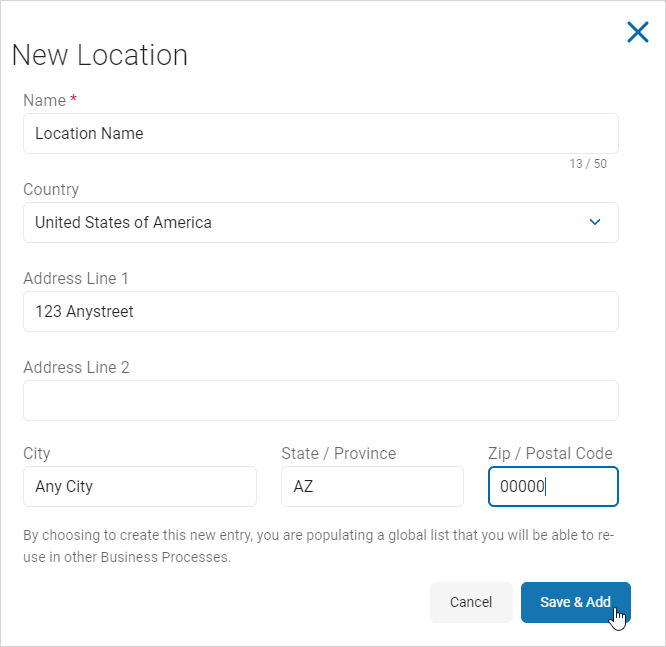
- Click the Save & Add button to add the new location or the Cancel button to discard.
- Click Create New Location.
- Select the new location from the drop-down list.
- Click the Add Selected button.
- The new location is added to the "Locations" section.
How to Add a Regulation
Use the following steps to add a Regulation:
- Click the + Regulation button.
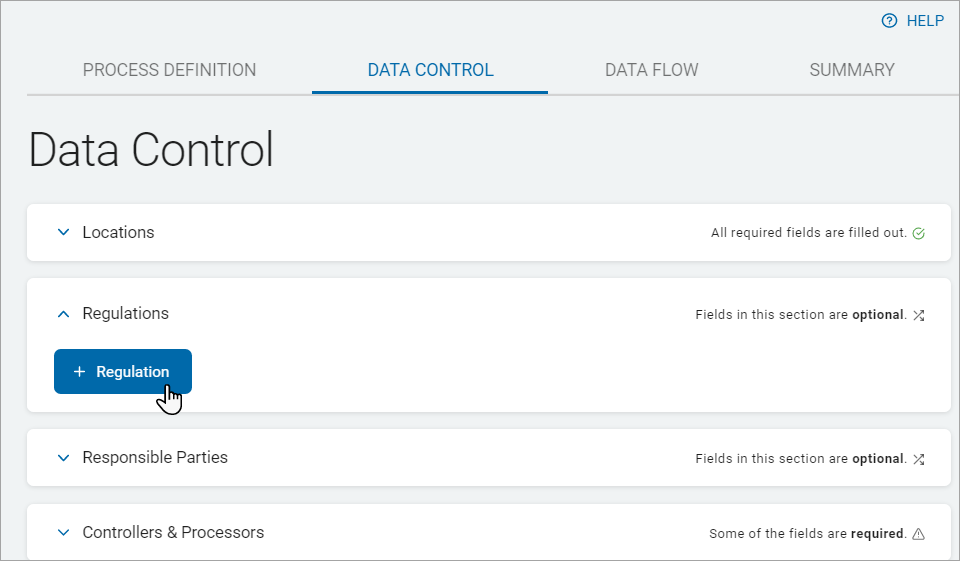
- To use an existing regulation, select a regulation from the drop-down list.
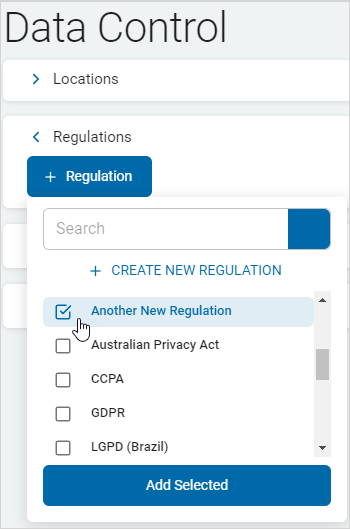
- Click the Add Selected button.
- The regulation is added to the "Regulations" section.
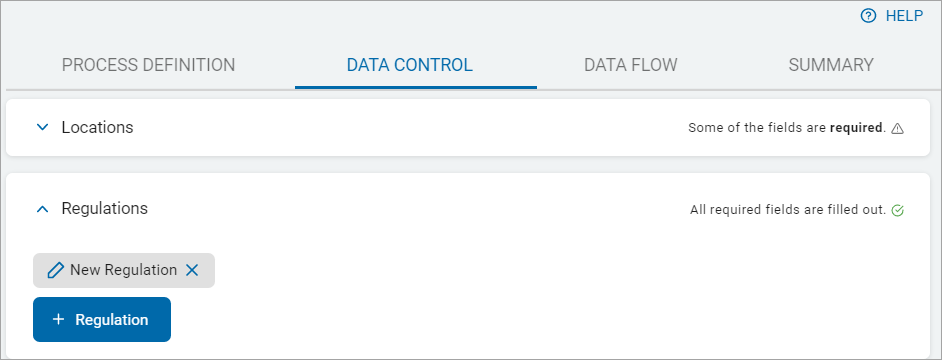
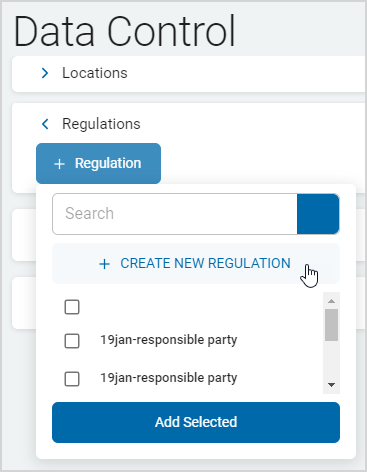
- To add a new regulation click the + CREATE NEW REGULATION link.
- In the "New Regulation" pop-up window, complete the following fields:
- Name (50 characters maximum)
- Description
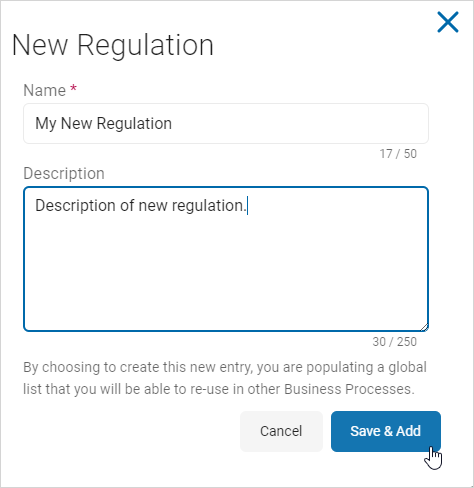
- Click the Save & Add button to add the new location or Cancel to discard.
- Select the new regulation from the drop-down list.
- Click the Add Selected button.
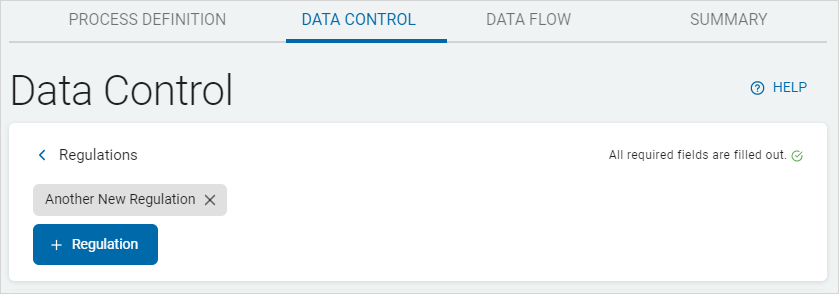
- The new regulation is added to the "Regulations' section.
How to Add a Responsible Party
Use the following steps to add a Responsible Party:
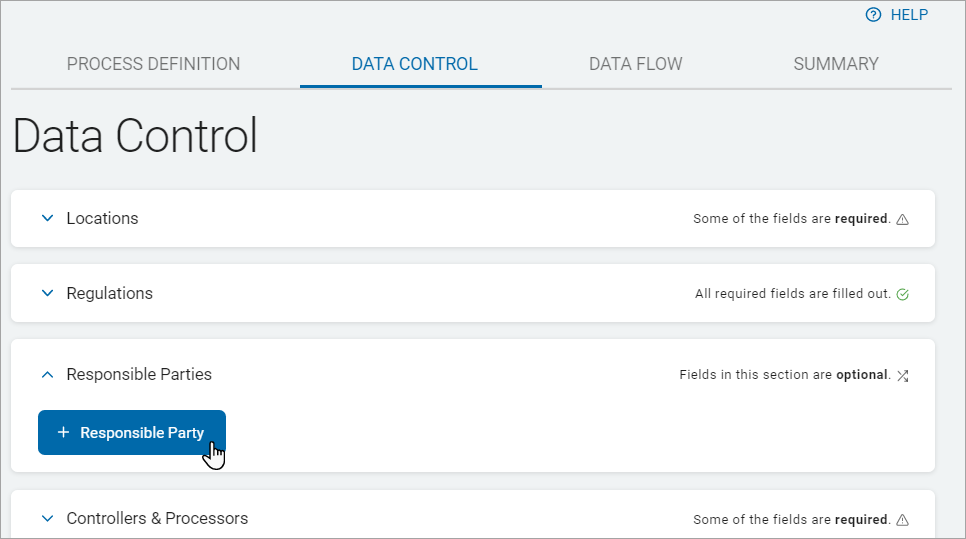
- Click the + Responsible Party button.
- To use an existing responsible party select an option from the drop-down list.
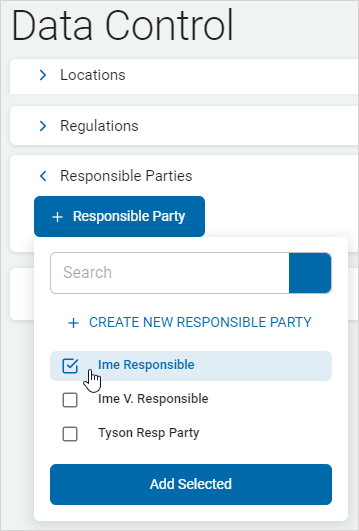
- Click the Add Selected button.
- The responsible party is added to the Responsible Parties section.
- To add a new responsible party:
- Click the + Responsible Party button.
- Click the CREATE NEW RESPONSIBLE PARTY link.
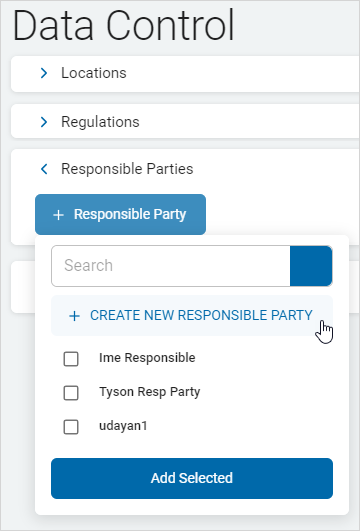
- In the "New Responsible Party" pop-up window, fill in the following:
- Name (50 characters maximum)
- Title
- Department
- Telephone Number
- Country: Select an option from the drop-down list
- Address Line 1
- Address Line 2 (if applicable)
- City
- State/Province
- Zip/Postal Code
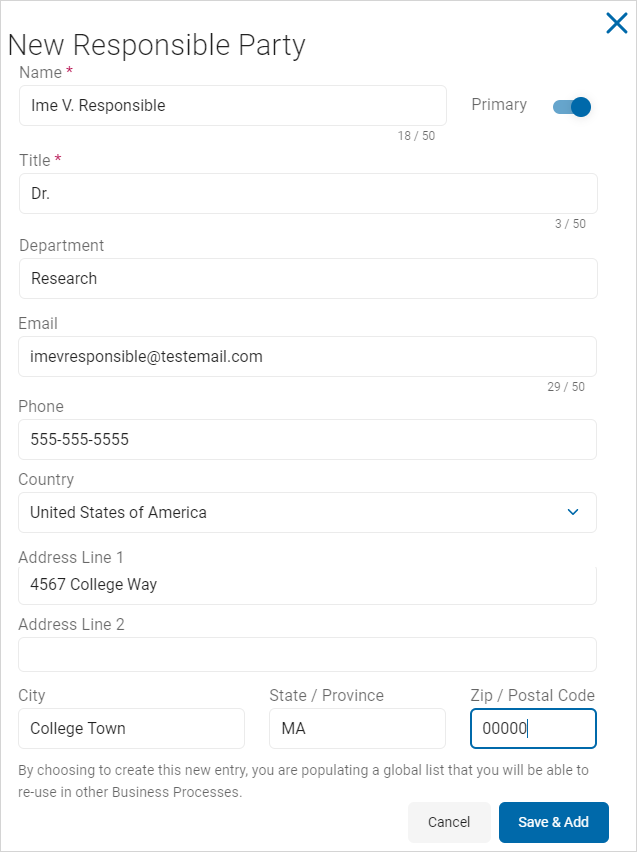
- Click the Save & Add button to add the new responsible party or Cancel button to discard.
- Select the new responsible party from the drop-down list.
- The new responsible party is added to the "Responsible Parties" section.
How to Add Controllers & Processors
You can add controllers and processors in this section.
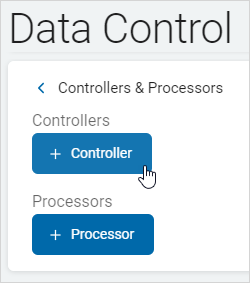
Use the following steps to add a new or existing Controller:
- To add an existing controller:
- Click the + Controller button.
- Click an option from the drop-down list.
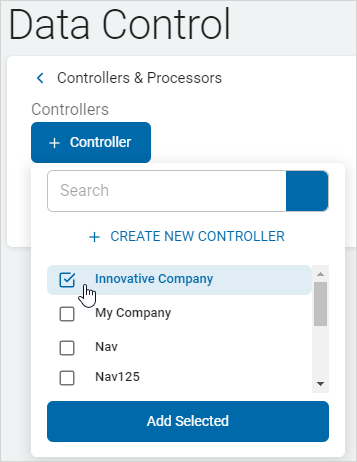
- Click the Add Selected button.
- The controller is added to the Controllers section.
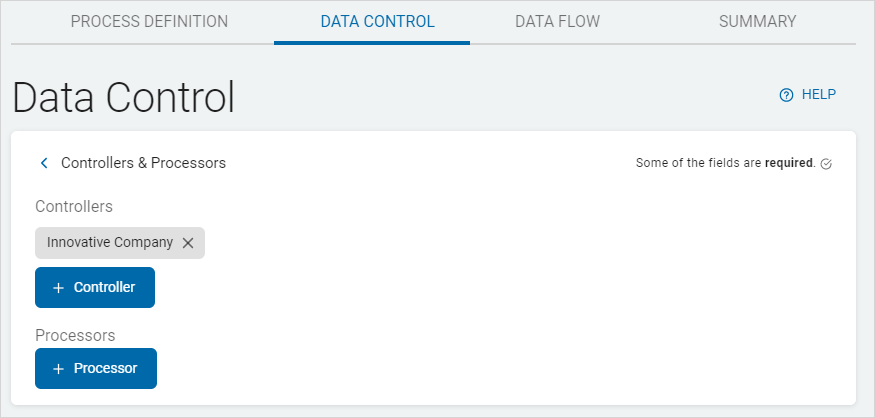
- Click the + Controller button.
- Add a new controller:
- Click the + Controller button.
- Click the + CREATE NEW CONTROLLER link.
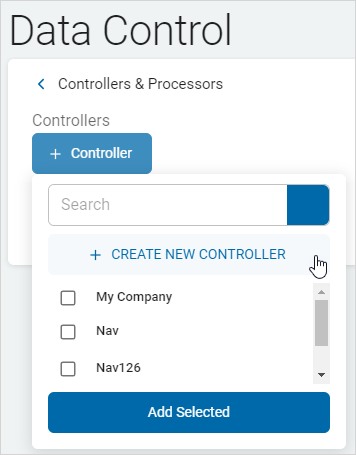
- In the "New Controller" pop-up window, complete the following fields:
- Company Name (50 characters maximum)
- Contact Name (50 characters maximum)
- Description (250 characters maximum)
- Telephone Number
- Country: Select an option from the drop-down list
- Address Line 1
- Address Line 2 (if applicable)
- City
- State/Province
- Zip/Postal Code
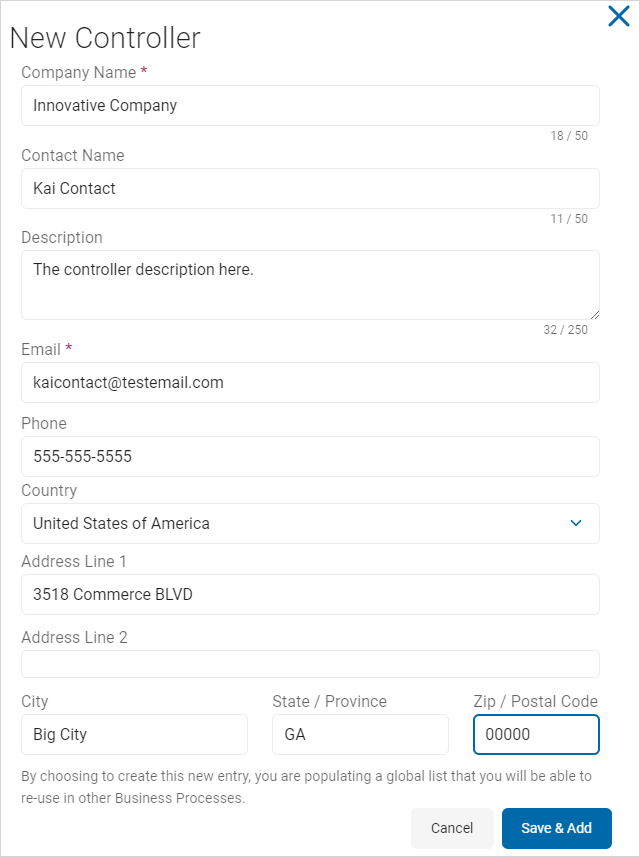
- Click the Save & Add button to add the new controller or Cancel button to discard.
- Select the new controller from the drop-down list.
- Click the Add Selected button.
- The new controller is added to the "Controllers" section.
- To add a new processor, do one of the following:
- To add an existing processor:
- Click + Processor.
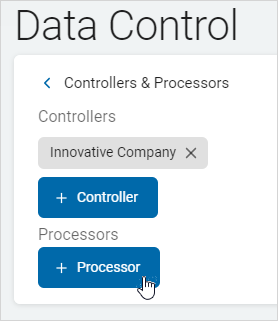
- Select an option from the drop-down list.
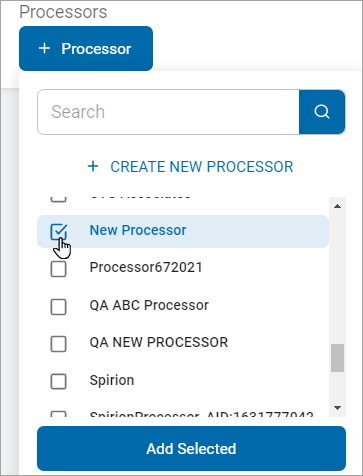
- Click the Add Selected button.
- Click + Processor.
- The new processor is added to the Processors section.
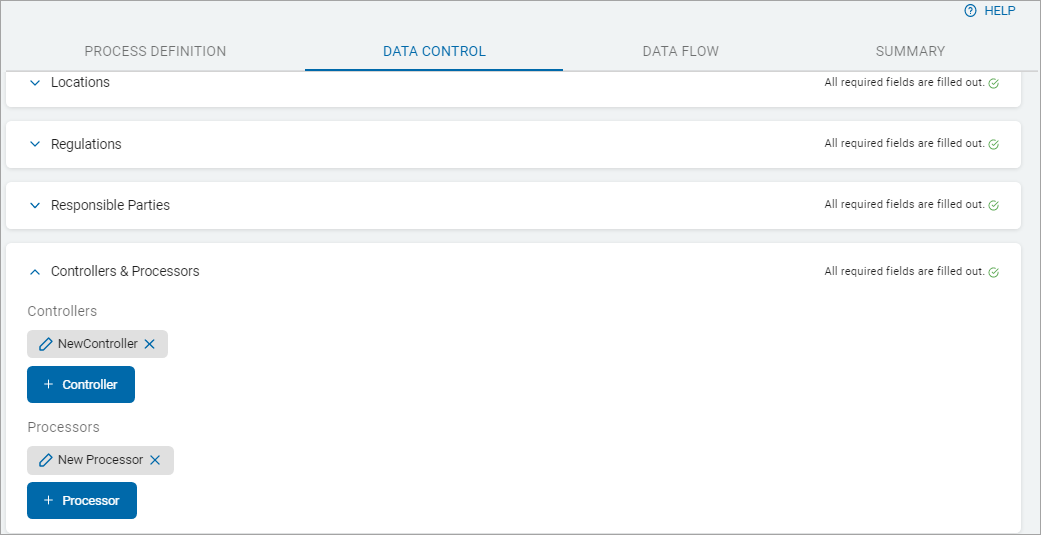
- To add a new processor:
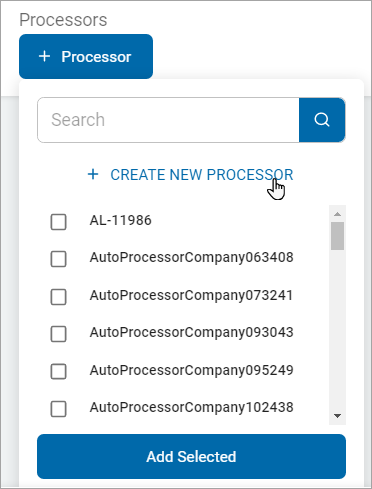
- Click + Processor.
- Click CREATE NEW PROCESSOR.
- In the "New Processor" pop-up window, fill in the following:
- Company Name (50 characters maximum)
- Contact Name (50 characters maximum)
- Description (250 characters maximum)
- Telephone Number
- Country: Click an option from the drop-down list
- Address Line 1
- Address Line 2 (if applicable)
- City
- State/Province
- Zip/Postal Code
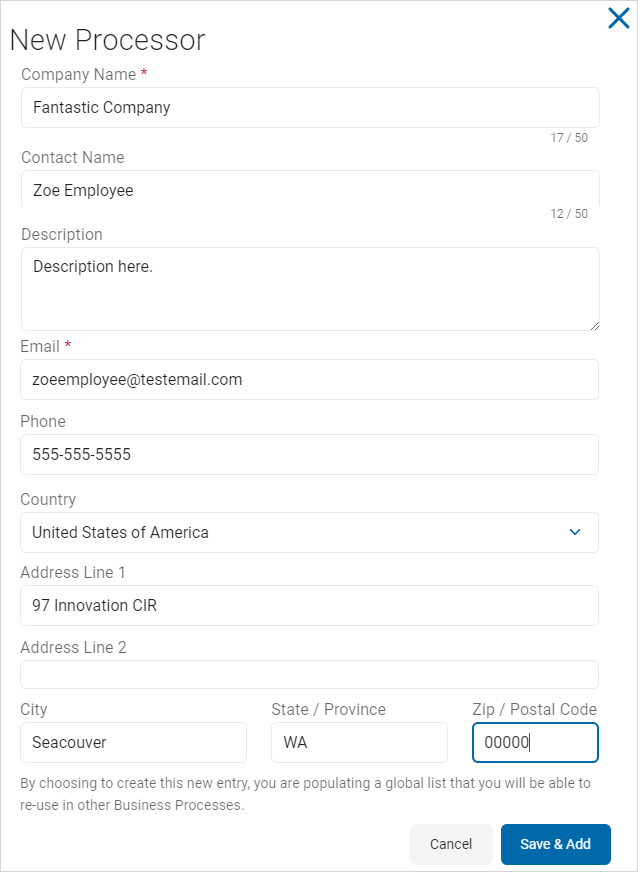
- Click the Save & Add button to add the new processor or Cancel button to discard.
- Select the new processor from the drop-down list.
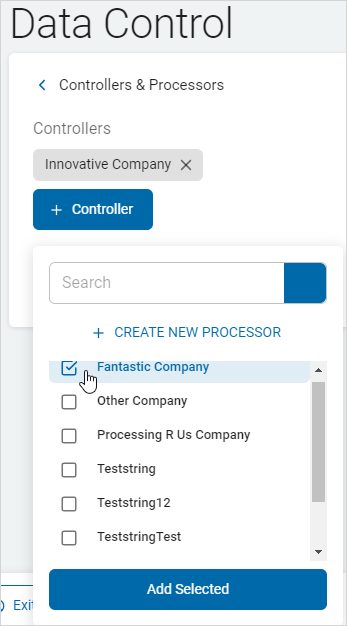
- Click the Add Selected button.
- The new processor is added to the "Processor" section.
- Click Next to proceed, Previous to return to the previous screen, or Exit Without Saving to discard.

Data Flow
The Data Flow tab has two sections:
- Data Sources
- Data Destinations
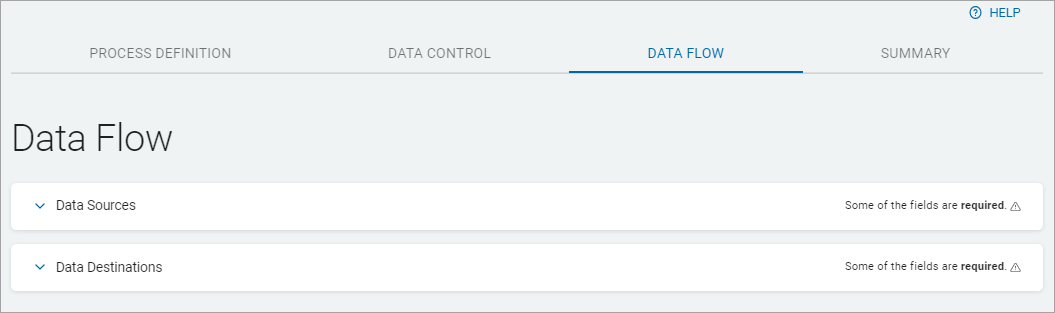
- In a tab section, click a down arrow to expand a section or a up arrow to collapse a section:
How to Add a Data Source
Do one of the following:
- Use an existing data source.
- Click Data Source.
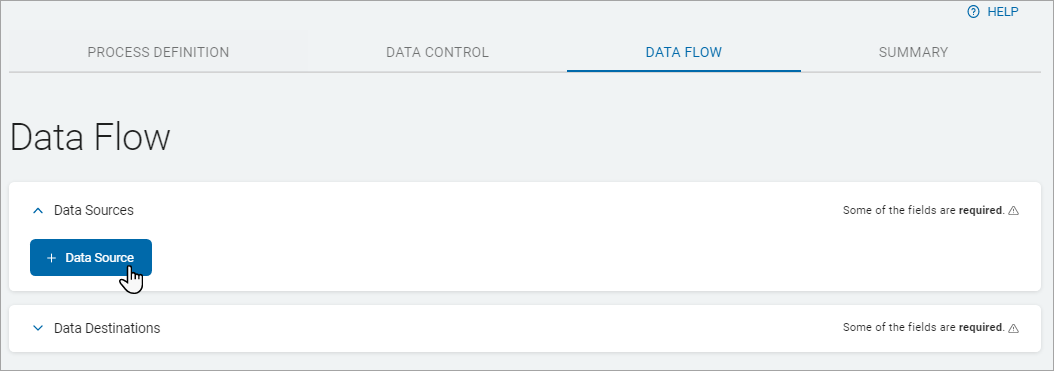
- Select an option from the drop-down list.
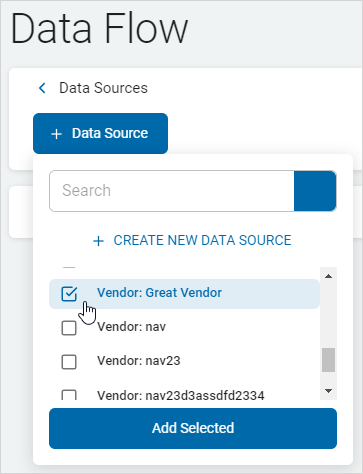
- Click Add Selected.
- The data source is added to the Data Sources section.
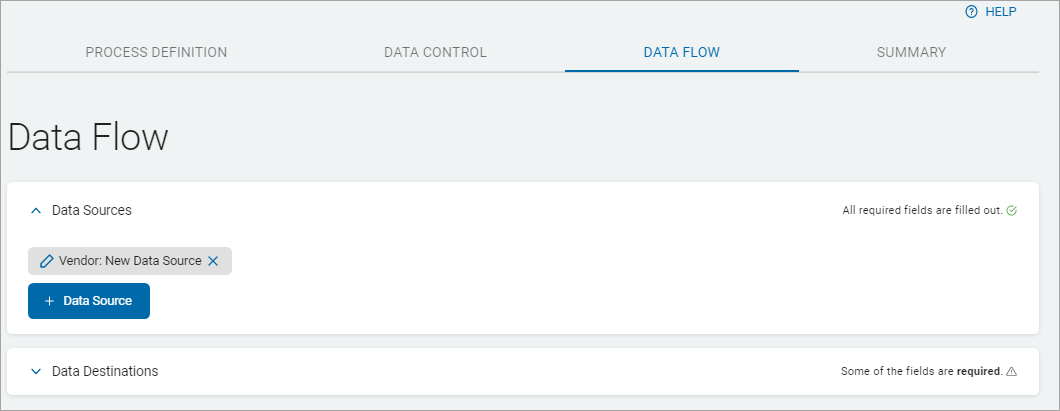
- Create a new data source:
- Click Data Source.
- Click Create New Data Source.
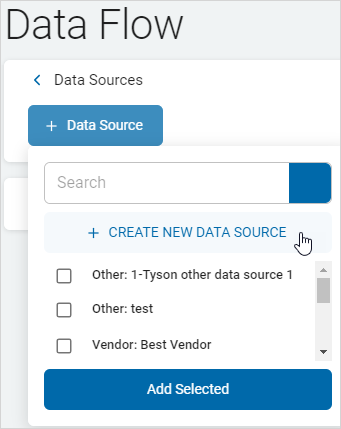
- In the New Data Source, fill in the following:
- Select Data Source Type: Choose one
- Vendor Name (50 characters maximum)
- Contact Name (50 characters maximum)
- Description (250 characters maximum)
- Sale of Information: Choose one
- Telephone Number
- Country
- Address Line 1
- Address Line 2 (if applicable)
- City
- State/Province
- Zip/Postal Code
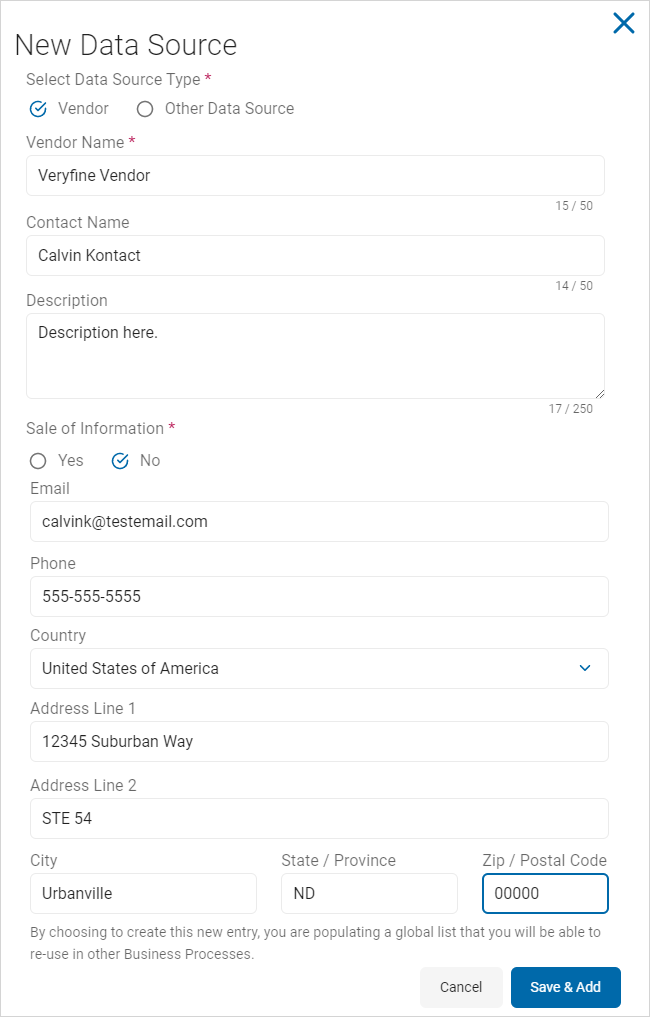
- Click Save & Add to save changes or Cancel to discard.
- Select the new data source from the drop-down list.
- Click Add Selected.
- The new data source is added to the Data Sources section.
How to Add Data Destinations
To add a data destination, do one of the following:
- Add an existing data destination
- Create and add a new data destination
- Add an existing destination:
- Click Data Destination.
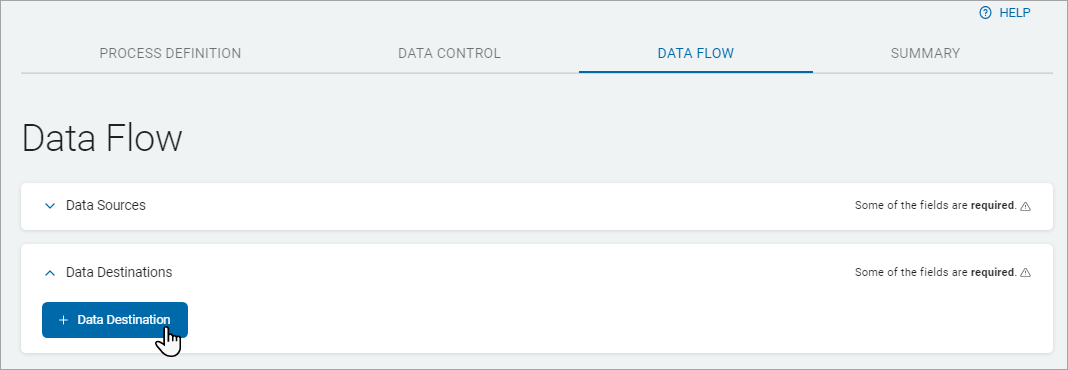
- Click Data Destination.
- Click an option from the drop-down list.
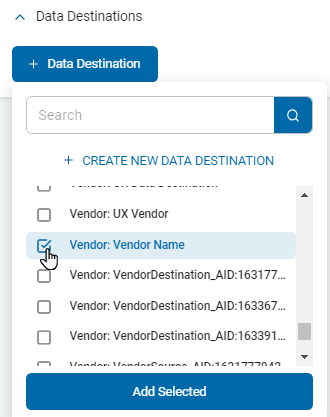
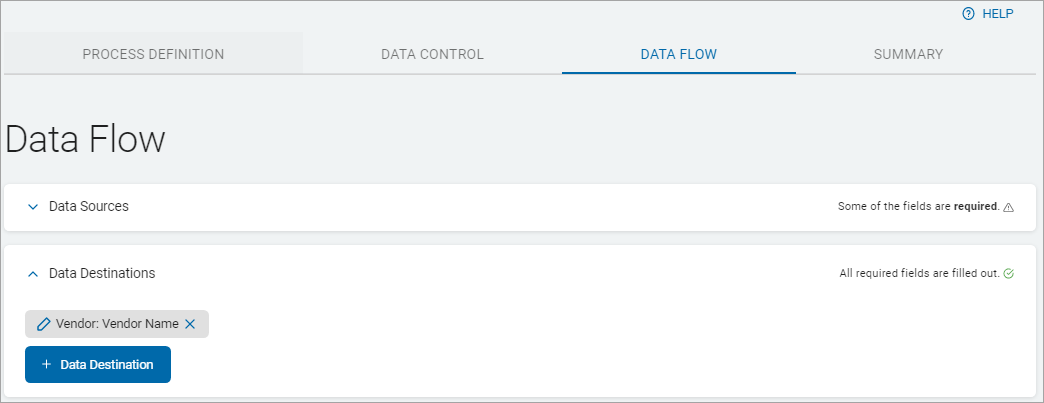
- Click Add Selected.
- The data destination is added to the Data Destinations section.
- Create a new data flow:
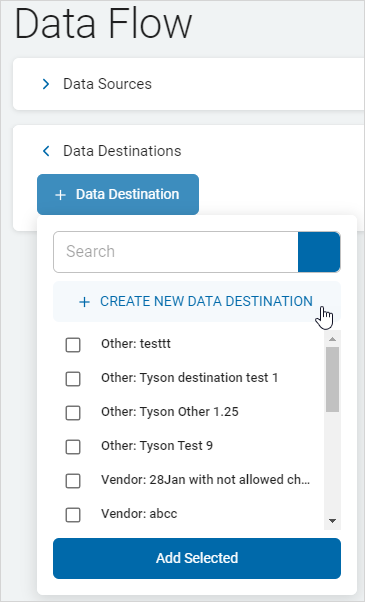
- Click Data Destination.
- Click + CREATE NEW DATA DESTINATION.
- In the New Data Destination pop-up window, fill in the following:
- Select Data Destination Type: Choose one
- Vendor Name (50 characters maximum)
- Contact Name (50 characters maximum)
- Description (250 characters maximum)
- Sale of Information: Choose one
- Telephone Number
- Country: Select an option from the drop-down list.
- Address Line 1
- Address Line 2 (if applicable)
- City
- State/Province
- Zip/Postal Code
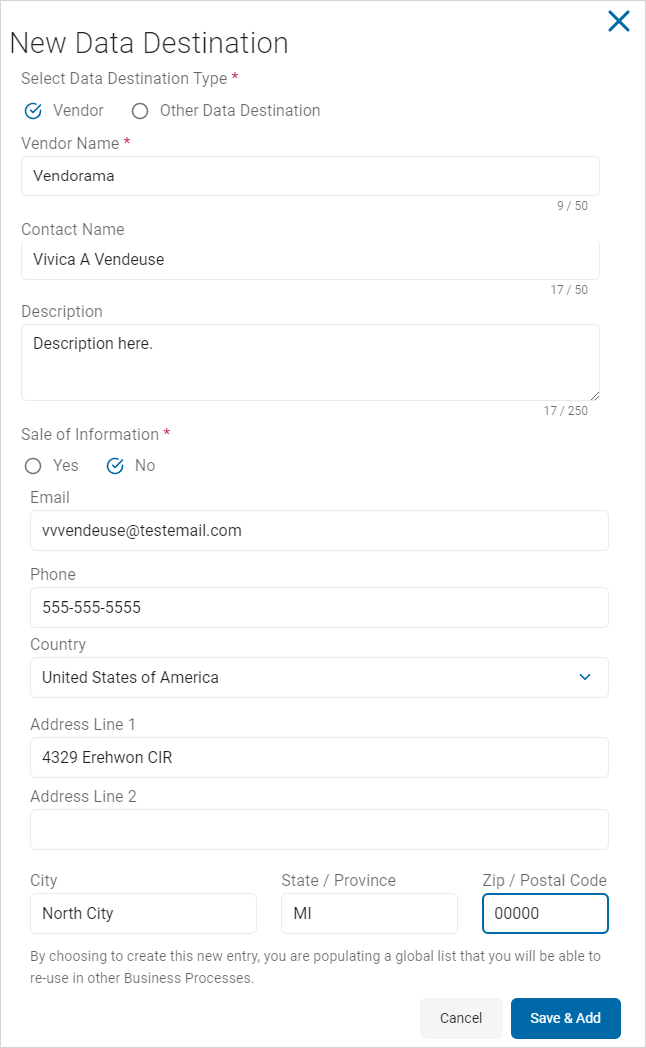
- Click Save & Add to add new destination or Cancel to discard.
- Select the new destination from the drop-down list.
- Click Add Selected.
- The new destination is added to the section Data Destinations.
Summary
The Summary tab is divided into three sections:
- Process Definition
- Data Control
- Data Flow
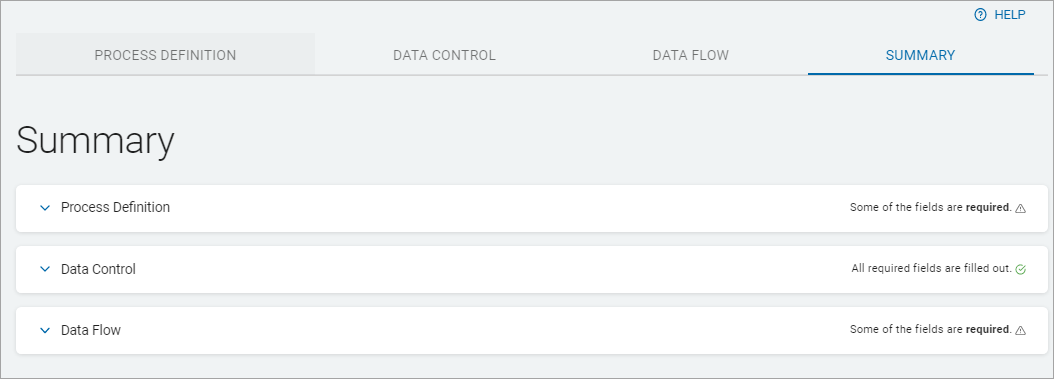
- In a tab section, click a right arrow (
 ) to expand a section or a left arrow (
 ) to collapse a section.
 - Review each section content for accuracy.
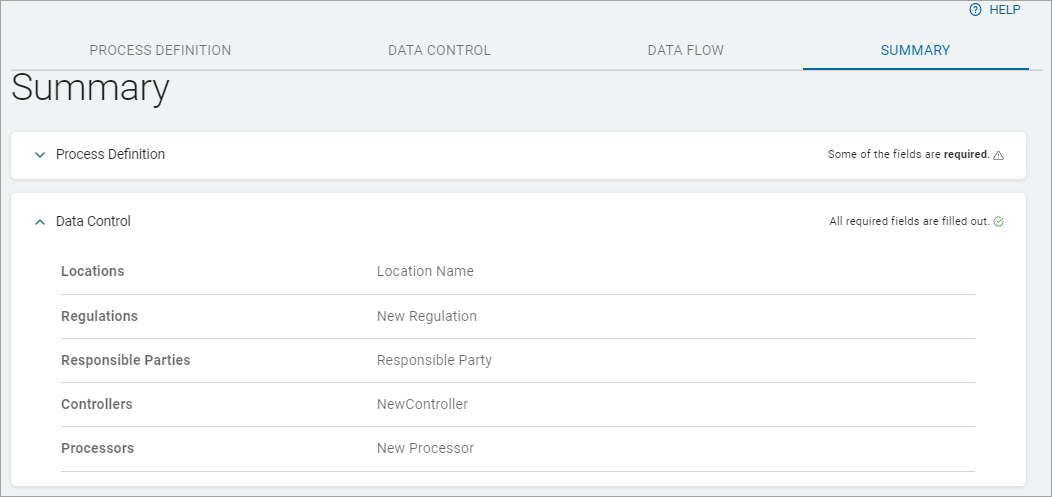
- To make changes:
- Click a tab to return to a section. For example: Process Definition tab, Processing Department.
- Make needed changes.
- Click the Summary tab to return to review changes.
- Note: Missing required items are marked *Required. You cannot save the new process until they are corrected.
- Click Finish & Save to save the new process, Previous to return to the previous screen, or Exit Without Saving to discard the whole record.
